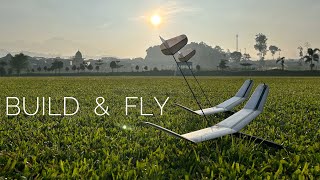
Build A Streamer Glider Plane
Build a lightweight paper glider with a colorful streamer tail, test flight stability, adjust wings, and learn basic aerodynamics through hands on experiments.


Step-by-step guide to build a streamer glider plane
How to Build a Mini Glider | simple #STEM kids project for classroom
Step 1
Gather all materials and clear a flat workspace so you have room to fold and fly.
Step 2
Fold the paper in half lengthwise and press firmly to make a strong center crease.
Step 3
Unfold the paper so the center crease is visible as a guide.
Step 4
Fold the top corners down to meet the center crease forming a pointed top.
Step 5
Fold the pointed top down so the tip meets the bottom edge to make a sturdy nose.
Step 6
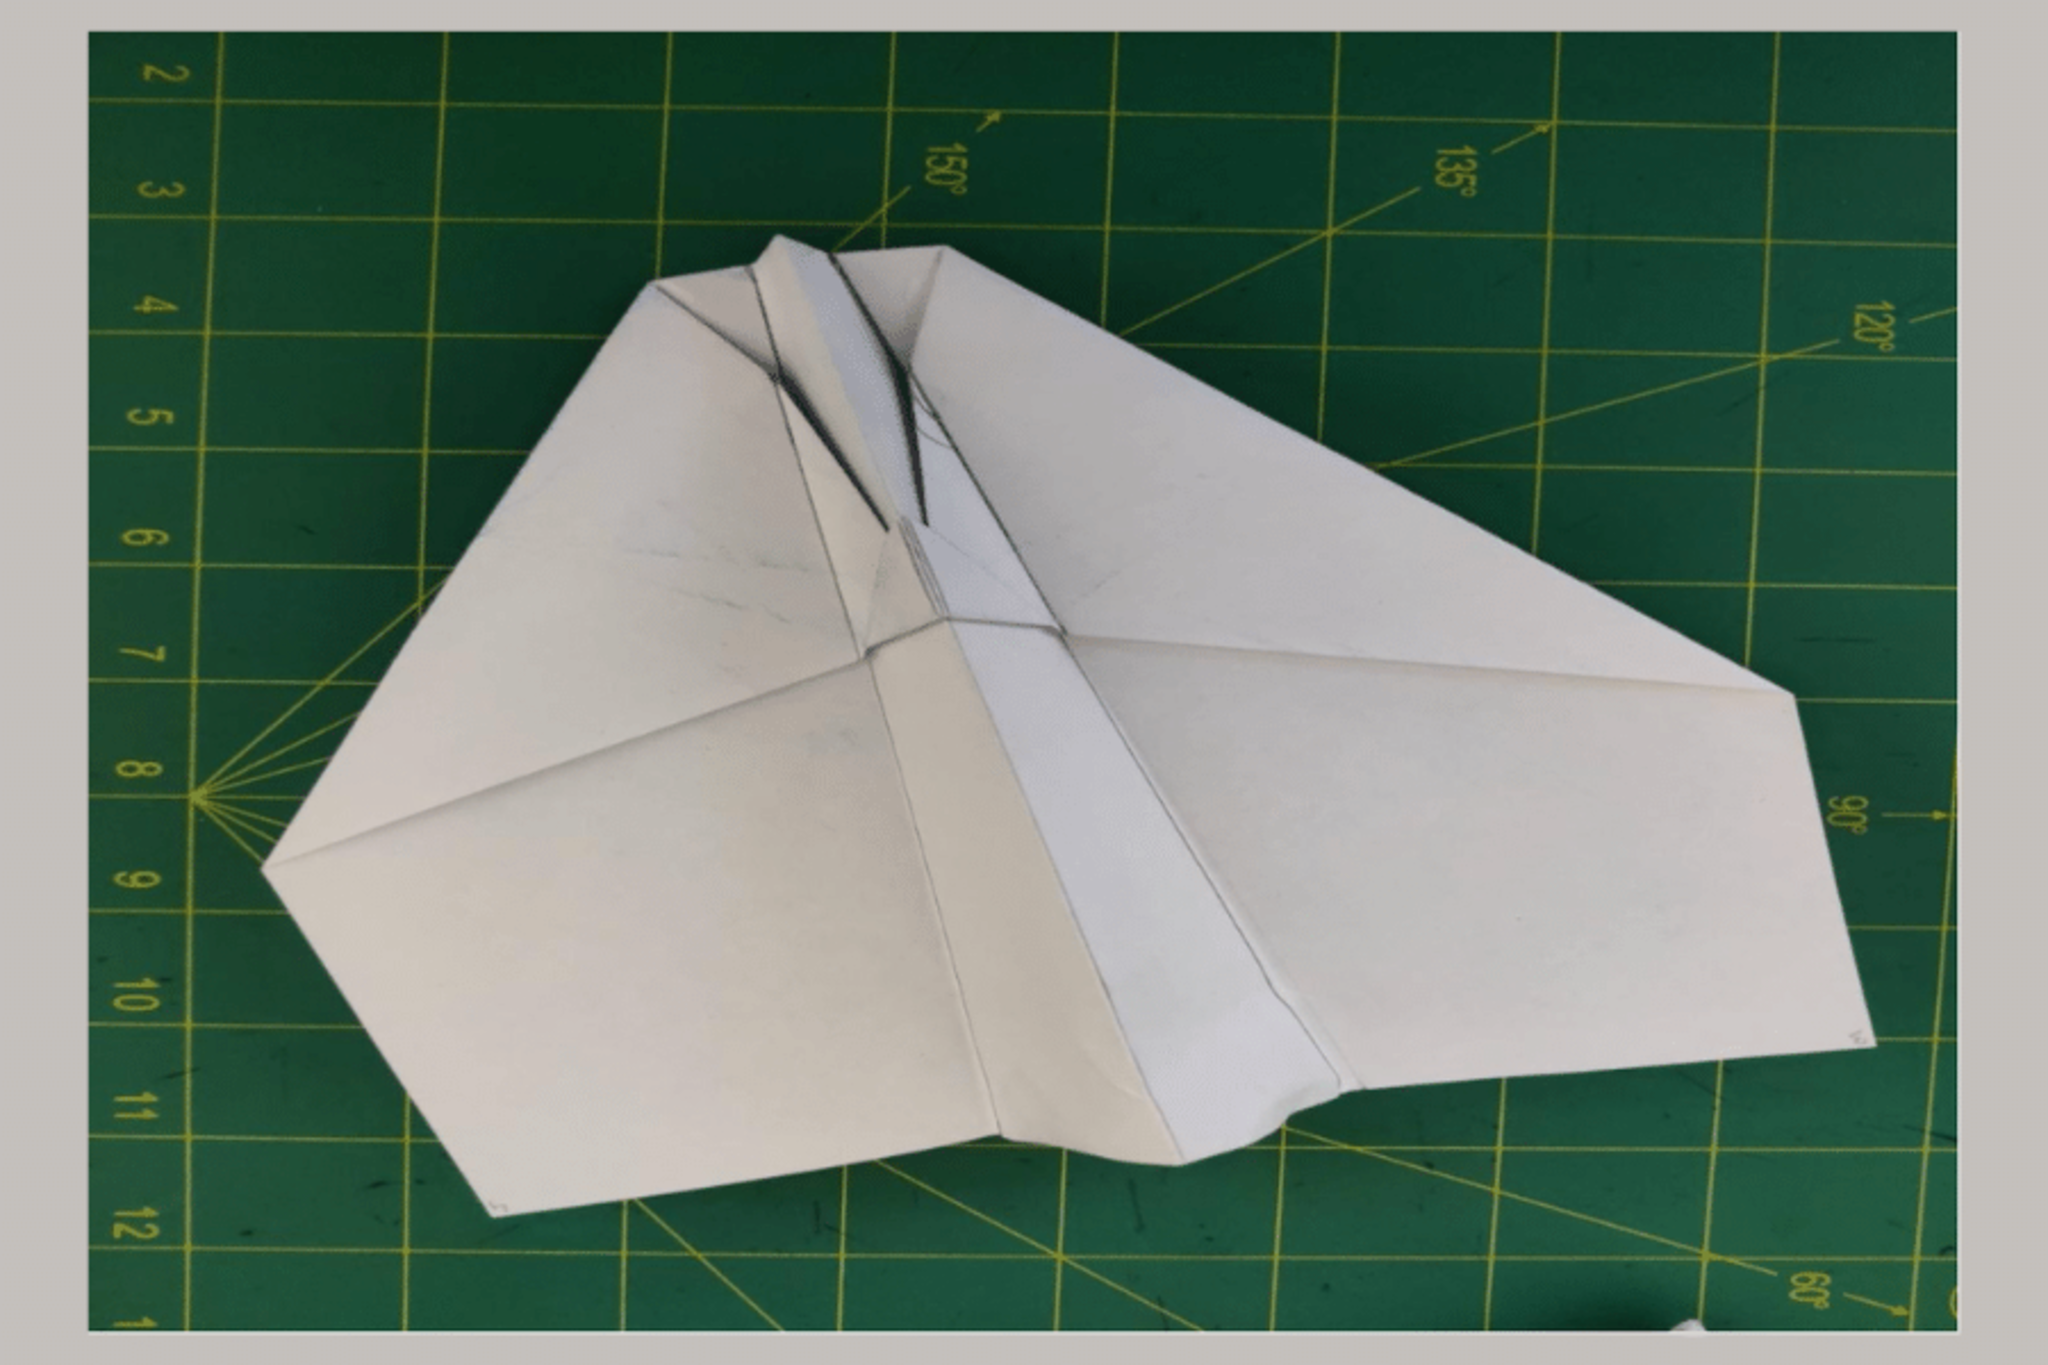
Fold the paper in half along the center crease with your previous folds on the outside.
Step 7
Fold each side down to create wide wings aligning the top wing edge with the bottom of the body.
Step 8
Fold small winglets up at the ends of each wing about 1 centimeter to help stability.
Step 9
Tape or glue the streamer to the center of the back edge so it trails behind the glider.
Step 10
Decorate your glider with colouring materials to make it bright and easy to see.
Step 11
Hold the glider level and give it a gentle smooth toss forward to perform a test flight.
Step 12
Watch how it flies and then make one small adjustment based on what you saw such as adding a tiny paperclip to the nose if it dives or bending the back edges of the wings slightly if it stalls or rolls.
Step 13
Share a photo and a sentence about what you learned by posting your finished streamer glider on DIY.org
Help!?
What can I use if I don't have a streamer or tape?
Use a 20–30 cm strip cut from a plastic grocery bag, ribbon, or tissue paper and attach it to the center of the back edge with a small dab of glue or clear tape as directed in the 'tape or glue the streamer to the center of the back edge' step.
My glider dives, stalls, or rolls—what quick fixes should I try?
If it dives add a tiny paperclip to the nose, if it stalls or rolls gently bend the back edges of the wings slightly, and double-check that your wing folds are even with the top wing edge aligned to the bottom of the body and the 1 cm winglets are folded up for stability.
How can I adapt this project for different ages?
For younger children pre-crease the center fold and help fold the top corners and tape the streamer, for elementary kids have them follow each folding step and decorate, and for older kids try different paper sizes, add small weights to the nose, or modify wing shape to experiment with flight.
How can we extend or personalize the glider project?
Decorate with colouring materials to make it easy to see, try adding extra or longer streamers taped to the center back, measure flight distances after each small adjustment like a paperclip or wing bend, and share a photo plus one sentence about what you learned on DIY.org as suggested.
Watch videos on how to build a streamer glider plane
Build a Gliding Airplane | #STEM project for kids
4 Videos
Build a Gliding Airplane | #STEM project for kids
How to Build an Easy and Inexpensive Model Airplane that Flies
How to make a simple glider plane with foam plates - Amazing Toy
How To Make Hand Launch Glider From Start To Finish
Facts about aerodynamics and paper airplane design for kids
✈️ The world record for the longest flight by a paper airplane is 69.14 m (226 ft 10 in), set in 2012.
📄 Standard printer paper is about 80 g/m² while origami or lightweight paper (~70 g/m²) often makes gliders fly farther.
🎏 Adding a colorful streamer tail increases drag and helps stabilize a glider by damping spins and wobble.
⚖️ Shifting the center of mass a few centimeters matters: nose-heavy gliders tend to dive, tail-heavy ones loop or stall.
🧪 Small wing tweaks (just 1–3° of tilt or tiny wing-tip bends) can turn a bad flight into a straight, long glide.
How do I build a streamer glider plane?
What materials do I need to build a streamer glider plane?
What ages is the streamer glider plane activity suitable for?
What are the benefits of building a streamer glider plane?
