Make a Crank Machine with Wings That Flap
Build a simple crank-driven machine that makes paper or cardboard wings flap using straws, skewers, tape, and a hand crank to explore mechanisms.


Step-by-step guide to make a crank machine with wings that flap
Flapping Wings
Step 1
Clear a flat work area and lay out all your materials so you can reach them easily.
Step 2
Cut a U shaped frame from a rectangle of cardboard so it has a bottom and two upright sides about as long as a skewer.
Step 3
Tape two drinking straws across the inside of the frame one near the top and one near the bottom to make axle bearings.
Step 4
Push a wooden skewer through the straw bearings so it becomes a spinning axle and leave about 3 centimeters sticking out on one side.
Step 5
Tape a short piece of skewer or a small stick perpendicular to the sticking out end of the axle to make a hand crank you can turn.
Step 6
Make an off center cam by folding a tiny tab of cardboard and taping it to the axle away from the center so it sticks out like a bump.
Step 7
Cut two wing shapes from paper or light cardboard roughly the same size so they will flap.
Step 8
Fold a 1 centimeter flap along the top edge of each wing to make a hinge strip.
Step 9
Tape each wing flap to the front of the frame so the wings can swing up and down freely.
Step 10
Cut two short straw pieces and tape one to the middle of each wing to act as a connector rod that the cam will push.
Step 11
Turn the hand crank slowly and watch where the cam bump hits the straw connectors so the wings move.
Step 12
Move the cam bump or slide the straw connectors a little and retape until the cam pushes the connectors to make the wings flap smoothly.
Step 13
Take a photo or describe your crank machine and share your finished creation on DIY.org
Help!?
What can we use instead of wooden skewers or drinking straws if we can't find them?
If you don't have wooden skewers for the axle, use a sharpened pencil or thin dowel and for the straw bearings substitute short sections of a pen barrel or rolled paper tubes, then follow step 4 to push the axle through the substitute bearings.
The wings aren't flapping smoothly—what should we check or fix?
If the wings stick or the cam doesn't push the straw connectors smoothly, check that the straw bearings are aligned (step 2), ensure the 1 cm wing hinge is folded so the wing can swing freely (step 8), and slide or retape the cam bump and connector straws (steps 9–12) to reduce friction.
How can we adapt the complexity of this project for different ages?
For younger kids have an adult pre-cut the U-shaped frame and pre-fold wing flaps (steps 1 and 8) and let them tape pieces together, while older kids can make multiple off-center cams (step 9), vary cam size or connector lengths, or test adding a small motor to the skewer axle.
What are some ways to personalize or extend the crank machine after it's built?
Decorate the paper wings with markers or glued-on feathers, add a second cam to create alternating wingbeats (step 9), or attach a rubber-band motor to the hand-crank skewer (step 4) so the wings flap automatically for photos to share on DIY.org.
Watch videos on how to make a crank machine with wings that flap
How to Make an Easy Origami Crane with Flapping Wings in 5 Minutes
4 Videos
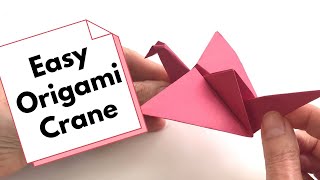
How to Make an Easy Origami Crane with Flapping Wings in 5 Minutes
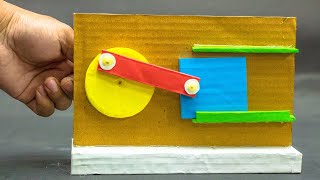
Science Projects | Crank Slider Mechanism

DIY Ornithopter: flapping mechanism and types review
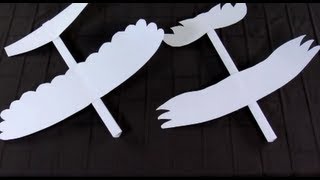
Making Flying Machines (fun STEM activity for kids)
Facts about simple machines and mechanisms for kids
🛠️ A simple crank converts circular motion into back-and-forth motion — that's exactly how your wings will flap.
🤖 Mechanical automata date back to ancient times; Hero of Alexandria built early self-moving devices.
🐦 Hummingbirds can flap up to about 80 times per second — way faster than a hand crank, but great inspiration for wing motion!
📐 Shifting the crank off-center (making an eccentric cam) changes the flap size — more offset = bigger stroke.
♻️ Lightweight recycled cardboard, straws, and skewers make a cheap, strong flapping mechanism perfect for upcycling.
How do you build a crank machine with wings that flap?
What materials do I need to make a crank-driven flapping-wing machine?
What ages is this crank and wing flapping activity suitable for?
What are the benefits of building a crank machine with flapping wings?
