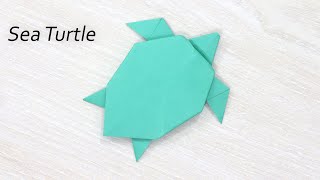
Fold an Origami Turtle
Fold an origami turtle step-by-step using square paper, learning patience and fine motor skills while creating a colorful model to display.


Step-by-step guide to fold an origami turtle
Step 1
Place your square paper color-side down on a flat table so the plain side is facing up.
Step 2
Fold the paper diagonally corner to corner and press the crease firmly.
Step 3
Fold the paper along the other diagonal and press the crease firmly.
Step 4
Bring two opposite corners together and flatten the paper into a triangle (this makes a waterbomb base).
Step 5
With the triangle point facing up fold the bottom left corner of the top layer up to meet the top point and press the crease.
Step 6
Fold the bottom right corner of the top layer up to meet the top point and press the crease.
Step 7
Flip the whole model over so the other side faces you.
Step 8
Fold the bottom left corner on this side up to meet the top point and press the crease.
Step 9
Fold the bottom right corner on this side up to meet the top point and press the crease.
Step 10
Fold the small top tip down about one centimeter to form the turtle’s head and press the crease.
Step 11
Fold the opposite bottom tip up slightly to make the tail and press the crease.
Step 12
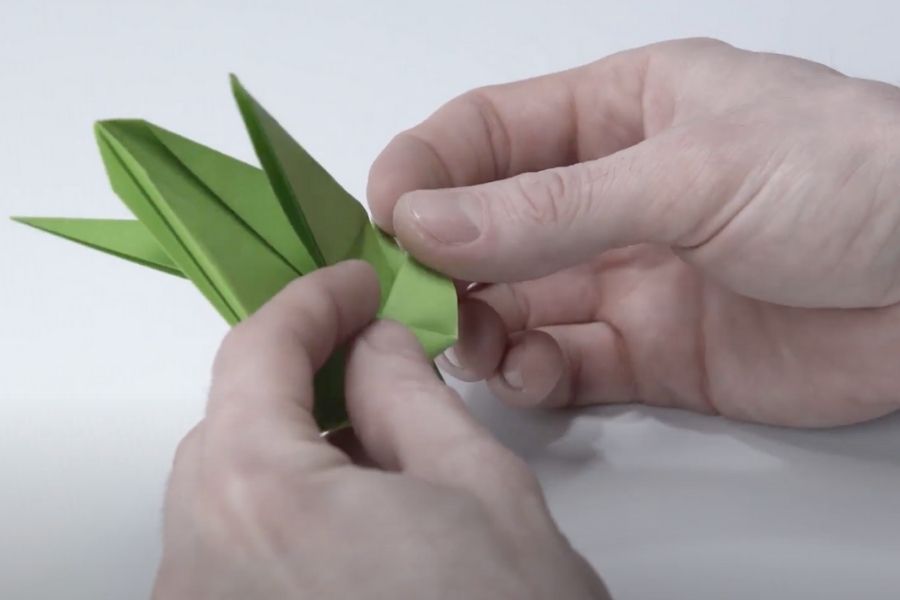
Fold the four small side flaps outward so they stick out as the turtle’s legs and press each crease.
Step 13
Gently pinch the top center of the turtle’s shell to puff it a little so the shell looks round.
Step 14
Decorate the shell and body with your colouring materials to make a colorful turtle.
Step 15
Take a photo of your origami turtle and share your finished creation on DIY.org.
Help!?
What can I use if I don't have square origami paper?
Cut a square from printer paper (for example 15×15 cm), a colourful magazine page, or a Post-it and then place the square paper color-side down as the first instruction requires.
I'm stuck making the waterbomb base—how do I avoid tearing or misaligning the folds?
Before bringing opposite corners together to flatten into the triangle, press both diagonal creases firmly and guide the layers gently with your thumbs so the waterbomb base collapses cleanly without tearing.
How can I adapt this origami turtle for different ages?
For younger children use larger, sturdier paper and pre-crease the diagonals and the corner-to-top folds while older kids can work with smaller squares, practice precise folds like the small head tip fold, and add detailed shell decoration.
How can we extend or personalize the finished turtle?
After puffing the shell, decorate it with markers, stickers, or paint, glue on googly eyes to the folded head, make several sizes to form a turtle family, and then photograph your creations to share on DIY.org as suggested.
Watch videos on how to fold an origami turtle
HOW TO MAKE ORIGAMI TURTLE STEP BY STEP | COOL ORIGAMI BEST TURTLE | EASY ORIGAMI ANIMAL TUTORIAL |
4 Videos
HOW TO MAKE ORIGAMI TURTLE STEP BY STEP | COOL ORIGAMI BEST TURTLE | EASY ORIGAMI ANIMAL TUTORIAL |
How to Make Origami Turtle Easy - Paper Turtle Tutorial step by step
Origami Turtle 🐢 | Step-by-Step Paper Craft for Beginners
How to Make a Paper Turtle - Cute Origami Turtle folding
Facts about origami and paper folding
🐢 In Japan turtles are symbols of longevity, so origami turtles are often given as good-luck charms.
🧩 Traditional origami models are made from a single square of paper with no cuts or glue—just folds!
✂️ Paper folding helps develop fine motor skills and patience — perfect for little hands practicing precision.
📐 A perfect square matters: many origami patterns start with a precise square to make clean, accurate folds.
🎨 Using colorful or patterned paper like washi turns your tiny origami turtle into a mini piece of art.
How do you fold an origami turtle step-by-step?
What materials do I need to fold an origami turtle?
What ages are origami turtles suitable for?
What are the benefits and safety tips for folding origami turtles?
