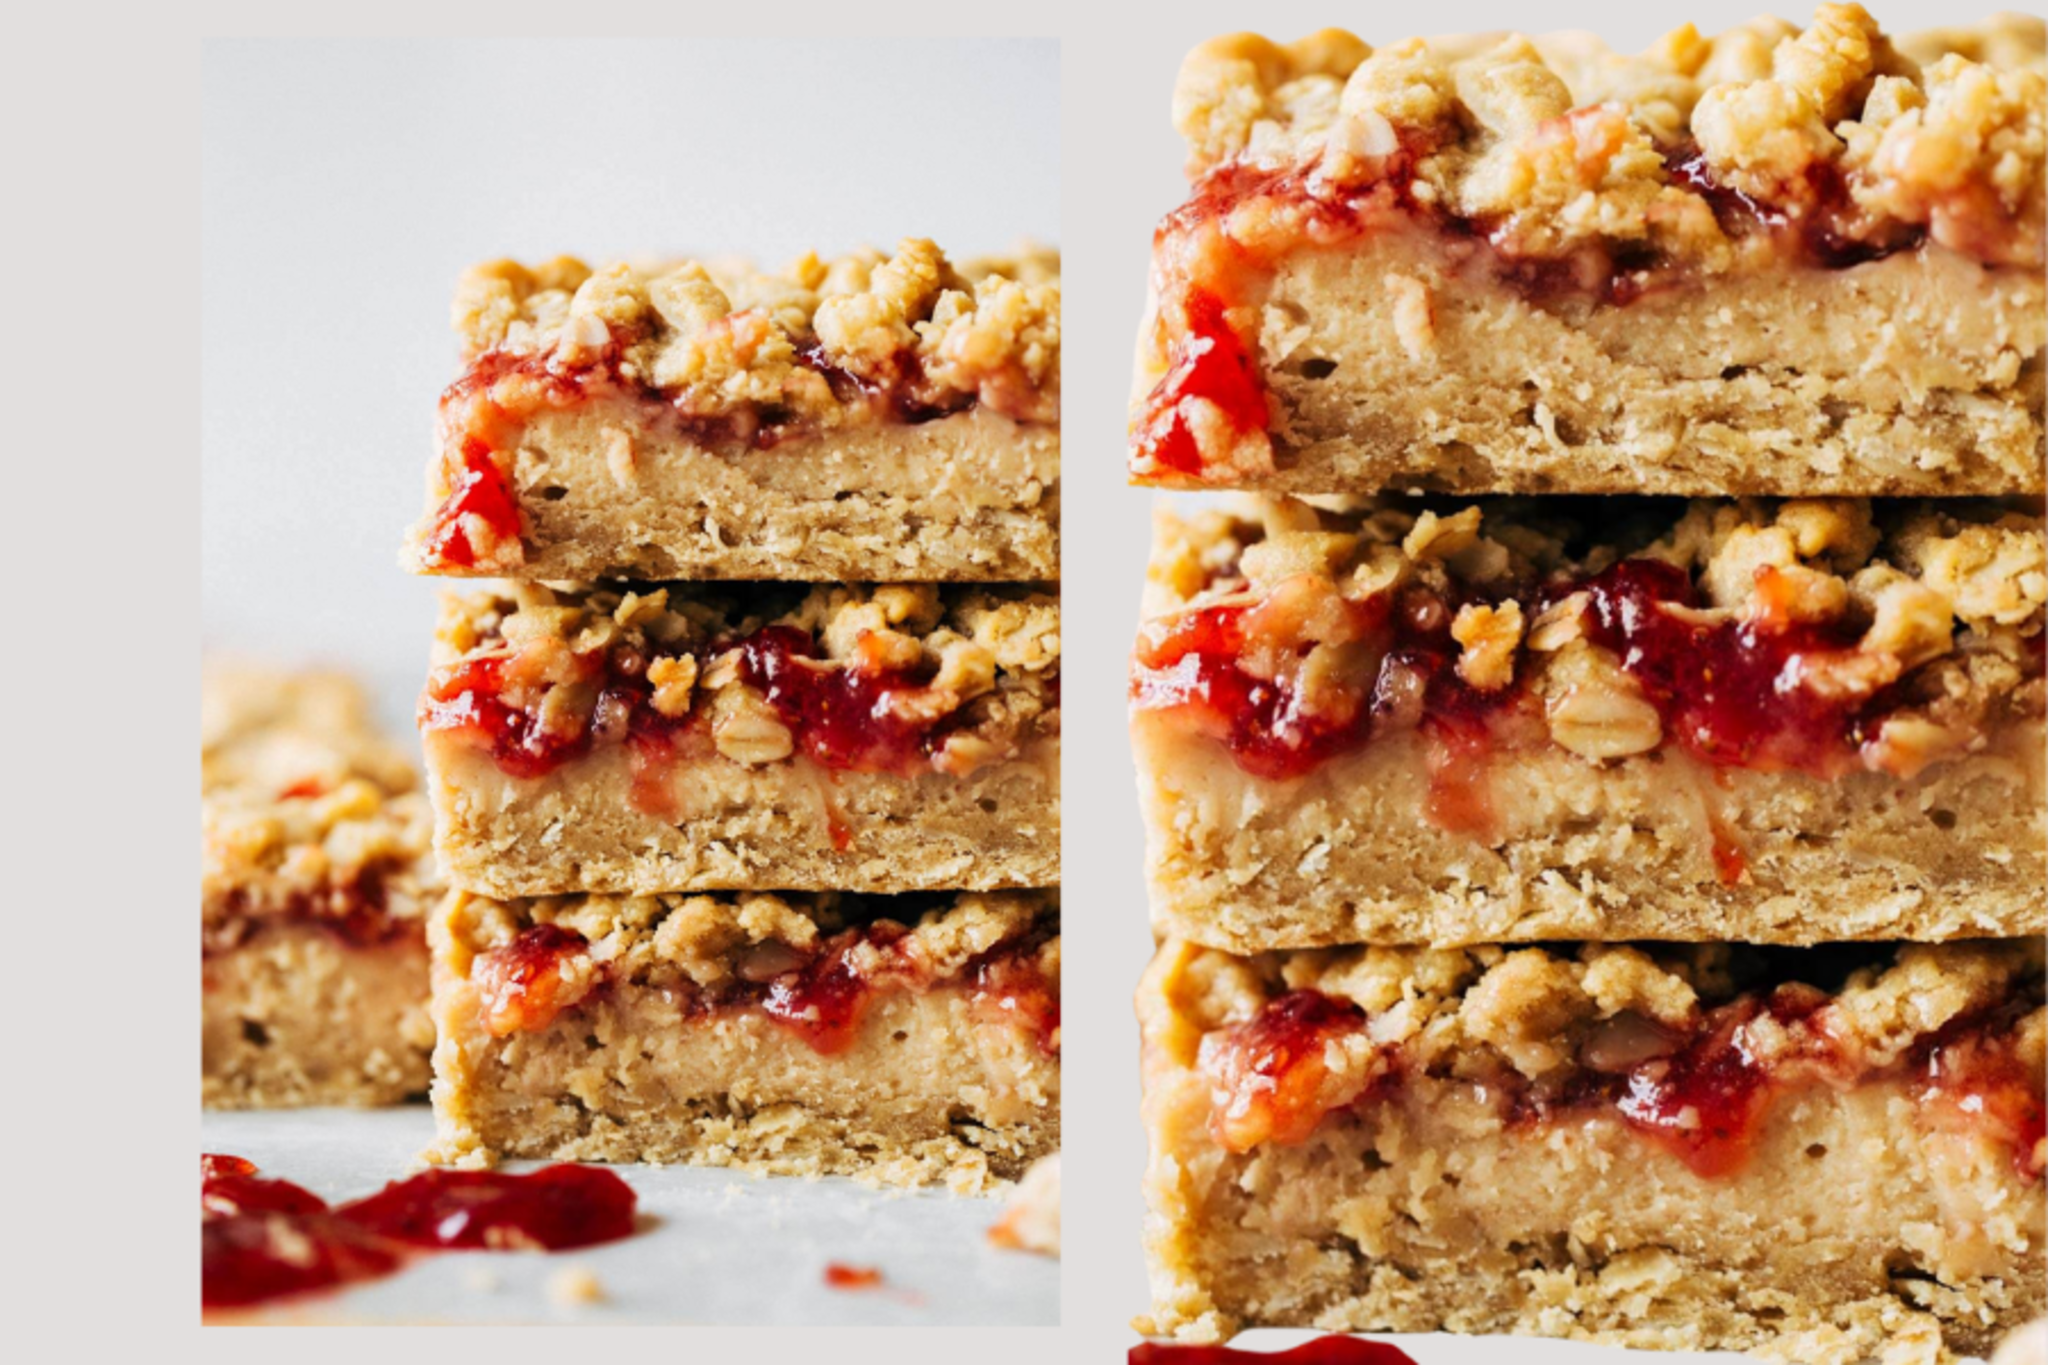
Bake a Peanut Butter and Jam Bar
Make peanut butter and jam bars by mixing dough, spreading jam, assembling layers, and baking with adult supervision while learning measuring, teamwork, and oven skills.


Step-by-step guide to bake a Peanut Butter and Jam Bar
Kids Try Fancy Peanut Butter & Jelly | Kids Try | HiHo Kids
Step 1
Wash your hands with soap and water for 20 seconds so everything stays clean.
Step 2
Ask an adult to preheat the oven to 350°F (175°C).
Step 3
Line the baking pan with parchment paper or spray it with nonstick spray so the bars won’t stick.
Step 4
Measure and add 1 cup softened butter 1 cup peanut butter and 1/2 cup sugar into the mixing bowl.
Step 5
Stir the butter peanut butter and sugar together until the mixture is smooth and creamy.
Step 6
Add 2 cups all-purpose flour and a pinch of salt to the bowl.
Step 7
Stir the flour and salt into the bowl until a soft dough forms.
Step 8
Press half of the dough evenly into the prepared pan to make a flat base.
Step 9
Spread 1/2 cup jam evenly over the dough base using the back of a spoon.
Step 10
Crumble the remaining dough over the jam so it mostly covers the top.
Step 11
Ask an adult to put the pan in the oven and bake for 20 to 25 minutes until the top is golden.
Step 12
Ask an adult to take the hot pan out of the oven and set it on a cooling rack to cool for at least 20 minutes.
Step 13
Once cool, use a knife to cut the baked slab into bars.
Step 14
Pick up a cooled bar and taste a small bite to celebrate your baking success.
Step 15
Share your finished peanut butter and jam bars on DIY.org.
Help!?
I don't have parchment paper or nonstick spray—what can I use so the bars don't stick?
If you don't have parchment paper or nonstick spray, thoroughly grease the pan with softened butter and dust it lightly with flour or line it with a sheet of lightly greased aluminum foil to prevent sticking.
The dough is too crumbly and won't press into the pan—how can I fix it?
If the dough is too crumbly when you try to press half into the prepared pan, stir in 1 tablespoon of milk or an extra teaspoon of softened butter at a time until the dough holds together and can be pressed evenly.
How can I adapt this activity for younger or older kids?
For younger kids (about 3–6), have an adult do the oven and measuring while the child stirs the butter/peanut butter/sugar and spreads the jam, and for older kids (about 10+), let them measure, mix the dough, press into the pan, and crumble the top while an adult only handles preheating, baking, and removing the hot pan.
How can we extend or personalize the peanut butter and jam bars?
To personalize the bars, fold 1/2 cup chocolate chips or chopped nuts into the dough before pressing, try different jams for flavor, sprinkle a little coarse sugar on top before baking for crunch, then cut the cooled slab into bars and share photos on DIY.org.
Watch videos on how to bake a Peanut Butter and Jam Bar
How To Draw A Funny Jar Of Peanut Butter
4 Videos
How To Draw A Funny Jar Of Peanut Butter

Peanut Butter & Jelly + More Kids Songs
How To Draw Funny Peanut Butter And Jelly

DIY Halloween Costumes - Peanut Butter & Jelly | Dreamtopia | @Barbie
Facts about baking for kids
🥜 Peanut butter is packed with protein and healthy fats, making it a tasty, filling ingredient for snacks and baking.
🍓 Jam was invented to preserve fruit — cooking fruit with sugar helps it last for months when sealed properly.
🍪 Bar cookies (like peanut butter and jam bars) are baked in a pan and then sliced, which makes them quick to share at parties.
📏 Baking is a great way to learn measuring: teaspoons, tablespoons, and cups are the recipe tools that make treats turn out right.
🔥 Ovens use hot air to change dough into golden bars — with an adult, kids can watch how time and temperature transform texture and color.
How do you make peanut butter and jam bars?
What materials do I need for peanut butter and jam bars?
What ages is this activity suitable for?
What are the benefits of baking peanut butter and jam bars with kids?
