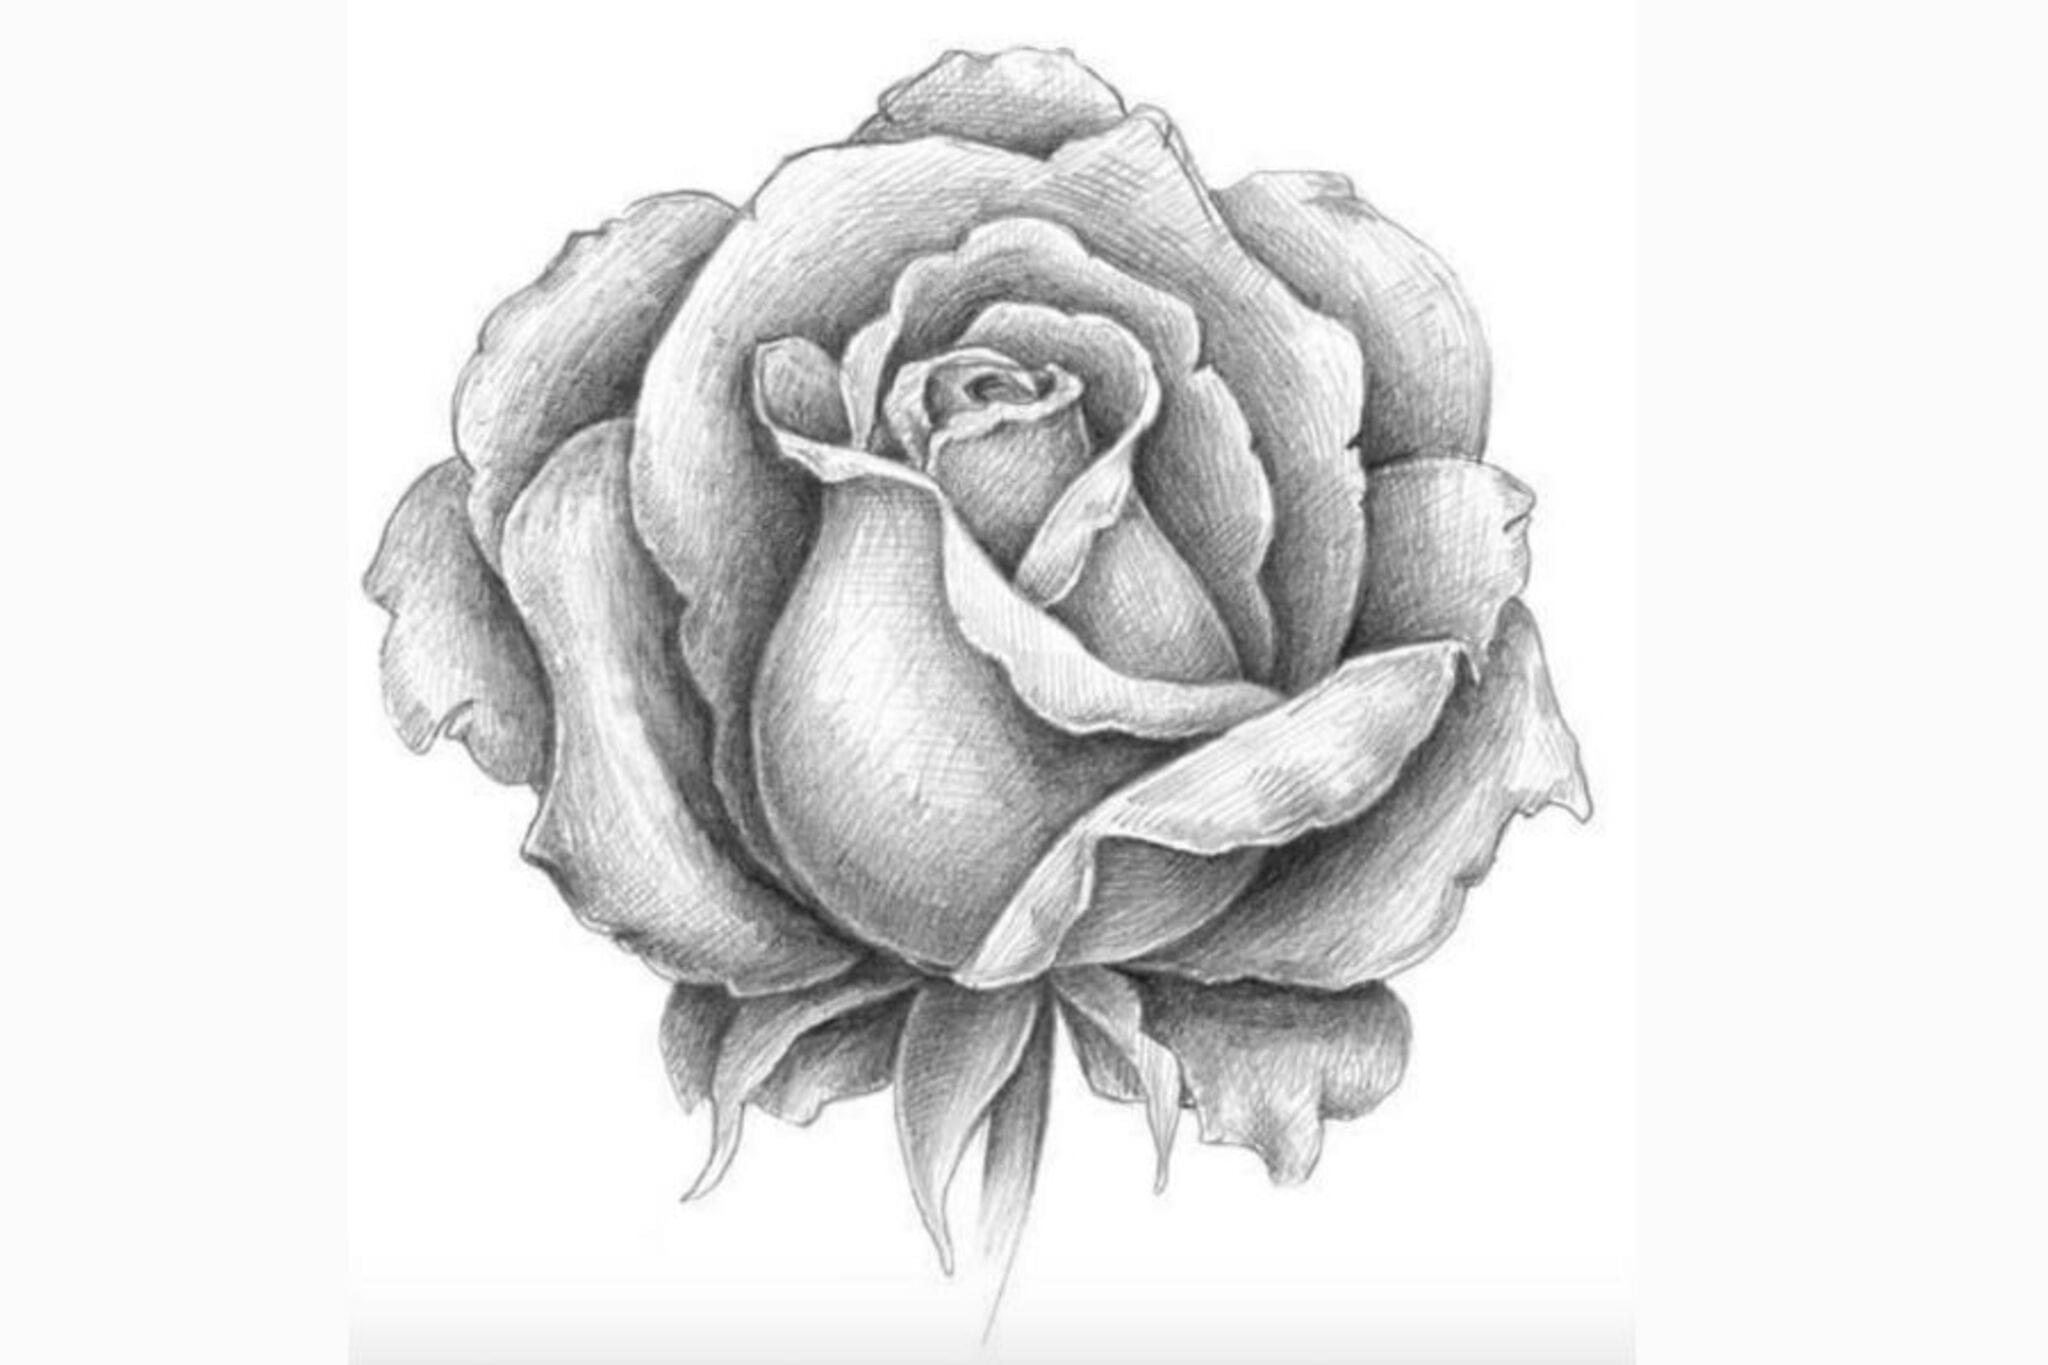
Sketch a Realistic Rose
Learn to sketch a realistic rose step-by-step using simple shapes, shading techniques, and observing petals to improve drawing skills and patience.

Drawing Apps
Step-by-step guide to sketch a realistic rose
How to Draw + Color a Rose Super EASY Realistic
Step 1
Pick a clear photo or a real rose to use as your reference.
Step 2
Lightly draw a small spiral or tight oval in the center of your paper to mark the rose's bud.
Step 3
Draw a few small curved teardrop shapes around the spiral to form the inner petals.
Step 4
Add larger curved petals around the inner ones so they overlap and form layers.
Step 5
Draw a single curved line down from the bloom to make the stem.
Step 6
Sketch one or two pointed oval shapes on the stem to create leaves.
Step 7
Erase any extra construction lines so the petals and leaves look clean.
Step 8
Draw a single midrib line down the center of each leaf.
Step 9
Darken the pencil lines where petals overlap to show depth and separation.
Step 10
Shade the petals lightly near the base and under each curve using soft pencil strokes.
Step 11
Gently blend the shaded areas with a cotton swab or tissue to make smooth shadows.
Step 12
Add tiny short strokes on petals to show small wrinkles and texture.
Step 13
Draw darker veins on the leaves and add short textured strokes on the stem.
Step 14
Use the eraser to lift small highlights where light would hit the petal tips and folds.
Step 15
Share your finished realistic rose on DIY.org
Help!?
What can I use instead of a cotton swab or tissue for blending if I don't have them?
Use a blending stump, a clean fingertip, a rolled-up piece of scrap paper, or a soft chamois to gently blend the shaded areas instead of a cotton swab or tissue.
My petals look flat and don't overlap—how can I fix that?
Lighten your initial spiral and construction lines, then darken the pencil lines where petals overlap and add light shading under each curve with soft pencil strokes to create depth.
How can I adapt this rose sketch for different ages or skill levels?
Have younger kids draw just the small spiral and three large petals to practice shapes, while older kids add the tiny short strokes for texture, detailed leaf veins, and more blending with a cotton swab or tissue.
How can I enhance or personalize my finished realistic rose?
Add color with colored pencils or watercolor over your shaded petals, lift highlights with the eraser for contrast, add a simple background, and then share the result on DIY.org.
Watch videos on how to sketch a realistic rose
How to Draw a Realistic Rose | Step by Step Art Lesson for Beginners
4 Videos
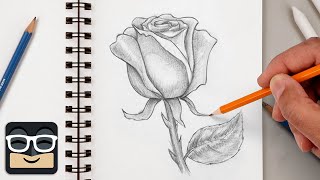
How to Draw a Realistic Rose | Step by Step Art Lesson for Beginners
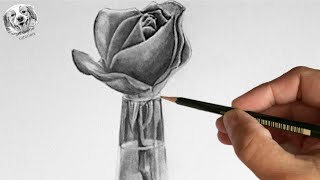
How to draw a realistic Rose in pencil Step by Step

Rose Drawing Tutorial🌹||How To Draw & shade a Realistic Rose step by step||Easy Rose Art🌹
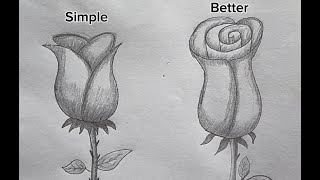
ROSE Drawing Easy | How to Draw a Rose step by step/pencil drawing
Facts about sketching and shading techniques
🌹 Roses belong to the genus Rosa and include over 100 species — plenty of shapes to practice sketching!
✏️ Many artists begin realistic drawings by blocking in simple shapes (circles, ovals) before adding petals.
🎨 Shading techniques like hatching, cross-hatching, and blending turn flat lines into curved, lifelike petals.
👁️ Observational drawing trains your eye to spot tiny details like petal edges, veins, and subtle light shifts.
⏳ A quick rose sketch can take 10–20 minutes, while a carefully shaded study might take an hour or more — practice builds patience.
How do I teach my child to sketch a realistic rose step-by-step?
What materials do I need to sketch a realistic rose with my child?
What ages is sketching a realistic rose suitable for?
What are the benefits of learning to sketch a realistic rose?
