Animate a head turn - Part 2!
Create a flipbook or simple paper puppet to animate a head turning sequence, drawing frame by frame and testing timing to observe smooth motion.


Step-by-step guide to animate a head turn - Part 2
Step 1
Decide if you will make a flipbook or a paper puppet and stick with that choice for this project.
Step 2
Stack about 12 to 20 small sheets of paper and keep their edges lined up so each page sits in the same place.
Step 3
Make a tiny registration mark like an X in the same corner on every page so your drawings stay lined up.
Step 4
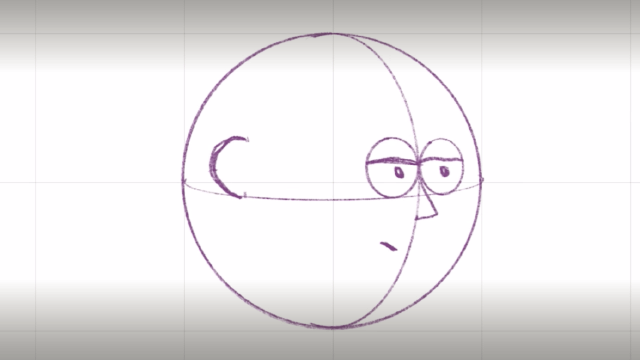
On the first page draw your character head facing forward lightly with pencil.
Step 5
On the last page draw the same head turned to the side in the final position lightly with pencil.
Step 6
Choose how many frames you want for the turn for example 10 to 15 frames for smooth motion.
Step 7
On each middle page draw the head a little more turned than the page before using the registration mark to keep alignment.
Step 8
Flip the pages quickly with your thumb to watch the head turn and notice any jumps.
Step 9
Redraw any frames that look jumpy so each change between pages is smaller and smoother.
Step 10
Colour your drawings neatly if you want your animation to be bright and clear.
Step 11
If you chose a paper puppet option cut out the head shapes carefully and attach them to a strip with a paper fastener brad so the head can rotate.
Step 12
Take a photo or short video and share your finished flipbook or puppet animation on DIY.org
Help!?
What can I use if I don't have the 'small sheets of paper' or a 'paper fastener brad' mentioned in the instructions?
Cut standard printer paper into quarters or use index cards for the 12–20 stacked pages, and substitute a small paperclip, split pin, button pivot, or a short piece of tape for the paper fastener brad on the puppet.
My flipbook head 'jumps' when I flip the pages — what step am I missing and how do I fix it?
Make sure every page edge stays perfectly aligned and the tiny X registration mark is in the exact same corner, hold the stack with a binder clip while you redraw any frames that look jumpy so each change is smaller and smoother as the instructions say.
How can I adapt this head-turn activity for different ages or skill levels?
For younger kids use 6–8 larger pages with simplified forward and side head outlines to color, while older kids can use the full 12–20 stack with 10–15+ frames, finer pencil work, precise X marks, and build the paper puppet using a brad themselves.
What are simple ways to enhance or personalize my finished flipbook or paper puppet animation?
Add colored backgrounds and accessories to your drawings, increase the number of frames for an extra-smooth turn, make multiple characters or expressions, and take a photo or short video to edit speed before sharing on DIY.org.
Watch videos on how to animate a head turn - Part 2
How to Animate a Head Turn - 2d Animation Tutorial
3 Videos
How to Animate a Head Turn - 2d Animation Tutorial
Animating a Head Turn : The Important Exercise Everyone Forgets!
How to Animate a Smooth Head Turn in FlipaClip (EASY Step-by-Step)
Facts about flipbook animation and timing
🎞️ The flipbook was patented in 1868 as the "kineograph" by John Barnes Linnett — the pocket animation was born!
⏱️ Movies run at about 24 frames per second for smooth motion, but a simple flipbook head turn can look convincing with just 8–12 frames.
👀 Persistence of vision is why animation works — your brain holds each image a tiny moment so separate drawings blend into movement.
✏️ Animators use "onion-skinning" to see nearby frames while drawing; you can copy that by using tracing paper or a light behind your page.
🎨 The famous 12 principles of animation (like anticipation and follow-through) make a head turn feel alive and believable.
How do you animate a head turn using a flipbook or paper puppet?
What materials do I need to make a flipbook or paper puppet head-turn animation?
What ages is this flipbook/paper-puppet head-turn activity suitable for?
What are the benefits of making a head-turn flipbook or puppet animation?
