Show Off Your DIY Apricot Creations!
Make delicious apricot jam and simple apricot leather with adult help, design labels, and photograph your creations to share with family.


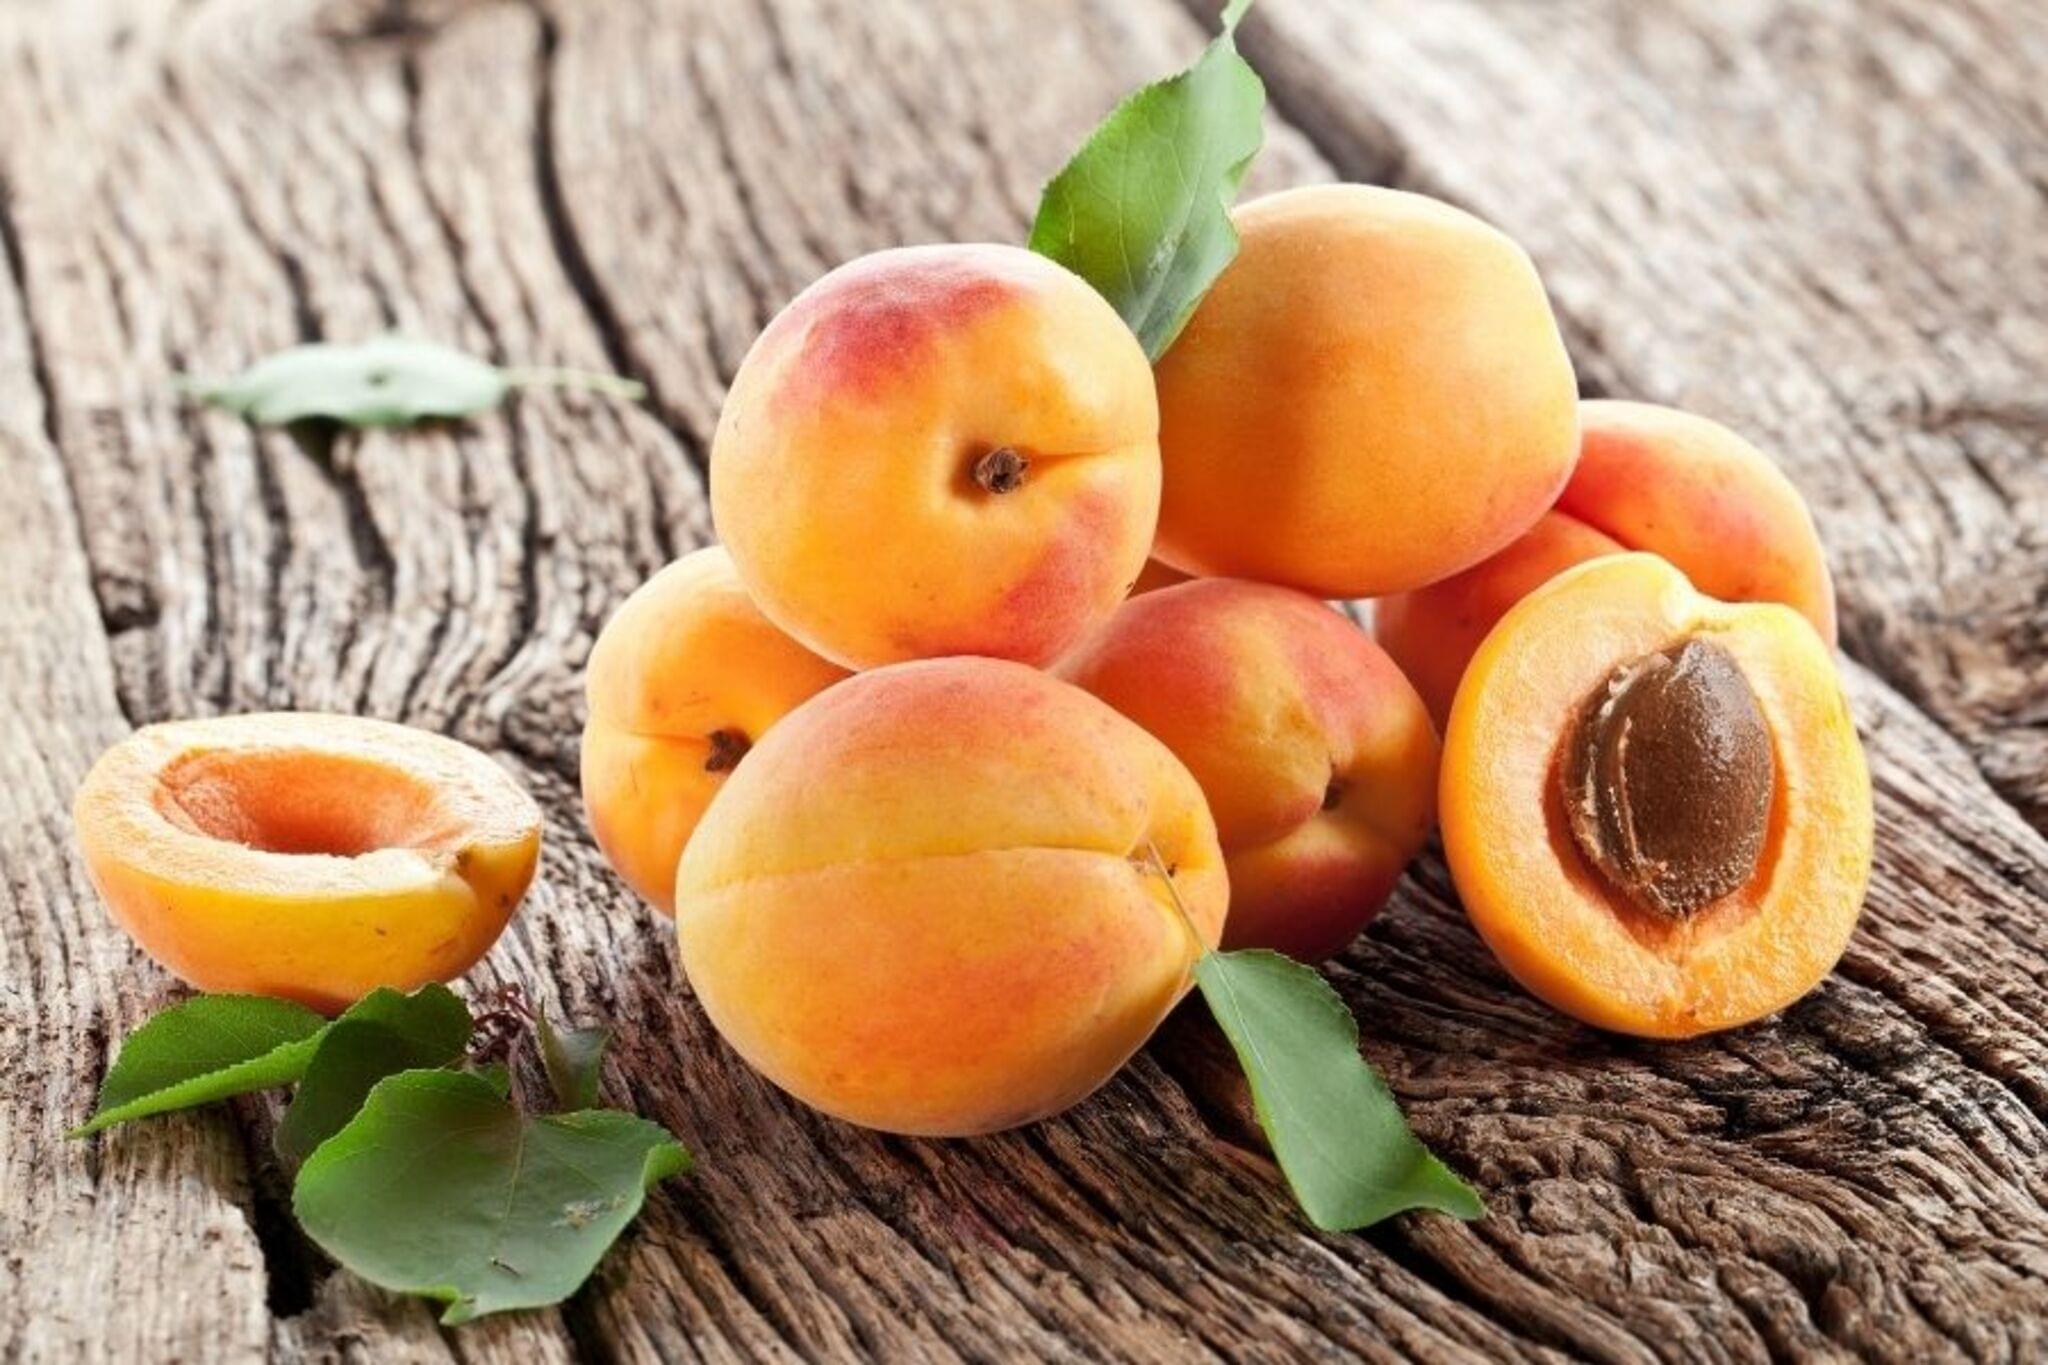

Step-by-step guide to make DIY apricot jam, apricot leather, design labels, and photograph your creations
Apricot Blossom Crepe Paper - How To Make Apricot Blossom Flower From Crepe Paper - Paper Craft
Step 1
Wash the apricots under cold water and dry them with a towel.
Step 2
Ask an adult to cut the apricots in half and remove the pits.
Step 3
Put the apricot halves into the blender and puree until smooth.
Step 4
Scoop out 1 to 2 cups of the raw apricot puree into a bowl and set it aside for the apricot leather.
Step 5
Measure the sugar and lemon juice into a small bowl and set them next to the saucepan.
Step 6
Pour the remaining apricot puree into the saucepan.
Step 7
Add the measured sugar and lemon juice to the saucepan.
Step 8
Ask an adult to cook the mixture over medium heat for about 20–25 minutes while stirring until it thickly coats a spoon.
Step 9
Ask an adult to carefully ladle the hot jam into jars and close the lids.
Step 10
Pour the reserved raw apricot puree onto a parchment-lined baking sheet.
Step 11
Use a spatula to spread the puree into a smooth thin layer about 1/8 inch thick.
Step 12
Ask an adult to dry the puree in the oven at the lowest temperature for 4–6 hours with the door slightly open until it is no longer sticky.
Step 13
Cut the cooled apricot leather into strips with scissors and place the strips into jars or a container.
Step 14
Design and color labels and stick them onto your jam jars and leather jars.
Step 15
Share your finished apricot jam and apricot leather creations on DIY.org.
Help!?
What can we use if we don't have a blender, parchment paper, or fresh apricots?
If you don't have a blender, use a food processor or immersion blender to puree the apricots, substitute a silicone baking mat or lightly oiled baking sheet for parchment when spreading the puree, and use thawed frozen or drained canned apricots in place of fresh fruit.
My jam isn't thickening or the leather is still sticky — what should I do?
If the jam hasn't thickened after 20–25 minutes, keep cooking the apricot mixture in the saucepan while stirring until it coats a spoon or reaches about 220°F, and if the leather is sticky after 4–6 hours, increase drying time at the lowest oven temperature with the door slightly open and make sure the puree was spread to about 1/8 inch thick.
How can we adapt this activity for different ages?
Younger children can help wash apricots, scoop out the 1–2 cups of puree, spread it on the parchment, and design labels while an adult does adult-only steps like cutting, cooking on the stove, and using the oven, and older kids can measure sugar/lemon, operate the blender with supervision, and ladle hot jam into jars.
How can we make the jam and leather more creative or gift-ready?
To enhance your creations, stir in a teaspoon of vanilla or a pinch of cinnamon when adding the measured sugar and lemon juice to the saucepan, cut cooled apricot leather into fun shapes with scissors before placing into jars, and decorate and stick labels onto your jam and leather jars for sharing on DIY.org.
Watch videos on how to make DIY apricot jam, apricot leather, design labels, and photograph your creations
ABC TV | How To Make Apricot Blossom Bonsai Tree (Slowly) | Paper Quilling - Craft Tutorial
3 Videos
ABC TV | How To Make Apricot Blossom Bonsai Tree (Slowly) | Paper Quilling - Craft Tutorial

Mind-Blowing DIY Crafts Your Kids Will Actually Love
💕 DIY CRAFT CREATIONS 🌟🖍️ Adorable Ideas for Home and School! 🏡
Facts about fruit preserving and food safety
🍑 Apricots have been cultivated for thousands of years and were traded along the Silk Road, helping them spread from Asia to Europe.
🍯 Many jam recipes use a simple ratio of about 2 parts fruit to 1 part sugar to help the jam set and balance flavor.
🫙 Properly sealed, shelf-stable jams can keep unopened in a cool pantry for up to a year.
🍎 Fruit leather is simply pureed fruit dried into a chewy sheet—ancient civilizations made similar fruit pastes long before modern snack packaging.
📸 Natural window light and a simple background make food photos most appetizing—try shooting from above or at a 45° angle for great results.
How do I make apricot jam and apricot leather with my child?
What materials and equipment do I need to make apricot jam, apricot leather, labels, and photos?
What ages is this 'Show Off Your DIY Apricot Creations' activity suitable for?
What safety tips should I follow when cooking, preserving, and photographing apricot creations?
