Make a Sand Mandala
Create a colorful sand mandala using colored sand or salt, templates, glue, and small tools to explore symmetry, patterns, precision, and patience.

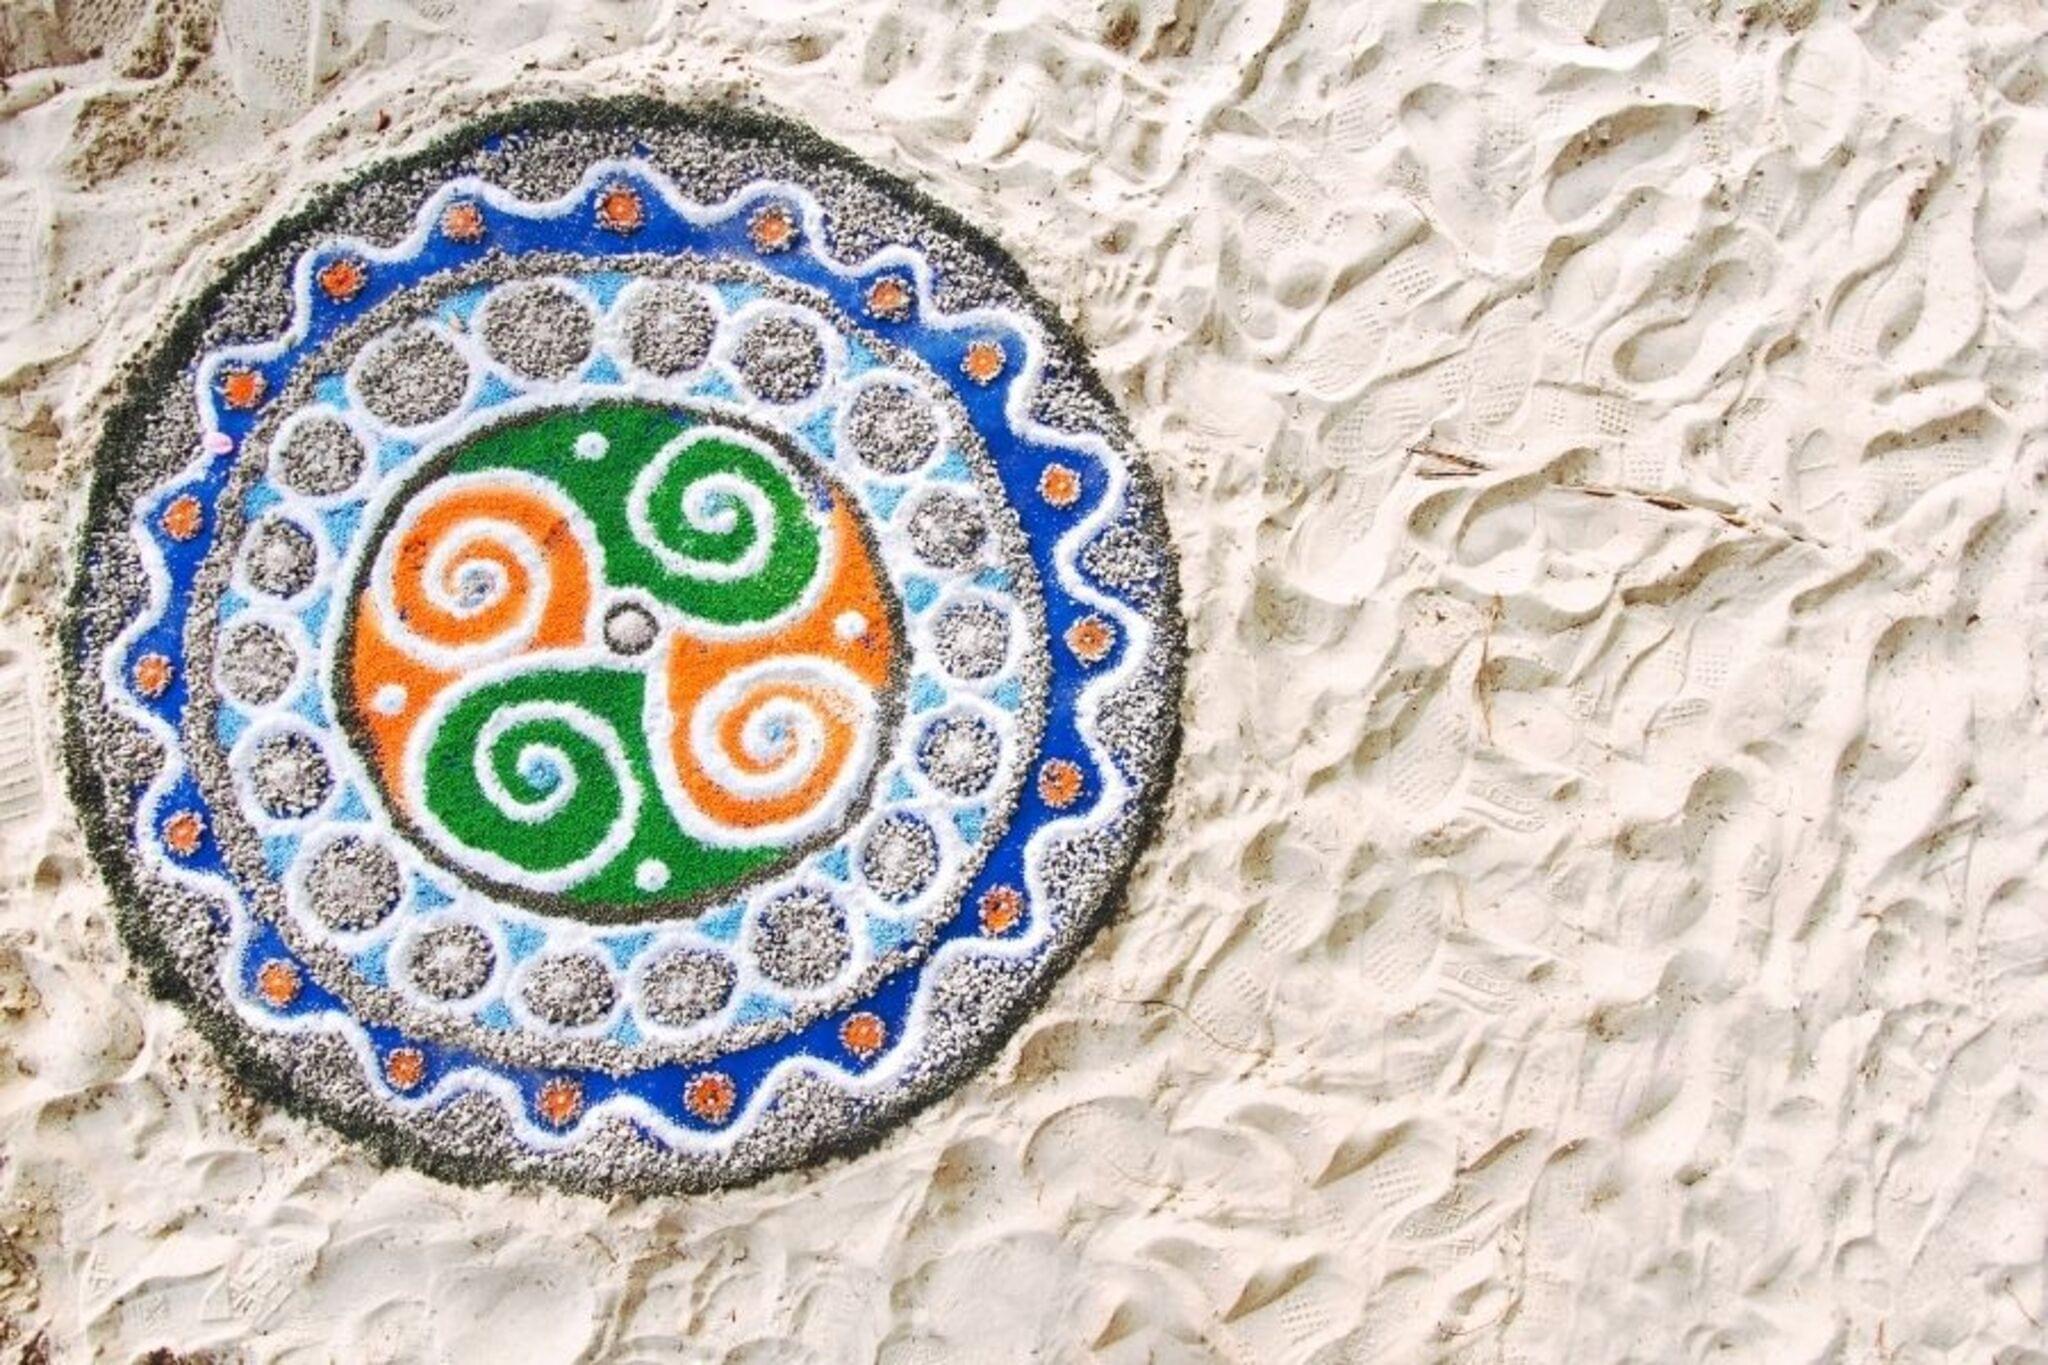

Step-by-step guide to make a sand mandala
How To: Make Mandala Sand Art
Step 1
Lay the tray or large sheet of paper flat on a table to catch spills.
Step 2
Put the cardboard or stiff paper base in the middle of the tray.
Step 3
Center your mandala template or round stencil on the base.
Step 4
Tape the template lightly to the base so it does not move.
Step 5
Use a pencil and ruler to lightly draw extra guideline marks or concentric circles on the template.
Step 6
Pour small amounts of each colored sand into separate small bowls or cups.
Step 7
Squeeze a thin line or area of glue onto the first section of the template.
Step 8
Sprinkle the chosen colored sand over the glued area using a spoon or small funnel until the glue is covered.
Step 9
Gently press the sand into the glue with your finger or a small paintbrush so it sticks.
Step 10
Tilt the base so loose sand falls onto the tray and carefully funnel excess sand back into its bowl.
Step 11
Repeat Steps 7 to 10 to fill each section of the mandala with different colors until the design is complete.
Step 12
Let your sand mandala dry undisturbed for at least 30 minutes so the glue sets.
Step 13
Carefully remove the template or stencil to reveal your sand mandala.
Step 14
Share your finished sand mandala on DIY.org.
Help!?
What can we use if colored sand or a small funnel from Step 6 and Step 8 is hard to find?
Mix a few drops of food coloring into table salt and spread it to dry as a colored-sand substitute, and roll a piece of paper into a cone or use the neck of a spice jar in place of the small funnel when sprinkling sand in Steps 6 and 8.
My sand keeps spilling off glued areas or the template shifts while working through Steps 4–10 — how do I fix that?
Secure the template more firmly with tape as directed in Step 4, apply glue only to one small section at a time (Step 7), press the sand into the glue with a brush or finger as in Step 9, and let the piece dry (Step 11) before tilting or removing excess in Step 10 to prevent spills and movement.
How can I adapt the activity for younger children or make it more challenging for older kids?
For younger children use a simpler stencil with larger sections, pre-poured bowls of sand, and a thicker, less-liquid glue during Steps 5–8, while older kids can work with finer sand, more intricate stencils, tweezers and a small funnel for detailed sections and seal their work after Step 12 for durability.
What are some ways to personalize or preserve the finished mandala before sharing it on DIY.org in Step 13?
Personalize by adding beads or sequins into wet glue in Step 9, paint the cardboard edge before Step 1 for a frame, and preserve the finished mandala after Step 12 by lightly spraying with clear acrylic sealer or brushing on diluted glue so it stays intact for photographing in Step 13.
Watch videos on how to make a sand mandala
Mandalas Narrated Digital Storybook for Kids for Elementary Art Lessons
4 Videos

Mandalas Narrated Digital Storybook for Kids for Elementary Art Lessons
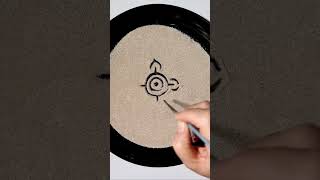
Sand Mandala Art | Easy and Simple Sand Drawing
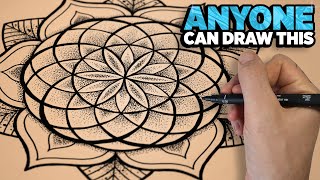
How to Draw an Easy Mandala - a Step by Step Tutorial | Anyone Can Make This Mandala Art!
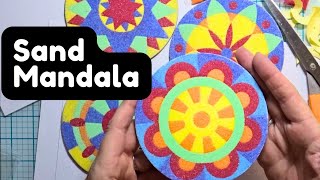
❤️Create a Vibrant Sand Mandala💙mixed media craft kit tutorial
Facts about sand art and mandala design
🕉️ Traditional Tibetan sand mandalas are created as a ritual and then swept away to symbolize impermanence.
🎨 Mandalas usually feature radial (rotational) symmetry, which helps make patterns feel balanced and calming.
🧰 Tibetan monks often use a metal funnel called a chak-pur to place tiny grains of colored sand with amazing precision.
⏳ A detailed sand mandala can take several days of steady, careful work — great practice for patience and focus.
🌈 Kids can make bright, safe colored sand by dyeing salt or beach sand with food coloring for fun at-home mandalas.
How do I make a sand mandala with my child?
What materials do I need to make a sand mandala?
What ages is making a sand mandala suitable for?
What are the benefits of making a sand mandala and how do I keep it safe?
