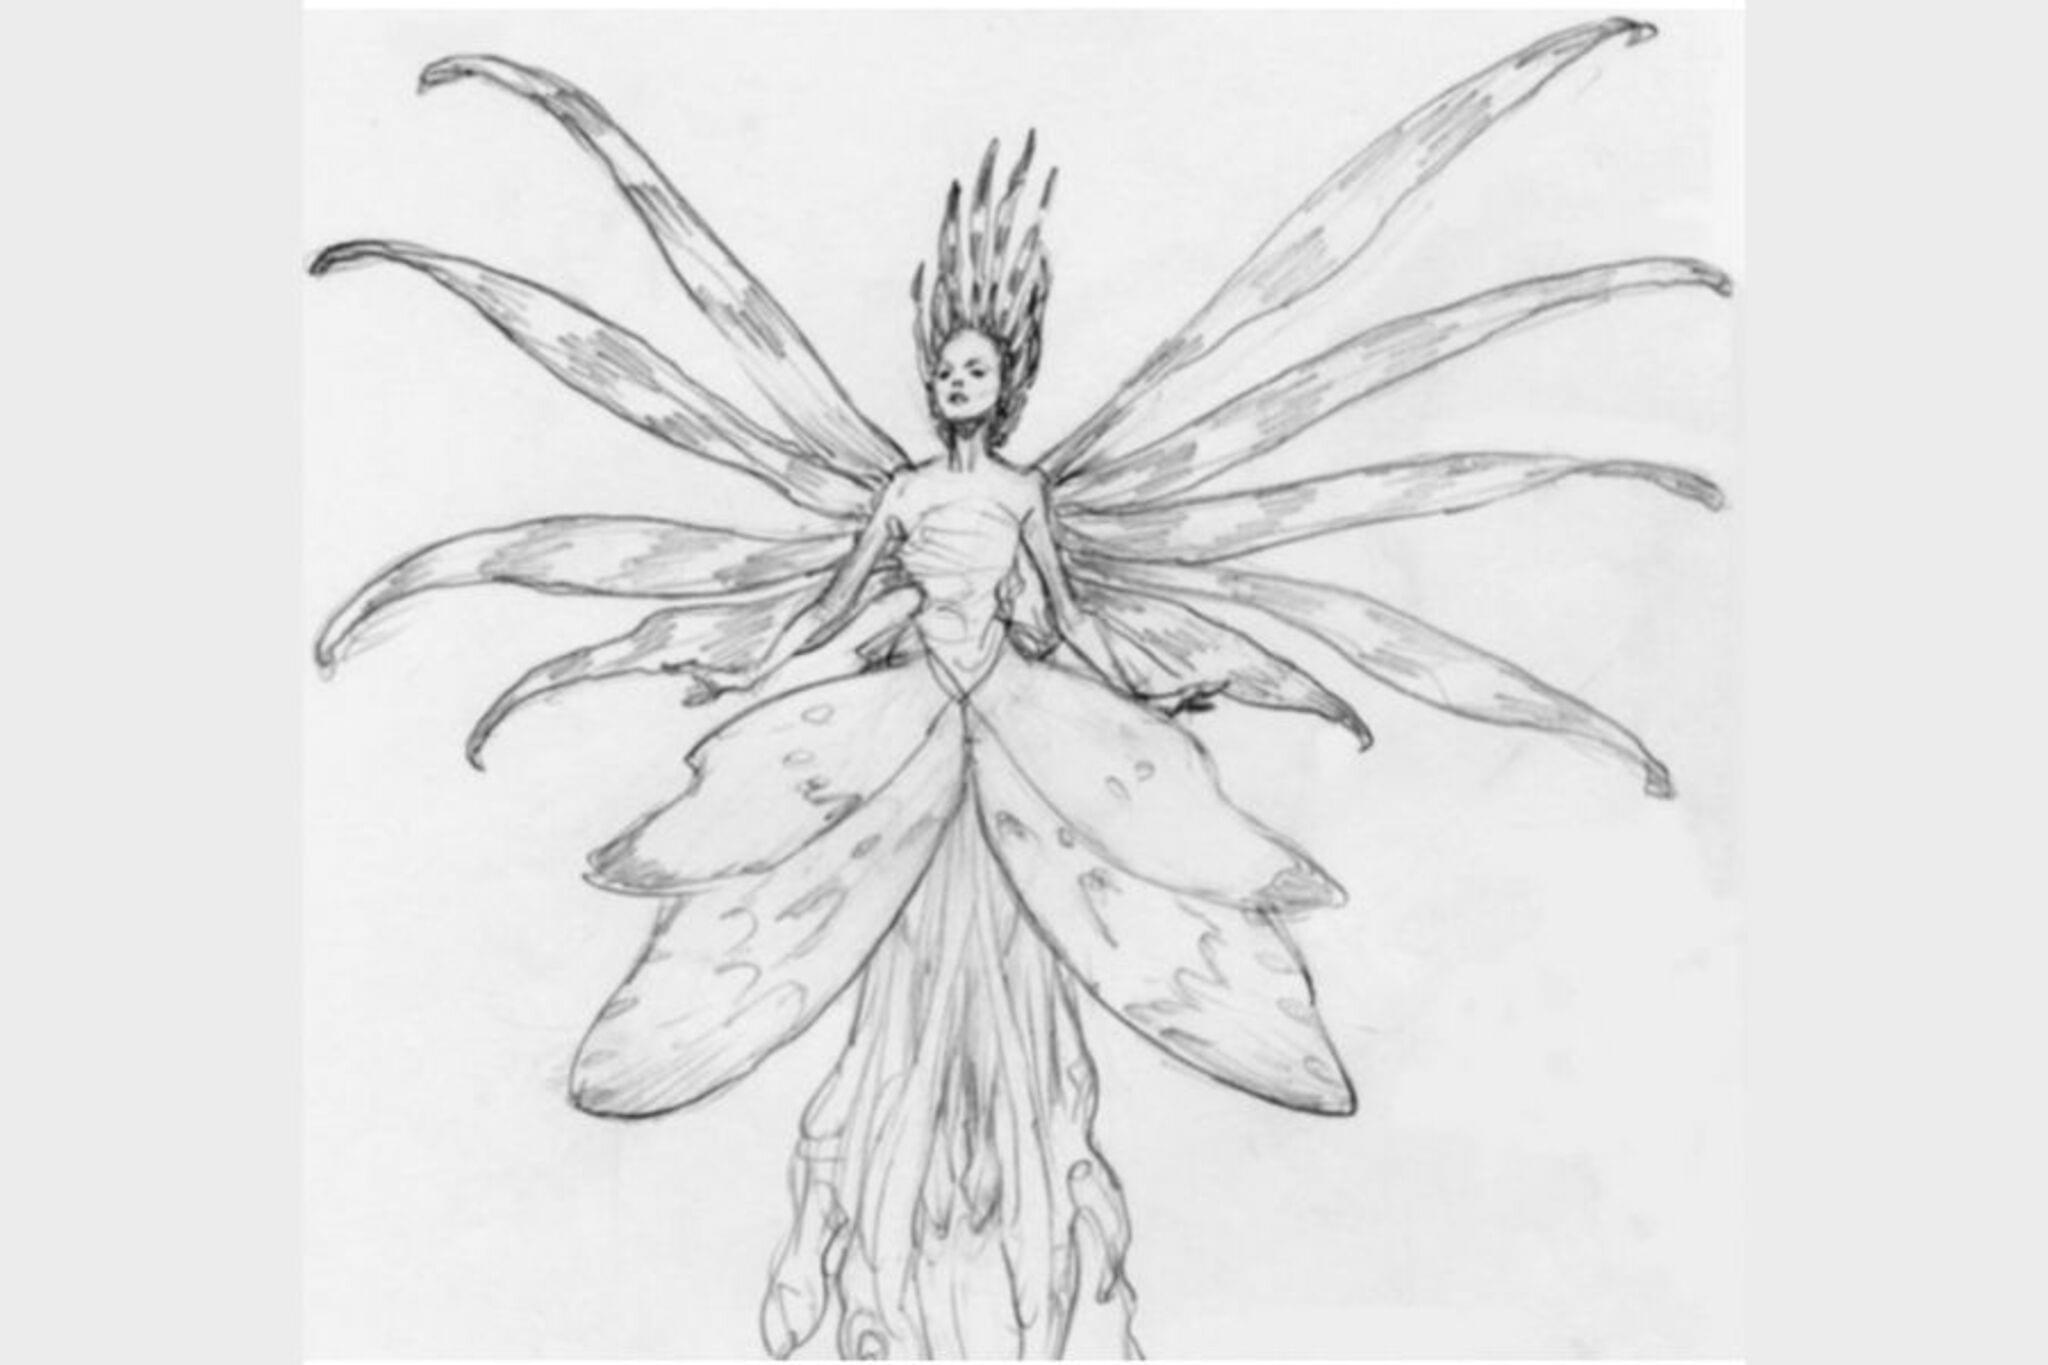
Illustrate a Fairy Woman
Draw and color a fairy woman using simple sketching, shading, and costume details; learn proportions, color mixing, and imaginative storytelling through your artwork.

Drawing Apps
Step-by-step guide to illustrate a fairy woman
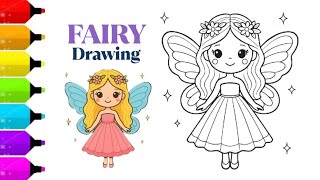
How to Draw a Cute Fairy Girl | Simple & Easy for Kids
Step 1
Decide the pose and how big your fairy woman will be on the paper.
Step 2
Lightly draw a circle where the fairy's head will be.
Step 3
Draw a vertical guideline down from the head to show the spine and overall height.
Step 4
Draw a small oval under the head for the chest and a larger oval lower down for the hips.
Step 5
Sketch simple straight or curved lines from the ovals to show the arms and legs.
Step 6
Draw light facial guidelines across the head circle to place the eyes nose and mouth.
Step 7
Draw the eyes nose and mouth using the guidelines to make a friendly expression.
Step 8
Draw a hairstyle that shows your fairy's personality.
Step 9
Draw wings and big costume shapes like a dress cape or belt.
Step 10
Add small hands and feet details to finish the basic body.
Step 11
Carefully trace a clean final outline over your sketch lines with pencil or the fine-tip black marker.
Step 12
Erase the extra guidelines and stray marks so the drawing looks neat.
Step 13
Shade shadow areas lightly with pencil where the light would not hit.
Step 14
Colour your fairy using layered colours to mix new shades and add patterns or sparkles.
Step 15
Share your finished fairy woman creation on DIY.org
Help!?
What can I use instead of a fine-tip black marker or coloured pencils if I don't have them?
If you don't have a fine-tip black marker for step 11, carefully trace the final outline with a sharp HB pencil or thin ballpoint pen, and swap coloured pencils in step 15 for crayons, watercolor paints, or torn colored paper for a collage effect.
My fairy's head and body look out of proportion — how can I fix that?
Check and adjust the circle for the head and the chest and hip ovals along the vertical guideline from steps 2–4, erase and redraw the offending oval(s) until the spine and limb lines align before tracing in step 11.
How can I adapt this activity for different ages?
For younger children, simplify steps 2–9 by using larger paper, oversized ovals, and bold marker outlines or pre-cut wings to paste on, while older kids can follow all facial guidelines, add subtle pencil shading in step 14, and create layered color mixes and intricate costume patterns in step 15.
What's a simple way to enhance or personalize the finished fairy drawing?
After erasing stray marks in step 13 and coloring in step 15, personalize the fairy by adding glitter or sequins to the wings, drawing a background scene, mounting the paper on colored card, or photographing and uploading the result to DIY.org as suggested in the final step.
Watch videos on how to illustrate a fairy woman
How to Draw a Beautiful Fairy Girl 🧚♀️ | Easy Step-by-Step Drawing Tutorial for Kids & Beginners
4 Videos
How to Draw a Beautiful Fairy Girl 🧚♀️ | Easy Step-by-Step Drawing Tutorial for Kids & Beginners
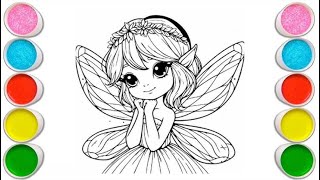
"How to Draw a Cute Fairy |Easy Drawing for Kids Step by Step"
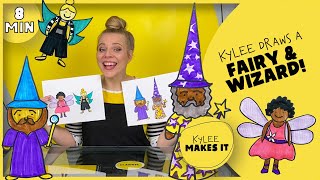
How to Draw a Fairy and Wizard! | Kylee Draws Magical Characters - Easy Fantasy Drawing for Kids!
🧚 How to Draw a Simple Fairy | Step-by-Step Lesson ✨
Facts about drawing and illustration for kids
🧚♀️ Fairies appear in folklore worldwide; Victorian illustrators like Arthur Rackham helped make the tiny, winged fairy image famous.
🎨 Mix two primary colors to get a secondary: red + blue = purple, blue + yellow = green, red + yellow = orange—start with tiny amounts to fine-tune shades.
✏️ Artists often measure the body in "head lengths": most adult figures are drawn about 7–8 heads tall to look natural.
👗 Costume details (ruffles, belts, fabrics) quickly show a character's personality—simple accessories can transform a fairy's story.
📖 Writing a short backstory before you draw helps choose pose, colors, and costume details that match your fairy's personality.
How do I guide my child to draw and color a fairy woman step-by-step?
What materials do I need to illustrate a fairy woman?
What ages is this fairy woman drawing activity suitable for?
What are the benefits of illustrating a fairy woman for children?
