Quill Something Fantastic
Make a feather quill pen from a real or craft feather and safe ink; practice writing fancy letters and simple decorations to explore history.


Step-by-step guide to Quill Something Fantastic
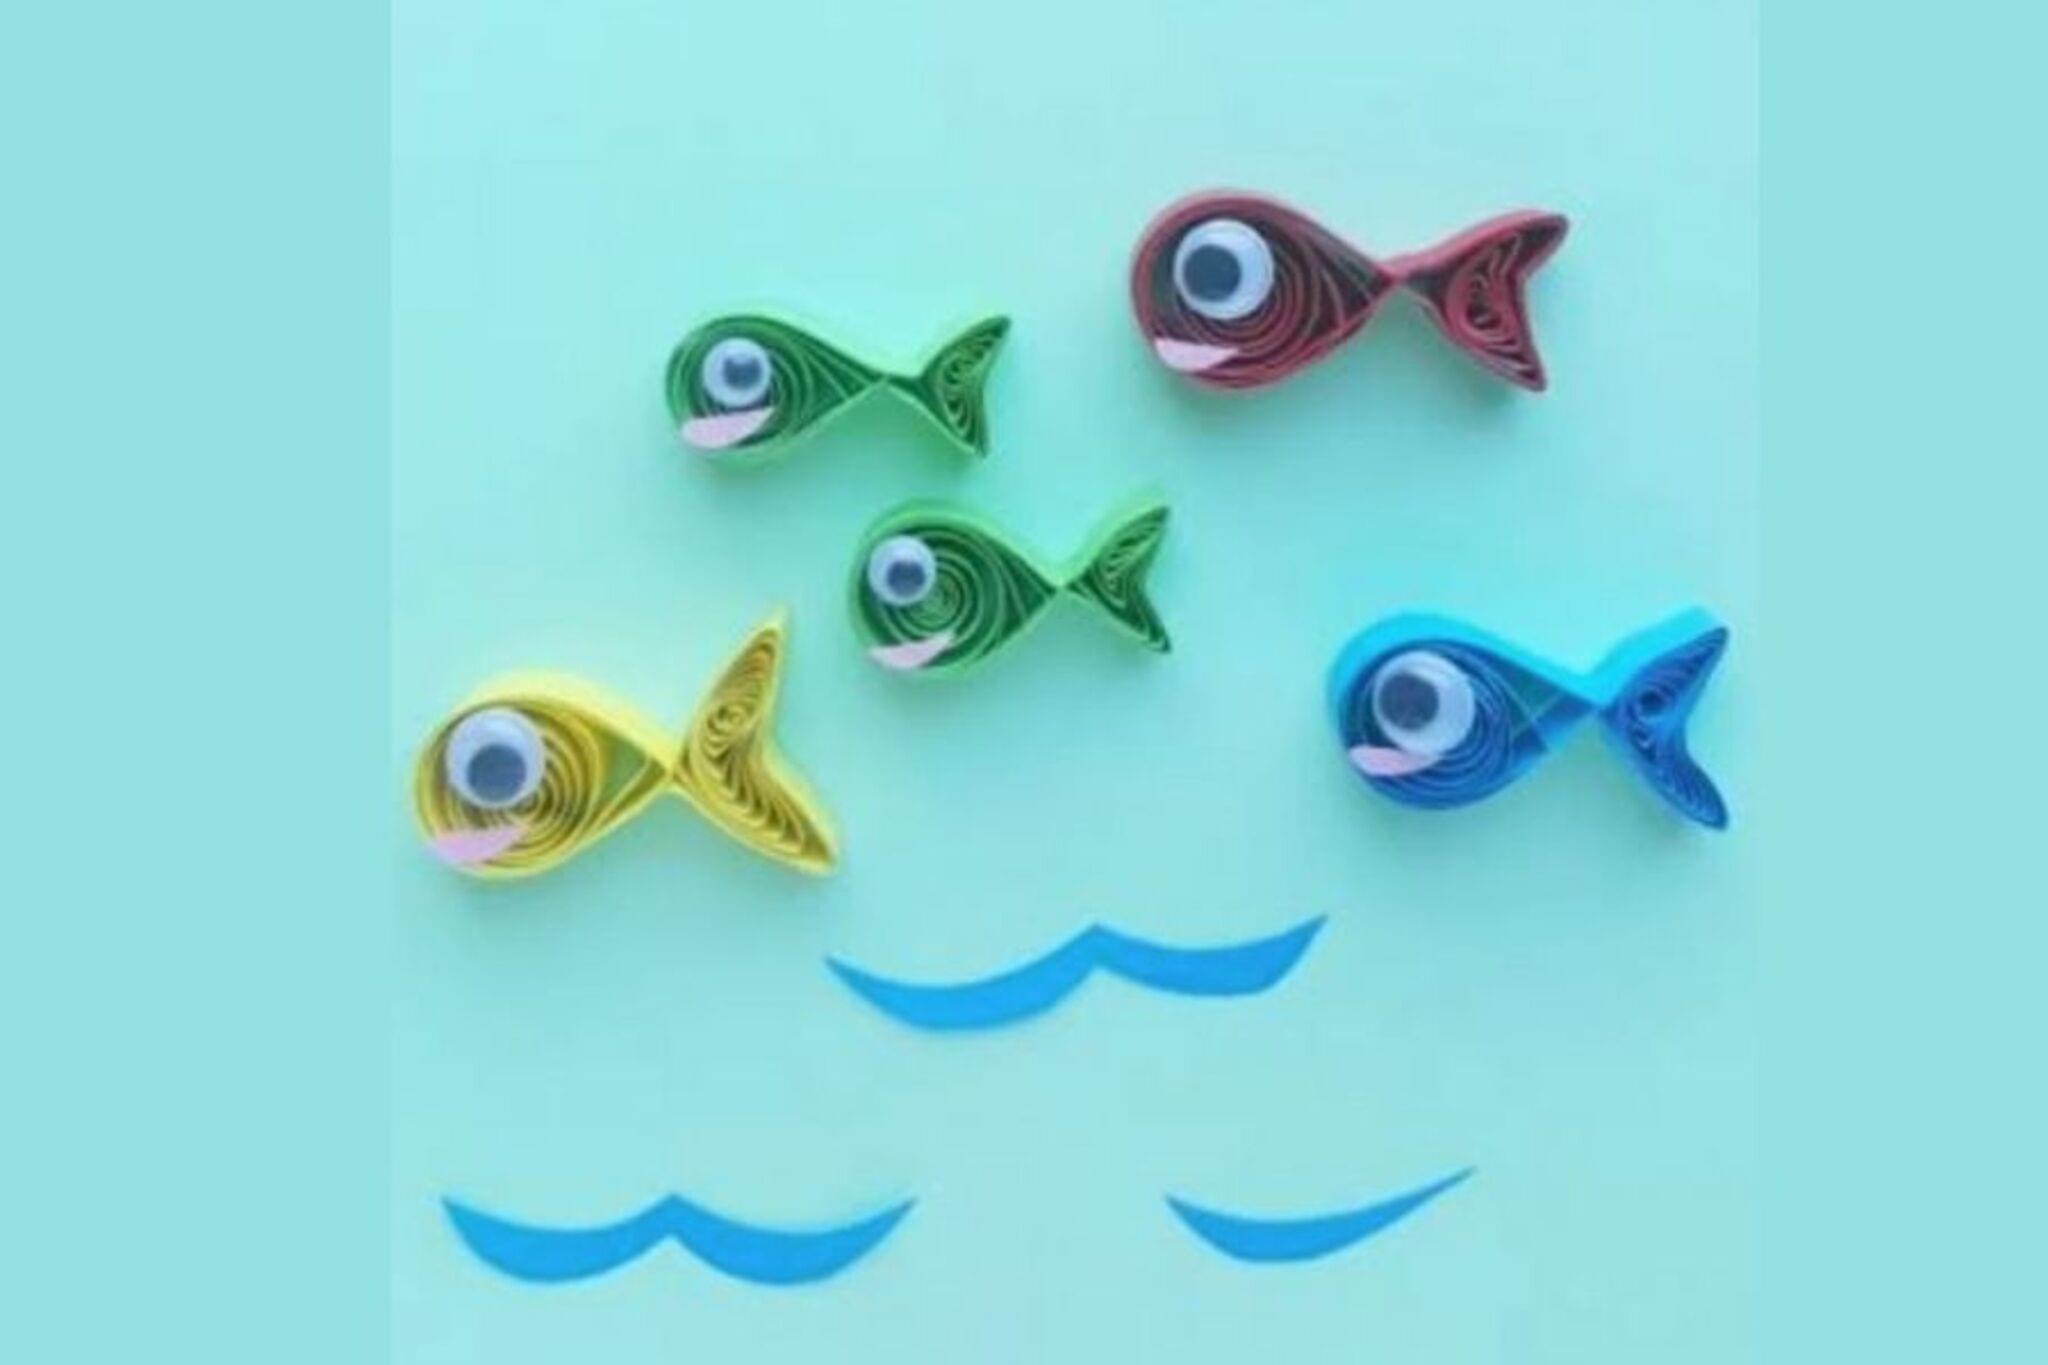
Easy Home Crafts with Kids: Kids Quill! Beginner Paper Quilling
Step 1
Gather all materials and bring them to a clear table or flat surface.
Step 2
Lay a towel or cloth on the table to protect it and place your materials on top.
Step 3
Wipe the feather gently with a tissue to remove dust or loose bits.
Step 4
Ask an adult to help you cut the feather shaft to about 6 inches so it is easy to hold.
Step 5
Ask an adult to cut the tip of the shaft at a 45-degree angle to make the nib shape.
Step 6
Ask an adult to make a small vertical slit about 1 centimetre down the center of the angled tip to form the ink channel.
Step 7
Snip tiny bits from the tip to shape a point or chisel nib and test its look on scrap paper.
Step 8
Pour a small amount of ink into the jar or lid so you can dip the quill safely.
Step 9
Dip just the tip of the quill into the ink and make a few test strokes on scrap paper to check flow.
Step 10
Trim the nib a little more if the ink blobs or doesn’t flow smoothly and test again until it writes well.
Step 11
Use your quill to practice fancy letters and simple decorations on clean paper using thin upstrokes and slow thicker downstrokes.
Step 12
Share your finished quill and your writing samples on DIY.org
Help!?
What can we use if we can't find a feather?
If you can't find a feather, use a straight hollow reed or a cut-down wooden dowel and follow the same steps of trimming to about 6 inches, cutting the tip at a 45-degree angle, and making a 1 centimetre slit so it can be dipped into the ink jar like the feather quill.
My quill blobs ink or doesn't flow — what should I try?
If the quill blobs or doesn't flow smoothly when testing on scrap paper, carefully trim the nib tip a bit more, slightly widen the vertical slit, and blot excess ink on the towel before writing to improve flow.
How can I adapt the activity for younger or older kids?
For younger children, skip the adult cutting steps and give a pre-cut felt-tip marker or store-bought dip pen to practice thin upstrokes and slow thicker downstrokes, while older kids can do the adult-supervised cutting of the feather shaft to 6 inches and shaping the 45-degree nib themselves.
How can we make the quill project more creative or advanced?
To enhance the activity, decorate the trimmed feather shaft with paint or tape, try different colored inks in the jar, experiment with point and chisel nib shapes on scrap paper, and then share a variety of your finished quill samples and fancy letters on DIY.org.
Watch videos on how to Quill Something Fantastic
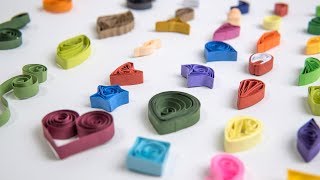
Paper Quilling for Beginners | Paper Crafts
4 Videos

Paper Quilling for Beginners | Paper Crafts

Easy Paper Quilling for Beginners: Shapes & Monogramming | Papercraft | Create and Craft
35 Paper Quilling Shapes: Art & Craft Tutorials by HandiWorks
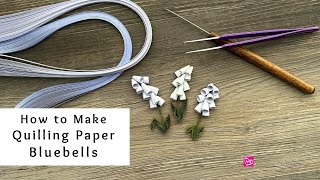
How to Make Quilling Paper Bluebells | Paper Craft Flowers | Quilling for Beginners
Facts about calligraphy and historical writing
✒️ Quill pens were the main writing tool in Europe for about 1,200 years, from the early Middle Ages until metal nibs became common in the 1800s.
🪶 Goose, swan and turkey feathers were favorites for quills—bigger, stiffer feathers make longer-lasting pens.
🧪 Iron gall ink, used in many historical documents, actually darkens as it ages and helped handwriting stay legible for centuries.
🎨 'Calligraphy' comes from Greek words meaning 'beautiful writing'—scribes treated fancy lettering like a creative art.
📜 Some illuminated manuscripts took months or years to make and sometimes used real gold leaf so pages would literally shine.
How do I make a feather quill pen and use it for fancy writing?
What materials do I need to make a quill and start practicing decorative letters?
What ages is this feather quill activity suitable for?
What are the benefits of making a quill and what safety tips should I follow?
