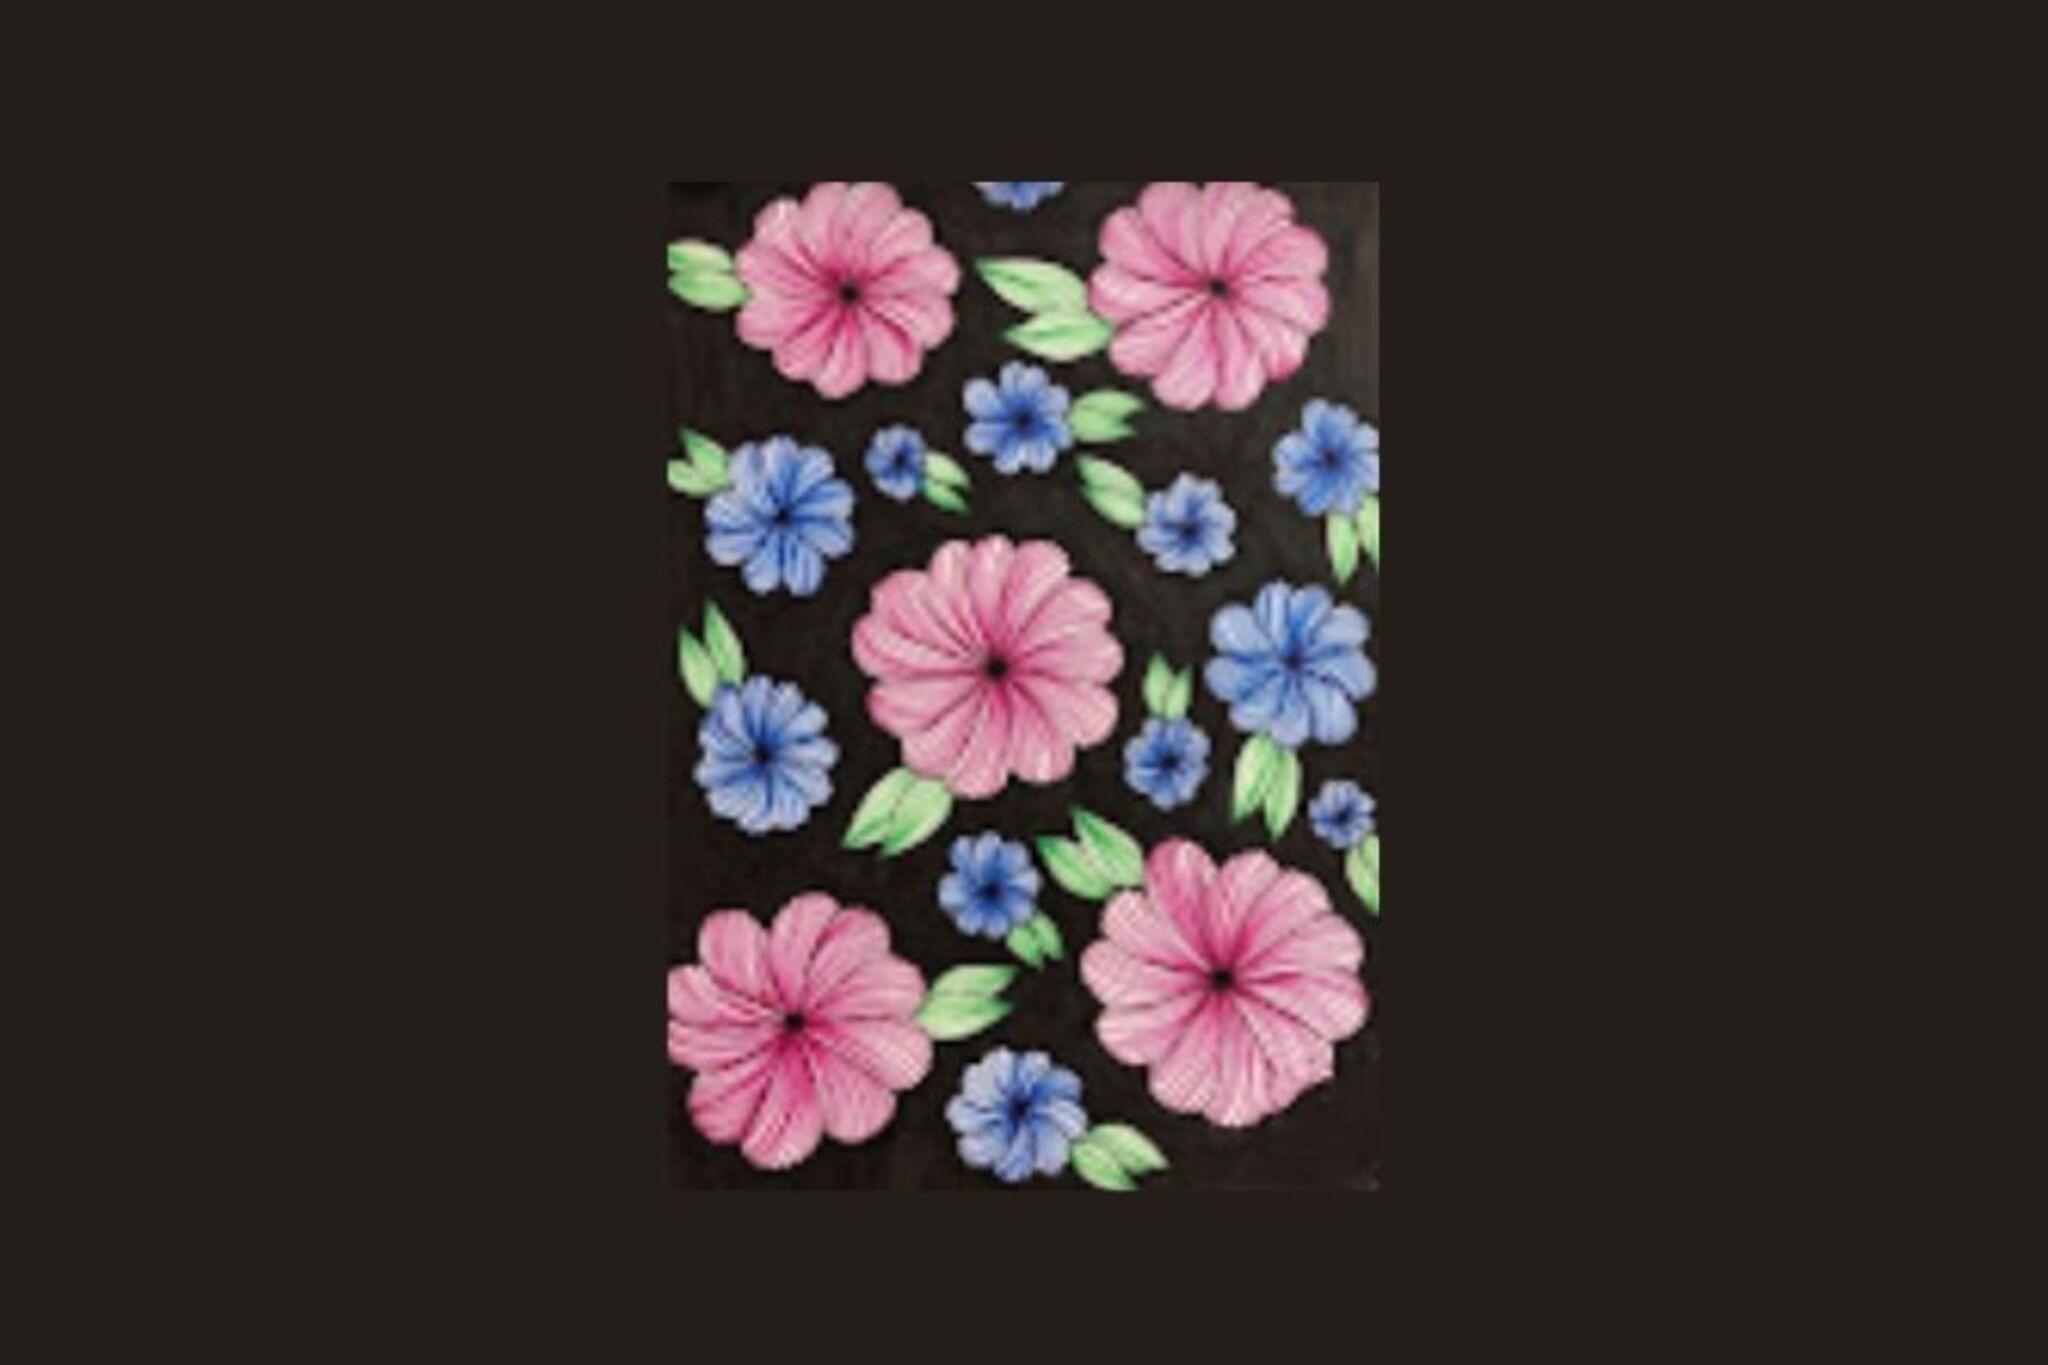
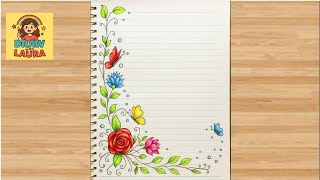
Doodle a Floral Notebook Cover
Design and doodle a floral notebook cover using pencils, markers, and simple patterns; practice symmetry, line work, and color choices to personalize a notebook.


Step-by-step guide to Doodle a Floral Notebook Cover
5 Ways to Make Beautiful Front Pages ♥️ | DIY Notebook Cover Designs | NhuanDaoCalligraphy
Step 1
Put your notebook and all materials on a clean flat table.
Step 2
Lightly draw a centerline down the middle of the notebook cover with the ruler and pencil.
Step 3
Sketch simple placement shapes like circles and ovals for the main flowers on one side of the centerline.
Step 4
Repeat the same placement shapes on the other side of the centerline so the layout balances.
Step 5
Draw a detailed flower inside one placement shape using simple petals and a center circle.
Step 6
Draw the same flower mirrored on the other side using the centerline as your guide.
Step 7
Add matching leaves and small flowers around the main flowers to create a repeating pattern.
Step 8
Add simple inside patterns like lines dots and swirls to your petals and leaves for texture.
Step 9
Trace over all your pencil lines with the fine-tip black marker to make the doodles bold.
Step 10
Wait until the marker ink is completely dry before touching the paper.
Step 11
Erase any remaining pencil lines gently with the eraser.
Step 12
Pick three to five colors to make a balanced color palette for your cover.
Step 13
Color your flowers leaves and background using the colors you picked.
Step 14
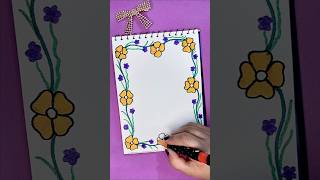
Add a simple border or corner decorations to finish the design.
Step 15
Share your finished floral notebook cover on DIY.org
Final steps
You're almost there! Complete all the steps, bring your creation to life, post it, and conquer the challenge!

Help!?
I can't find a fine-tip black marker—what can I use instead?
If you don't have a fine-tip black marker, trace over the pencil lines from the 'Trace over all your pencil lines with the fine-tip black marker' step using a black gel pen, Micron, or a sharp ballpoint pen and test on scrap paper to check for smudging.
My mirrored flower doesn't line up—how do I fix the symmetry?
If the mirrored flower doesn't match, use the lightly drawn centerline from step 2 and either fold the cover along that line or place tracing paper over the finished flower to transfer the shape to the opposite side, then retrace and darken with your marker.
How can I adapt this activity for different ages?
For younger kids simplify steps 3–6 to big circles and stickers and use washable markers, for elementary follow all steps but keep placement shapes larger, and for older kids add detailed inside patterns from step 8 and experiment with shading and a refined 3–5 color palette in step 13.
What are some ways to extend or personalize the notebook cover?
To enhance the design, add your name or a monogram near the 'Add a simple border or corner decorations' step, use metallic or white gel pens for highlights, laminate the finished cover for durability, or continue the floral repeat onto the spine before sharing on DIY.org.
Watch videos on how to Doodle a Floral Notebook Cover
6 DIY Notebook Cover Ideas | Easy & Creative Decoration
4 Videos
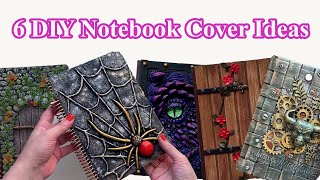
6 DIY Notebook Cover Ideas | Easy & Creative Decoration
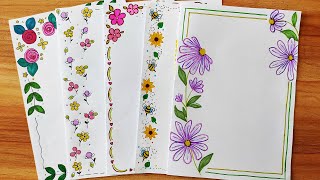
Easy & Cute Flower Border Design ideas 4 Notebooks / Science Project / Front & Cover Page Assignment
Easy Floral Border Design for Front Page | Cute Notebook Decoration Ideas | Niky's Paper Creation
How to Decorate Your School Notebook 🌸Cute & Easy Flower Decoration Ideas
Facts about drawing and design for kids
✏️ Artists usually sketch in pencil first because it's easy to erase and adjust before committing with markers and color.
🧠 A study found doodlers remembered about 29% more information than non-doodlers in a memory test—doodling can boost focus!
🌸 Many flowers show radial symmetry, which makes them perfect for practicing mirrored doodle designs on a notebook cover.
🔁 Simple repeating motifs like dots, scallops, and leaves can turn a small notebook cover into a rich-looking pattern.
🎨 William Morris was a 19th-century designer famous for detailed repeating floral patterns that inspire many cover designs today.
How do I doodle a floral notebook cover step by step?
What materials do I need to design and color a floral notebook cover?
What ages is doodling a floral notebook cover suitable for?
What are the benefits and safety tips for designing a floral notebook cover?


One subscription, many ways to play and learn.
Only $6.99 after trial. No credit card required