Draw DIY Fairy Wings
Design and draw your own DIY fairy wings, decorate them with colors and patterns, then cut and attach paper or fabric for imaginative play.

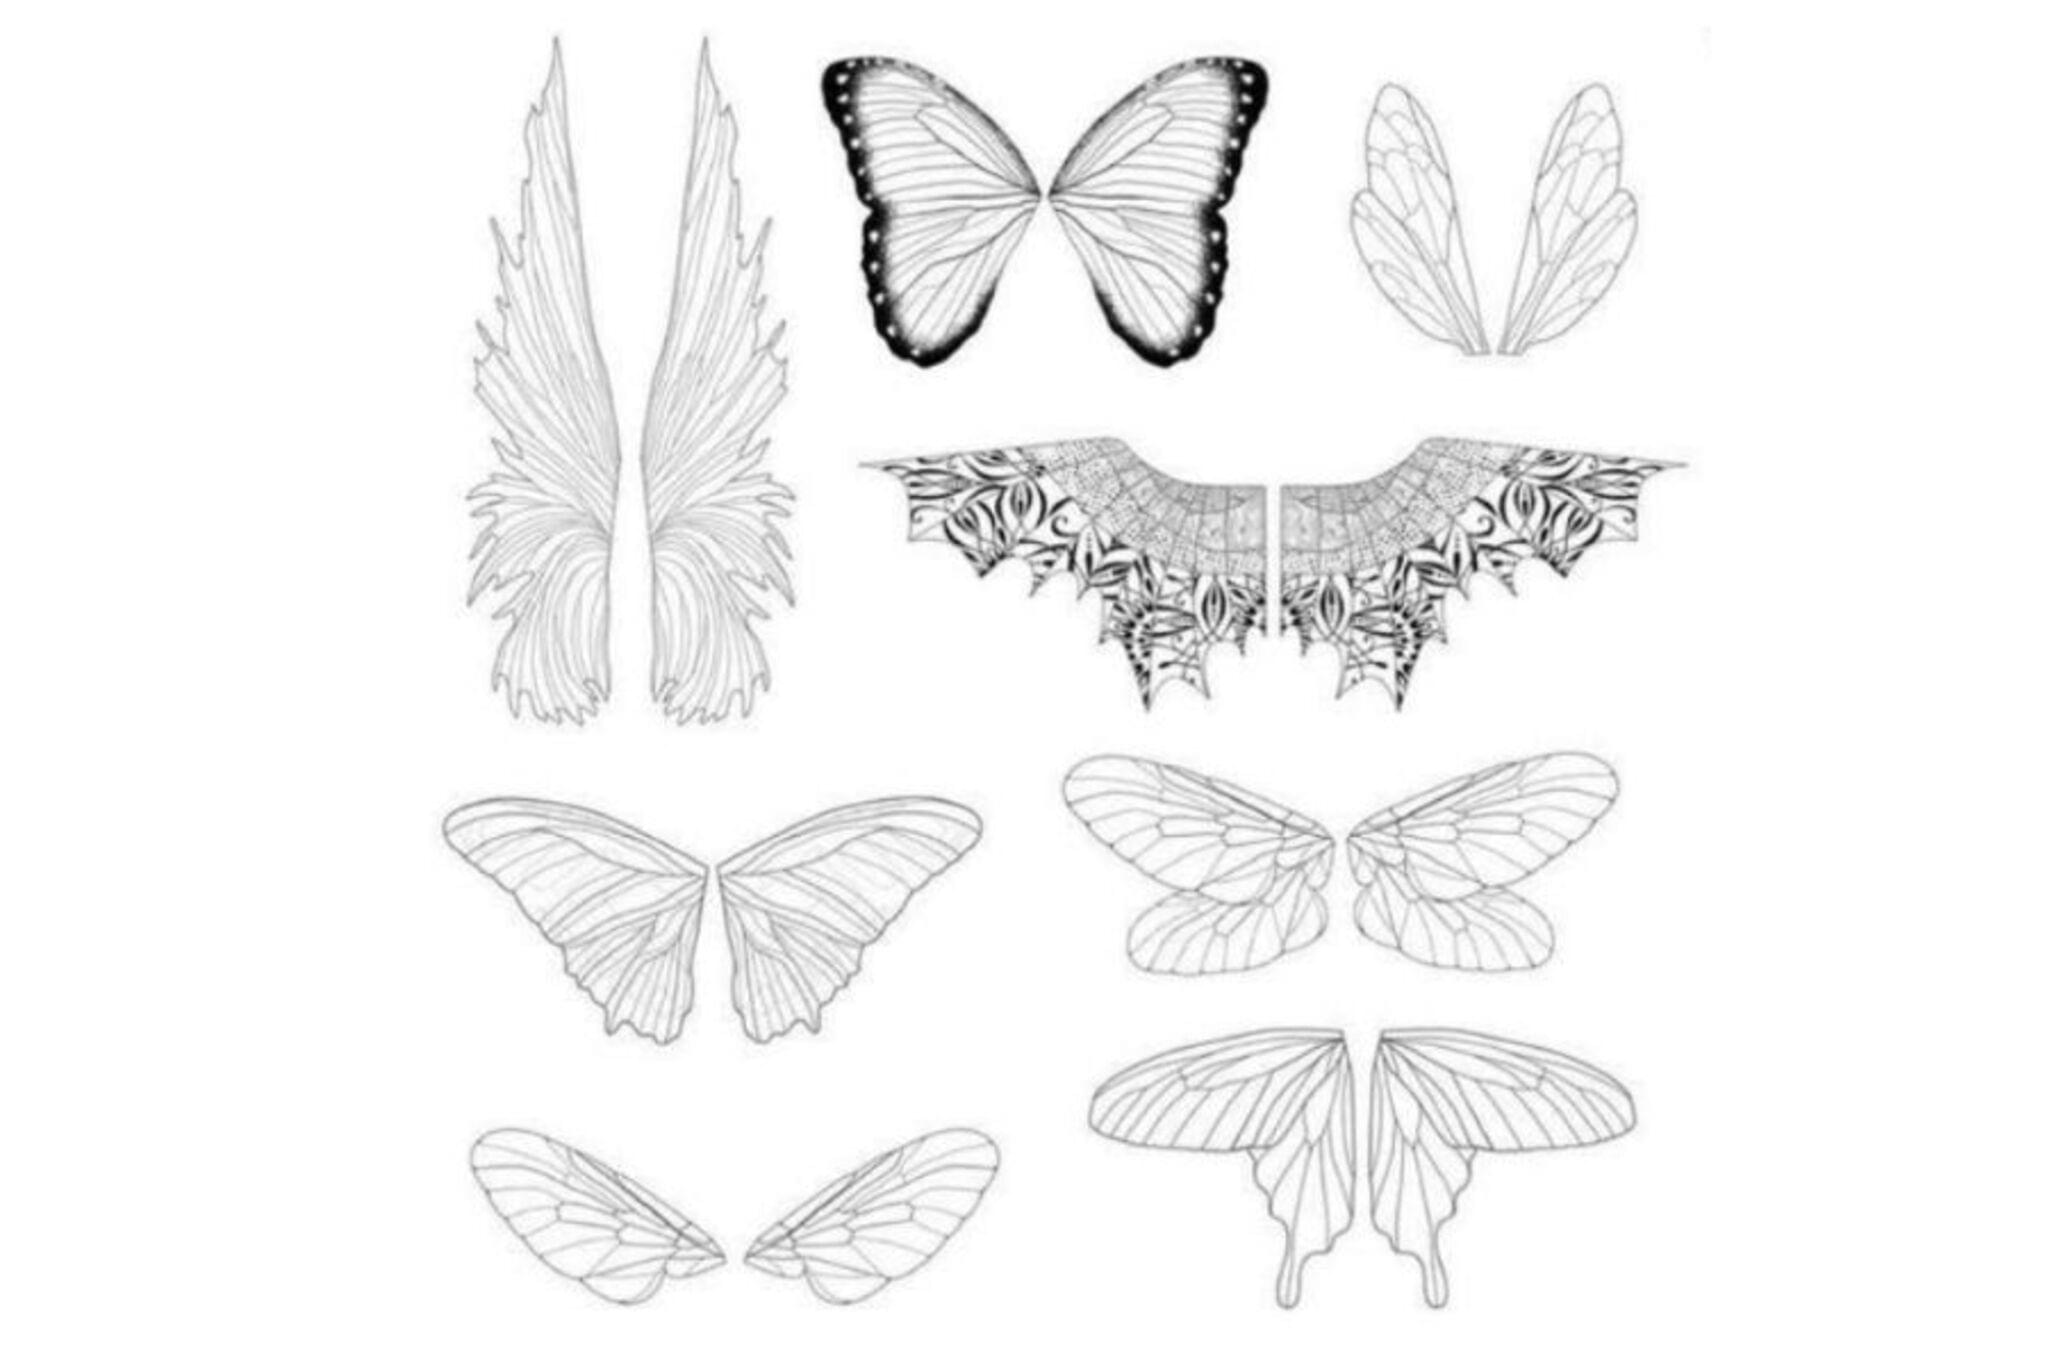

Step-by-step guide to draw DIY fairy wings
DIY Beginner-Friendly Fairy Wings | Stunning, Cheap, No Cellophane + Pattern Included!
Step 1
Lay out all materials on a flat table so you can reach everything easily.
Step 2
Fold the paper or cardstock in half so the two sides will be symmetrical.
Step 3
Draw the outline of one wing along the folded edge with your pencil.
Step 4
Cut along the pencil line through both layers to create a matching pair of wings.
Step 5
Open the paper to reveal the full wing shape.
Step 6
Lightly sketch decorative patterns or sections on each wing with your pencil.
Step 7
Color the wings using your colouring materials to make bright designs.
Step 8
Cut small shapes from fabric scraps or tissue paper if you want textured decorations.
Step 9
Glue the fabric or tissue pieces onto the wings to add texture and layers.
Step 10
Add stickers or apply glitter glue for extra sparkle and detail.
Step 11
Flip the wings over to access the back side.
Step 12
Attach a ribbon or elastic band to the center back of the wings with glue or tape so you can wear them.
Step 13
Share your finished fairy wings on DIY.org.
Help!?
What can we use instead of cardstock, fabric scraps, or an elastic band if we don't have them?
If you don’t have cardstock, use two sheets of printer paper glued together or a flattened cereal box for sturdiness, replace fabric scraps with magazine cutouts or stickers when gluing decorations, and use a ribbon, hair tie, or shoelace instead of an elastic band for the strap.
My wings came out uneven or tore when I cut them — how do we fix that?
Refold the paper along the folded edge and redraw the wing outline, cut slowly with sharp scissors through both layers so the pair is symmetrical, and reinforce any tear by gluing a small rectangle of extra cardstock behind the center back before attaching the ribbon.
How can we change the activity to suit a toddler versus an older child?
For toddlers, pre-fold and pre-cut the wing shape and let them stick tissue, stickers and color with markers, while older children can freehand the outline, sketch detailed patterns, layer fabric scraps and use glitter glue for finer decorations before attaching the ribbon themselves.
How can we make the wings more special or long-lasting?
Make the wings more special by adding layered textures with glued-on fabric or sequins, sealing the colored paper with clear contact paper or a glue sealant, reinforcing the ribbon attachment with an extra cardstock patch, or sewing in a small battery LED strip for light-up wings before sharing the finished design on DIY.org.
Watch videos on how to draw DIY fairy wings
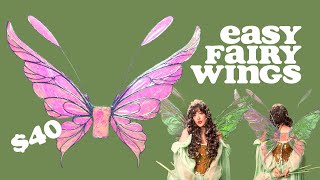
Tutorial: How To Make Fairy Wings - Fast, Simple, No Sewing Needed!
4 Videos

Tutorial: How To Make Fairy Wings - Fast, Simple, No Sewing Needed!
DIY Fairy Wings Tutorial | Cosplay or Ren Faire Fae Costume

I Made My Own Fairy Wings - DIY Tutorial
DIY butterfly wings |DIY fairy wings tutorial| Angle wings DIY|easy and cute fairy costume idea
Facts about costume-making for kids
🧚♀️ Fairies in art often have wings inspired by real insects and leaves—nature is a huge design library!
🦋 Butterfly wings are covered in tiny scales that create bright colors and shimmering effects you can mimic with paint or glitter.
🐝 Dragonflies have two pairs of wings that can move independently, which inspires layered wing designs that look very lively.
✂️ Fold-and-cut symmetry (like folding paper in half and cutting a shape) is an easy trick to make perfectly matched wings.
🎨 Costume designers often use light wire armatures and soft fabrics so wings keep their shape but stay comfy for play.
How do I make DIY fairy wings for imaginative play?
What materials do I need to make DIY fairy wings?
What ages are DIY fairy wings suitable for?
What are the benefits and safe variations of DIY fairy wings?
