Paint a Gorgeous Winter Landscape
Paint a gorgeous winter landscape using watercolor or tempera paints, learning color mixing, simple perspective, and snowy texture techniques to create a cozy outdoor scene.

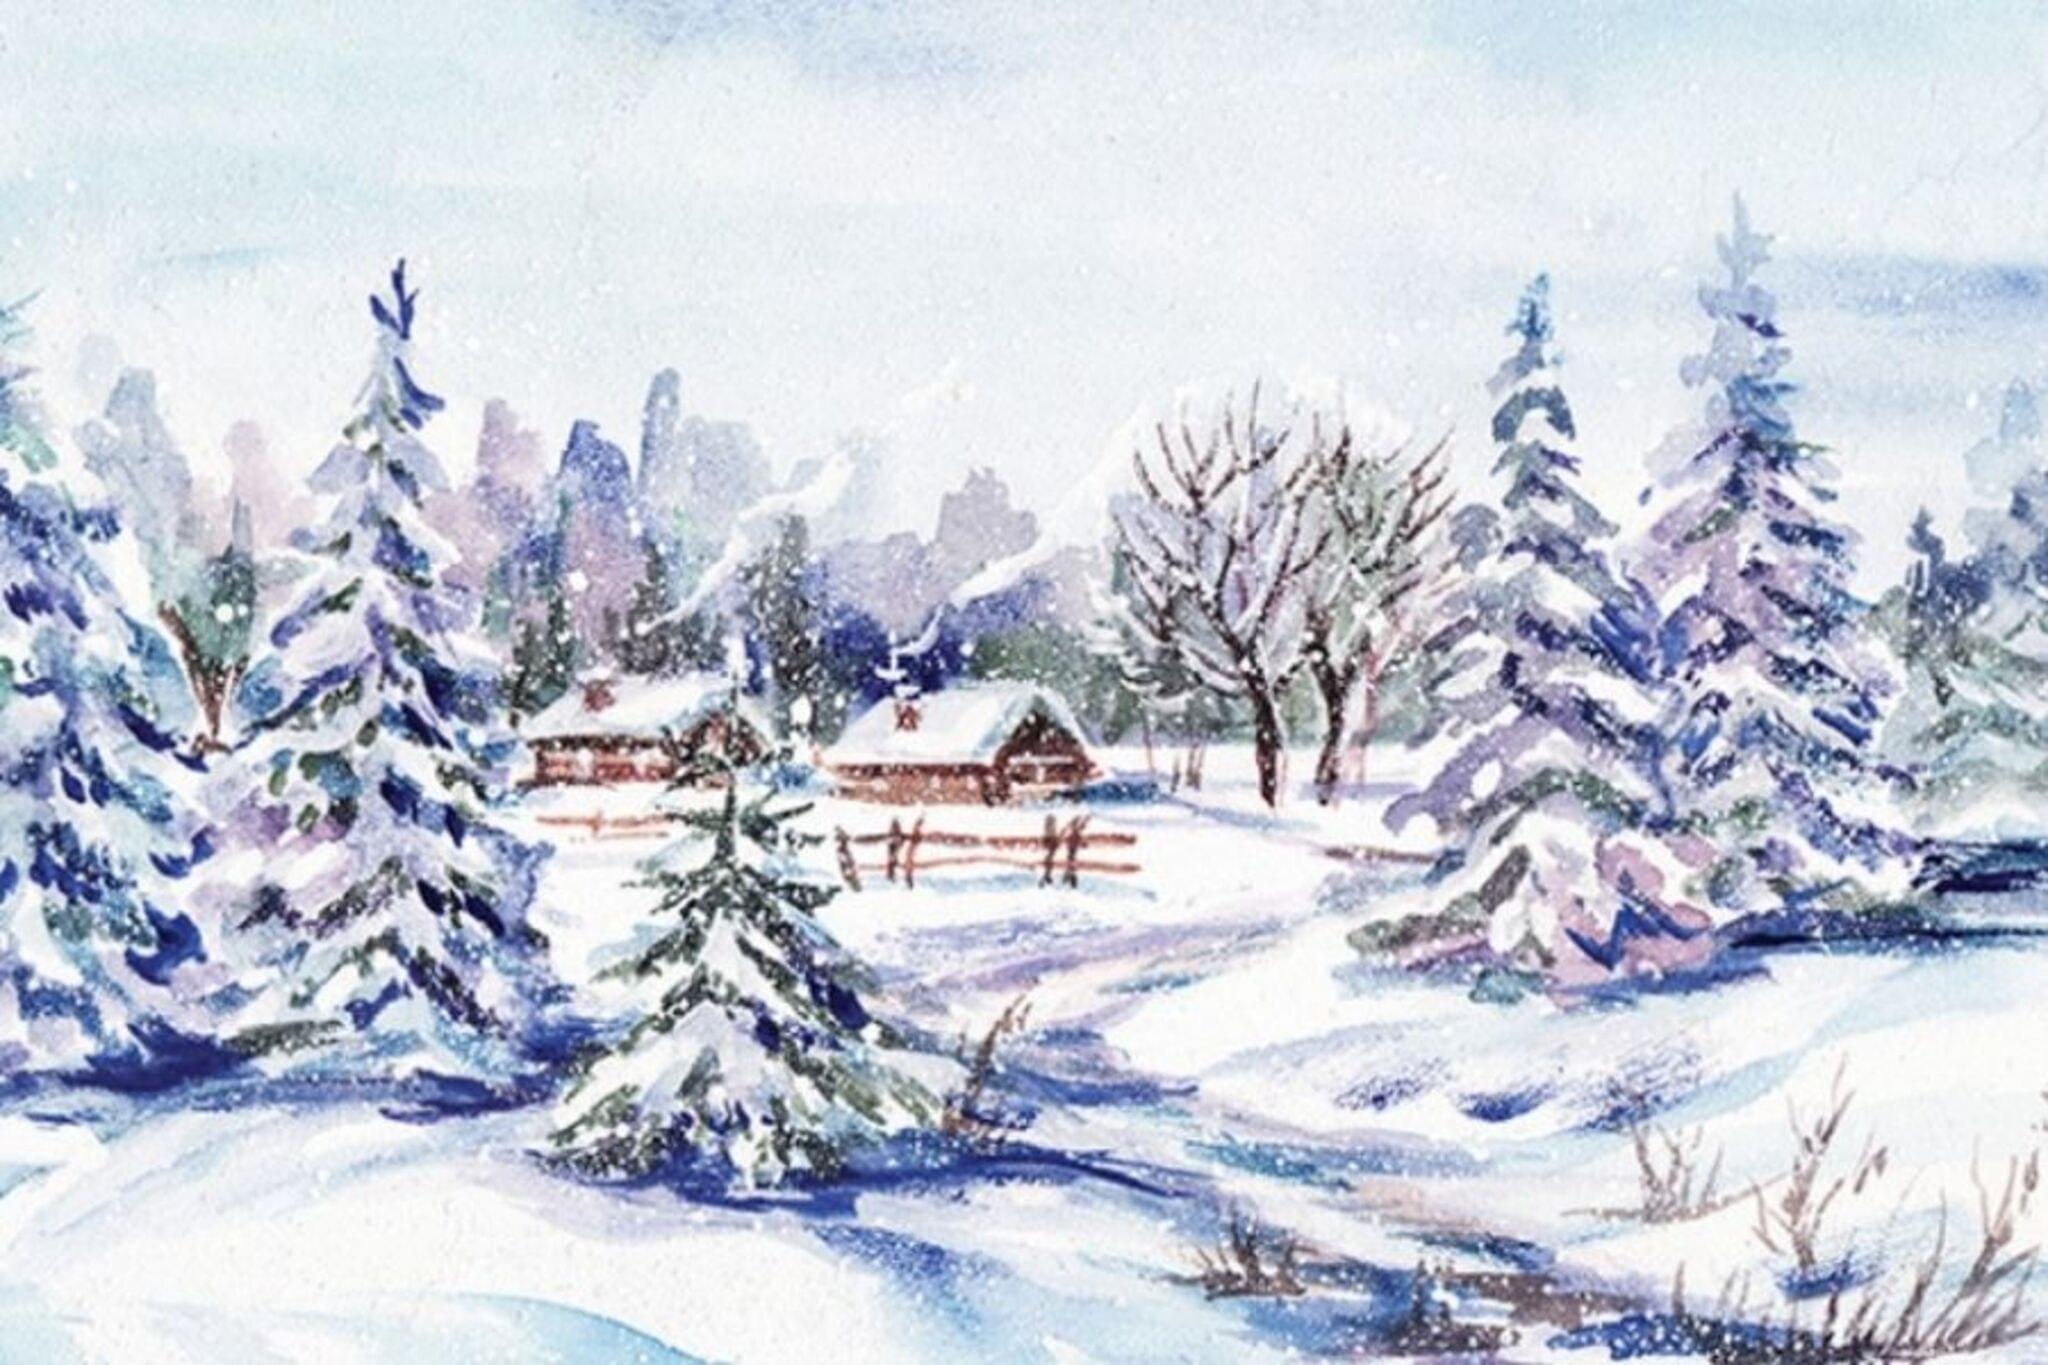

Step-by-step guide to paint a gorgeous winter landscape
Winter Snow Landscape | Easy Painting Step by Step for Beginners
Step 1
Cover your table with a towel or newspaper and place all your materials within reach.
Step 2
Lightly draw a horizon line and simple shapes for a house a few trees and a hill with your pencil.
Step 3
Mix a light sky blue on your palette by adding plenty of water to blue paint.
Step 4
Paint the sky from top to horizon using the blue and make the paint lighter toward the horizon by adding more water as you brush down.
Step 5
Mix a faint blue-gray on your palette by adding a tiny bit of black or gray to blue for distant hills.
Step 6
Paint the distant hills with that faint blue-gray so they look lighter and farther away.
Step 7
Paint a pale wash for the foreground snow using very diluted blue or gray and leave some paper white for bright snow.
Step 8
Paint the house and trees with darker colors making nearer objects larger and farther ones smaller to show perspective.
Step 9
While some snow areas are still wet sprinkle a little table salt onto them to make textured snowy crystals and leave the salt to dry into the paint.
Step 10
Let the whole painting dry completely before touching it.
Step 11
Gently brush off the dried salt from the paper so the snow texture appears.
Step 12
Add white paint highlights for snow on roofs branches and the ground and then sign your name in a corner.
Step 13
Share your finished gorgeous winter landscape on DIY.org
Help!?
What can I use if I don't have table salt for the 'sprinkle a little table salt onto them' step to make snowy crystals?
Substitute coarse kosher or sea salt for bigger textured crystals or try fine granulated sugar as a last resort, but avoid very soluble salts like Epsom that dissolve instead of texturing the wet paint.
My snow didn't get the crystal effect — what went wrong and how do I fix it?
Make sure you sprinkle the salt onto areas that are wet but not puddly (see 'While some snow areas are still wet sprinkle a little table salt onto them'), and next time mix a slightly less-diluted foreground wash so the crystals sit on the surface and can be 'Gently brush[ed] off' after fully drying.
How can I adapt this winter landscape activity for younger children or older kids?
For younger children, pre-draw the 'horizon line and simple shapes' and provide larger brushes and washable tempera with less water, while older kids can work on finer perspective by making nearer objects larger, add glazing layers, and refine the 'Add white paint highlights' step for realism.
What are some ways to enhance or personalize the finished winter painting before sharing on DIY.org?
After removing the dried salt and adding white highlights, personalize it by painting warm yellow window light on the house, spattering extra snow with a toothbrush, adding a little glitter to the highlights, and signing your name in a corner as instructed.
Watch videos on how to paint a gorgeous winter landscape
Step by step layered winter pine trees » How to paint a watercolor winter landscape for beginners
4 Videos
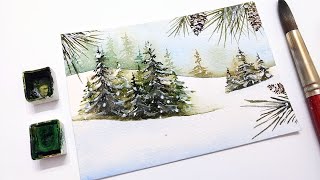
Step by step layered winter pine trees » How to paint a watercolor winter landscape for beginners
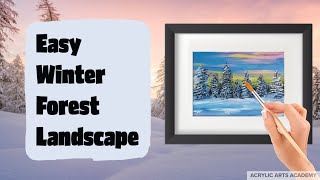
Easy Winter Forest Acrylic Painting Tutorial for Beginners | Snowy Landscape Step-by-Step
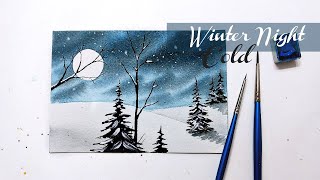
Easy watercolor frosty winter landscape » How to paint a night sky for beginners step by step
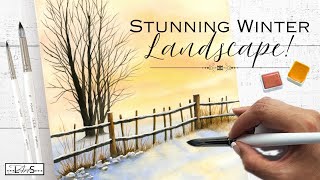
Easy as 1-2-3! Simple Step-by-Step Guide to Painting the Perfect Winter Watercolor Sunset Landscape!
Facts about painting for kids
🎨 Watercolor paint mixes pigment with a water-soluble binder (like gum arabic), which makes it perfect for soft washes and glowing skies.
❄️ Fresh snow can reflect up to about 90% of incoming sunlight (high albedo), so snowy scenes often look very bright — great for crisp highlights.
🥚 Egg tempera was a go-to medium for many Renaissance artists; it dries quickly and gives a smooth, matte finish ideal for fine details.
🌈 Watercolors usually dry lighter and more transparent than they appear when wet — always test a swatch before painting your scene!
📐 One-point perspective uses a single vanishing point on the horizon to make roads, fences, or tree lines look like they recede into the distance.
How do I paint a gorgeous winter landscape with my child?
What materials do I need to paint a winter landscape with watercolor or tempera?
What ages is this painting activity suitable for?
What are the benefits of painting a winter landscape for kids?
