Design an Outfit for Your LPS
Design and create a custom outfit for your LPS toy using fabric scraps, felt, glue, and decorations while practicing measuring and sewing basics.


Step-by-step guide to Design an Outfit for Your LPS
Lps Tutorial: How-to Customize Your Littlest Pet Shops [EASY]
Step 1
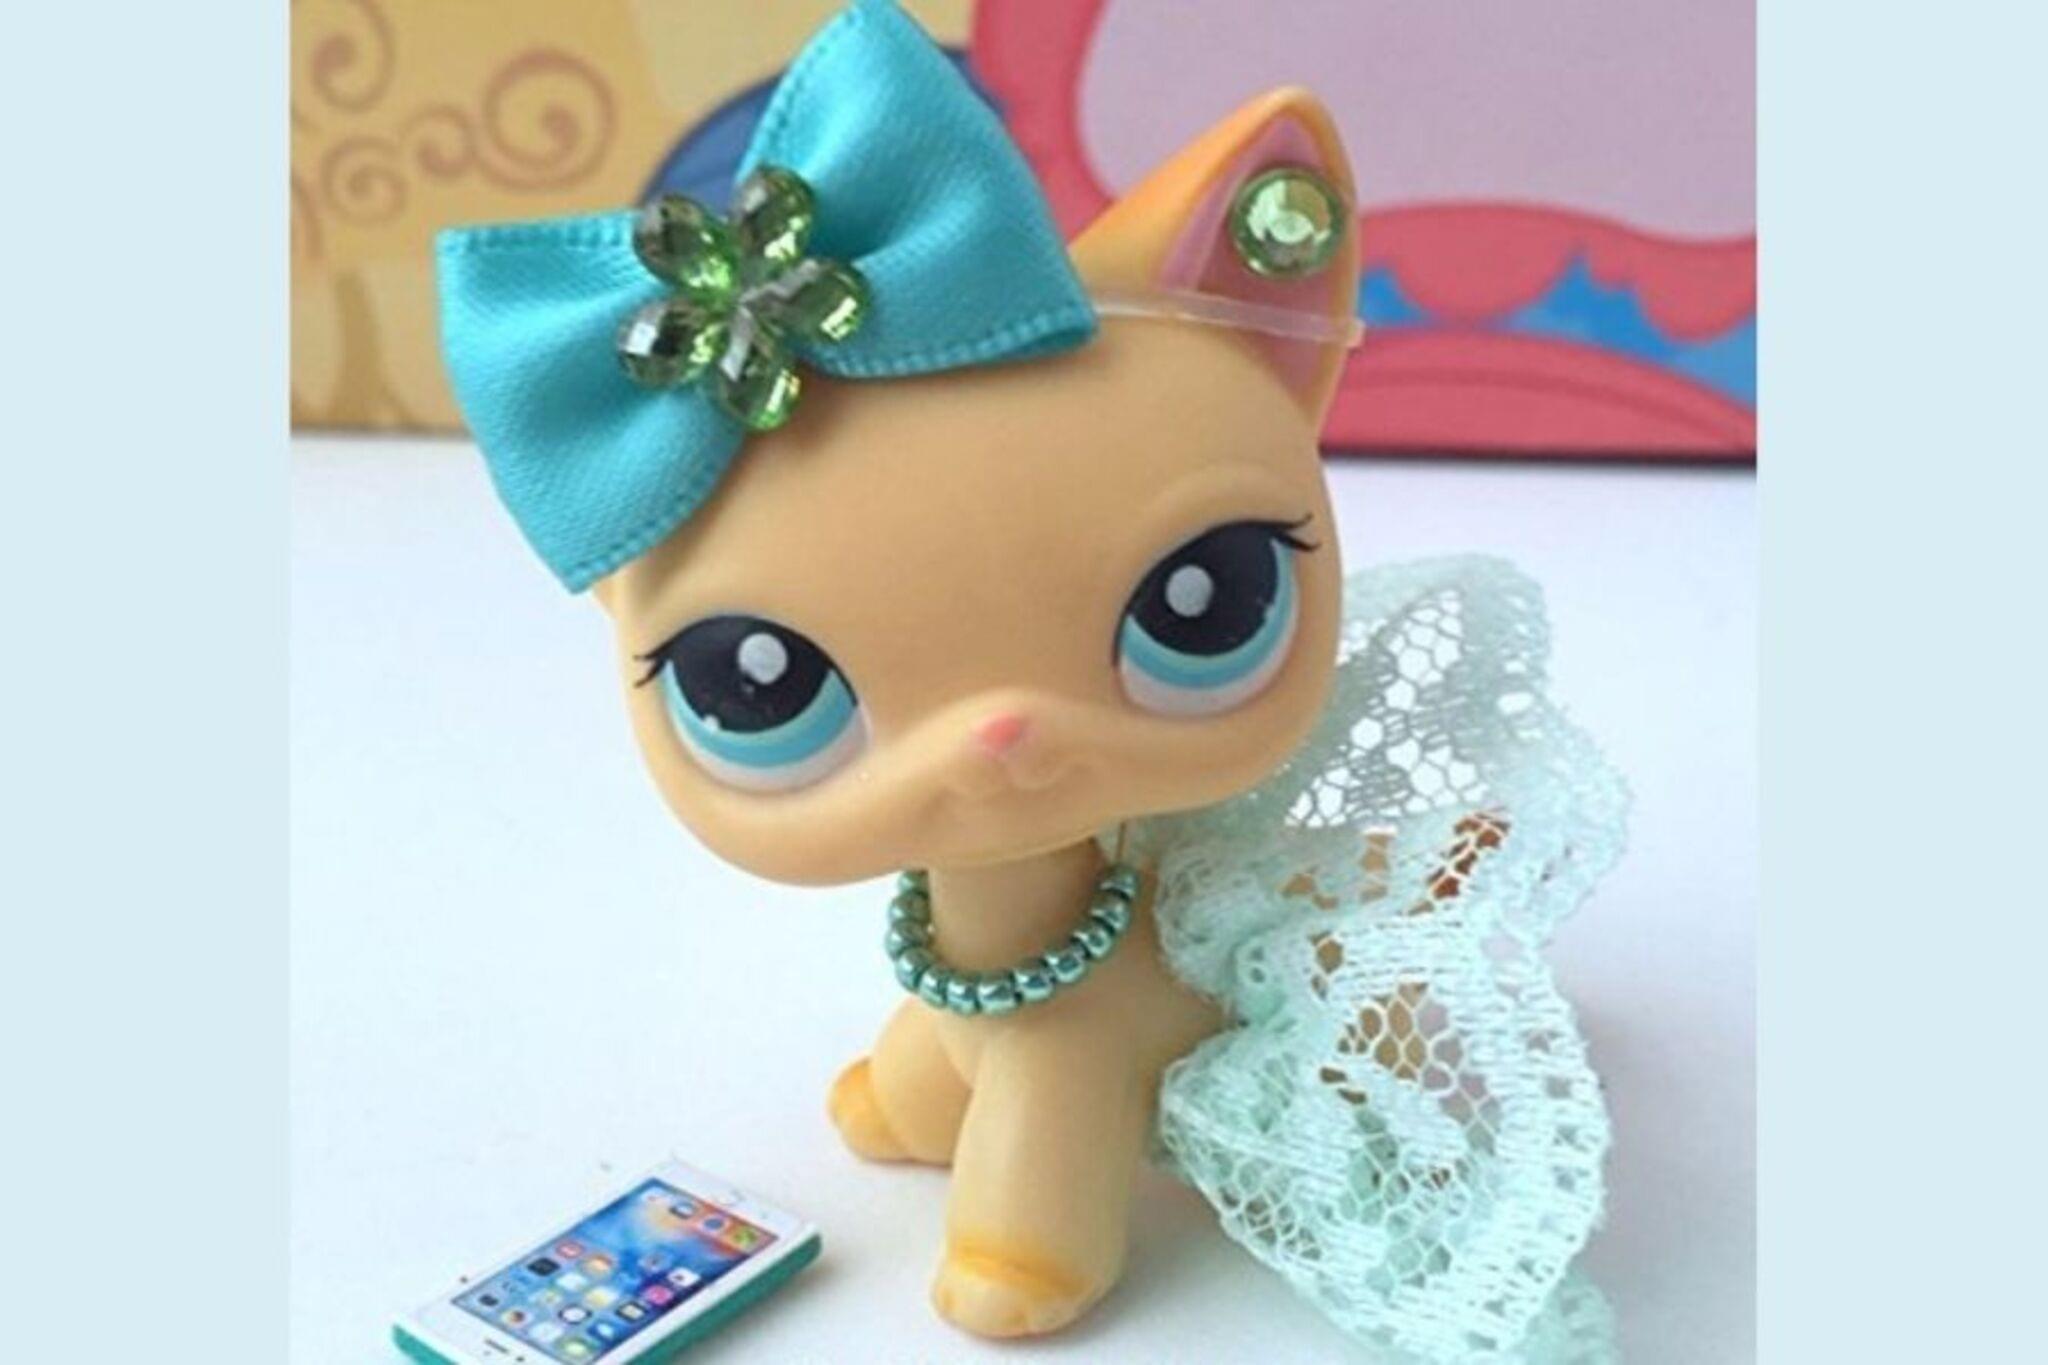
Place your LPS toy on a clean table and decide what kind of outfit you want to make.
Step 2
Use the measuring tape to measure the chest circumference of your toy and write the number down.
Step 3
Use the measuring tape to measure the back length from neck to where the outfit should end and write that number down.
Step 4
Pick a fabric scrap for the main outfit and lay it flat on the table.
Step 5
Use your ruler to draw a rectangle on the fabric using your measurements plus 1 cm seam allowance.
Step 6
Cut the fabric carefully along the marked lines.
Step 7
Fold the cut fabric around the toy to check the fit and secure the edges with pins or small binder clips.
Step 8
Choose whether you will sew the edges or use glue to join them.
Step 9
If you chose to sew thread the needle and tie a knot at the end of the thread.
Step 10
If you chose to sew use a simple running stitch to sew the pinned edges together.
Step 11
If you chose glue apply a thin line of child-safe glue along the edges and press them together until they stick.
Step 12
Glue or stitch felt shapes and decorations onto the outfit to make it special.
Step 13
If you used glue let the glue dry completely before you move on.
Step 14
Dress your LPS in the finished outfit and make any small adjustments to decorations or fit.
Step 15
Take a photo and share your finished creation on DIY.org
Help!?
What can we use if we don't have a measuring tape or a fabric scrap?
If you don't have a measuring tape, wrap a piece of string around the toy's chest, mark it, and measure the string with a ruler to get the chest circumference for step 2, and if you lack a fabric scrap use an old T-shirt or pillowcase cut into the rectangle in step 4.
My fabric feels too tight after pinning it around the LPS—how do I fix that?
If the pinned fabric is too tight when you fold it around the toy in step 6, unpin it and recut a larger rectangle adding 1–2 cm to the chest measurement and seam allowance before resewing or reglueing.
How can we adapt the activity for different ages?
For younger children (about 3–5), skip needles and use child-safe glue, big felt shapes, and binder clips instead of pins, while older kids (8+) can practice threading the needle and doing the running stitch in steps 7–10 and add hand-stitched details.
What are some ways to personalize or extend the outfit after the basic steps?
To personalize and extend the outfit, sew or glue a small pocket from leftover fabric before finishing the hem, add buttons, ribbon trims, or embroidered initials when decorating in the step that glues or stitches felt shapes, and then photograph the finished creation for DIY.org.
Watch videos on how to Design an Outfit for Your LPS
Littlest Pet Shop Gen 7 Series 3!
4 Videos
Littlest Pet Shop Gen 7 Series 3!

Littlest Pet Shop Gen 7, Series 3!
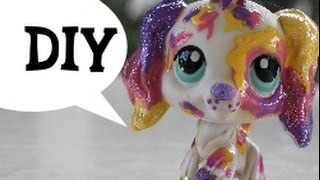
LPS: DIY~How to customize your LPS~Simple, Easy,~Easter Edition!

Littlest Pet Shop | Topped With Buttercream | ✨ HasTV Charm
Facts about sewing and textile crafts for kids
🐶 Littlest Pet Shop toys first appeared in the 1990s and grew into collectible sets and even animated shows kids love.
🧵 Archaeologists have found bone sewing needles from over 20,000 years ago—people have been sewing for a very long time!
✂️ Many beginner outfits start from simple shapes: rectangles can become shirts or capes and triangles can make cute skirts.
🧶 Felt is a non-woven fabric made by matting fibers together, so it doesn't fray—perfect for tiny toy clothes without hemming.
🎀 Adding a button, ribbon, or sequin can totally change a mini outfit's personality—from cozy to sparkly in seconds.
How do I design and make a custom outfit for my LPS toy?
What materials do I need to design an outfit for my LPS?
What ages is this LPS outfit project suitable for?
What are the benefits and safety tips for making LPS clothes?
