Create Paper Hearts With Craftyfrog202
Make colorful paper hearts with Craftyfrog202 by folding, cutting, and decorating; learn symmetry, measuring, and safe scissor skills during the activity.


Step-by-step guide to Create Paper Hearts With Craftyfrog202
Step 1
Clear a flat workspace and place all your materials within reach.
Step 2
Pick one sheet of colored paper that you want to turn into a heart.
Step 3
Fold the paper in half by bringing one short edge to meet the other short edge and press the fold firmly.
Step 4
Use the ruler to measure and make a small pencil mark along the folded edge where you want the top center of the heart.
Step 5
Draw a smooth half‑heart curve from the pencil mark down to the bottom folded edge so one side of the heart touches the paper edge.
Step 6
Carefully cut along the pencil line with safety scissors while keeping the folded edge closed.
Step 7
Slowly open the paper to reveal the symmetrical heart shape.
Step 8
Measure the widest part of your heart with the ruler and check that the left and right sides look the same.
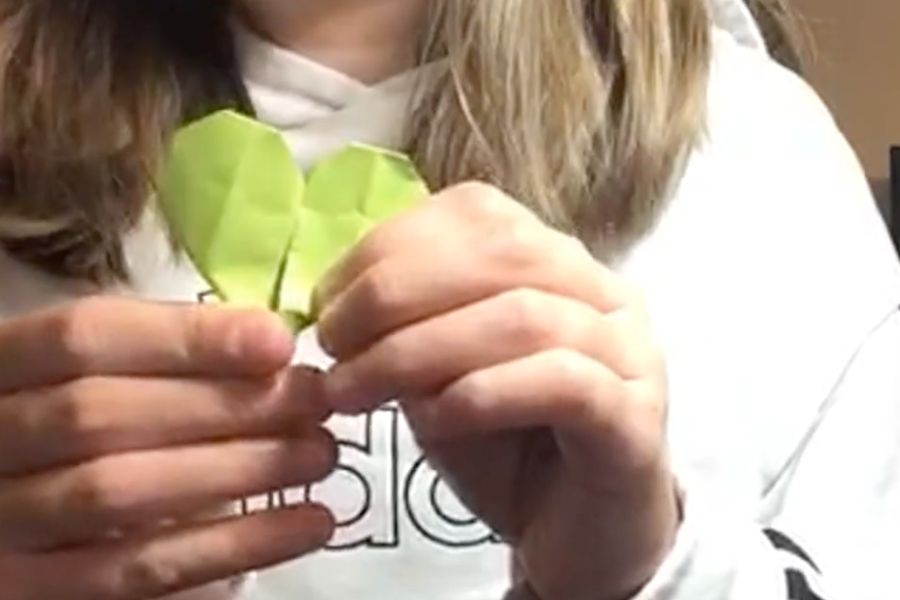
Step 9
Decorate your heart using coloring materials stickers or glue glitter to make it colorful and unique.
Step 10
Share a photo of your finished paper heart creation on DIY.org.
Help!?
What can we use if we don’t have colored paper, a ruler, safety scissors, or glue for this heart project?
Use plain printer or wrapping paper cut to size instead of colored paper, a book or straight edge in place of the ruler to mark the pencil point on the folded edge, an adult-supervised regular pair of scissors if you lack safety scissors, and clear tape or stickers instead of glue for decorations.
My heart looks lopsided or the sides don’t match after cutting—what should I check and do?
Refold making sure the two short edges meet exactly, re-draw a smooth half-heart curve from the pencil mark on the folded edge, cut slowly while keeping the fold closed with safety scissors, and use the ruler to measure and trim the larger side if needed.
How can I adapt this activity for younger or older children?
For younger kids have an adult pre-fold the paper and draw the half-heart curve so they can safely cut and stick stickers during decorating, while older children can measure and mark the pencil point themselves, cut stacked sheets for layered hearts, and add glue-and-glitter details.
What are some ways to extend or personalize the paper heart activity after you finish one heart?
Create several different-sized hearts by using the ruler to mark multiple pencil points on the folded edge, glue them into a garland or onto a folded card, embellish with stickers or glitter, and then photograph the finished creation to share on DIY.org.
Watch videos on how to Create Paper Hearts With Craftyfrog202
Learn & Create: Cute Paper HEART WITH BOW | Easy Origami Heart Tutorial DIY | Step-by-Step Guide
4 Videos
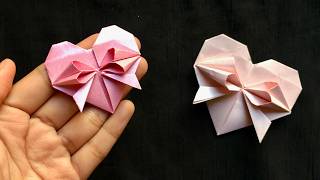
Learn & Create: Cute Paper HEART WITH BOW | Easy Origami Heart Tutorial DIY | Step-by-Step Guide
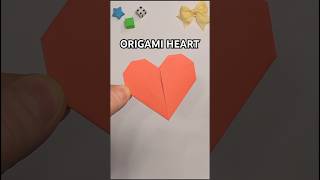
Origami Heart (Folding Instructions) - How To Make a Paper Heart
HOW TO MAKE ORIGAMI HEART STEP BY STEP | EASY DIY PAPER DESIGN IDEAS INCL ART

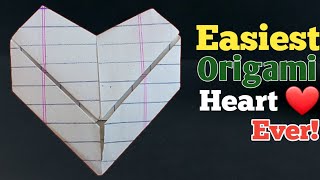
How To Make A Heart Out Of Paper | Easiest Origami Heart Ever | How To Fold
Facts about paper crafts for kids
💖 The heart symbol we fold and draw isn't the shape of a real heart — it became a common love icon in medieval art and cards.
🕊️ Origami comes from the Japanese words 'ori' (folding) and 'kami' (paper) — but many cultures have their own paper-folding traditions.
📐 Folding a paper heart teaches bilateral symmetry: fold once and both halves match like a mirror!
✂️ Scissors are ancient tools — bronze spring scissors were used in Egypt around 1500 BCE.
🎨 Kids as young as 3–4 can begin using safety scissors, and decorating hearts builds fine motor skills and measuring practice.
How do you make colorful paper hearts with Craftyfrog202?
What materials do I need to create paper hearts with Craftyfrog202?
What ages is the Craftyfrog202 paper heart activity suitable for?
What are the benefits and safety tips for making paper hearts with Craftyfrog202?
