Create a 3D Jet Using Tinkercad
Design and build a simple 3D jet model in Tinkercad, learn basic CAD tools, customize colors and export for 3D printing or virtual play.


Step-by-step guide to create a 3D jet using Tinkercad
Step 1
Sign in to your Tinkercad account and click "Create new design" to start a blank workspace.
Step 2
Rename the new design at the top-left to "My 3D Jet" so you can find it later.
Step 3
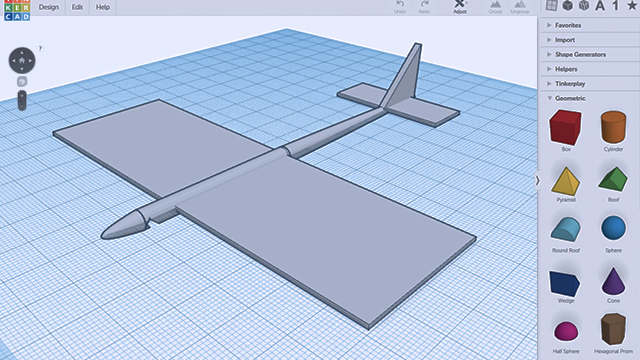
Make the fuselage by dragging a Box shape onto the workplane and resizing it to about 80 mm long 18 mm wide and 12 mm tall.
Step 4
Add the nose by dragging a Cone shape onto the workplane and resizing it to match the front of the fuselage.
Step 5
Move the cone to the front of the fuselage and use the Align tool to center it so the nose sits snugly against the box.
Step 6
Create one wing by dragging another Box shape onto the workplane then rotate and resize it into a flat wing shape.
Step 7
Position the wing halfway down the fuselage side then duplicate the wing and move the copy to the opposite side to make a matching pair.
Step 8
Add the tail by dragging a thin Box shape onto the workplane then rotate it upright and place it at the back center of the fuselage.
Step 9
Make a cockpit by dragging a Half Sphere or Cylinder onto the workplane then resize and place it on top of the fuselage near the front.
Step 10
Select all jet parts, use the Align tool to line them up, and then Group them into one solid model.
Step 11
Customize the colors by selecting the grouped jet and choosing paint colors, then click Export and pick STL or GLB to save your model for 3D printing or virtual play.
Step 12
Share a photo or description of your finished 3D jet on DIY.org to show your design to friends and other makers.
Final steps
You're almost there! Complete all the steps, bring your creation to life, post it, and conquer the challenge!

Help!?
What can we use if we can't access Tinkercad or can't find the Cone shape for the nose?
If you can't access Tinkercad or don't see a Cone, use a resized Cylinder, Half Sphere, or the Roof shape and rotate/resize it to match the front of the fuselage, then use the Align tool to center it.
My Group button isn't combining the parts or the nose leaves a gap—what went wrong?
Ensure every part (Box fuselage, Cone nose, wing Boxes, tail, cockpit Half Sphere) is set to 'solid' not 'hole', slightly overlap the cone with the fuselage, use the Align tool to center them, then select all and Group again.
How can I adapt this 3D jet project for different age groups?
For younger kids have an adult pre-place the fuselage and nose and let them add a wing and pick colors, for elementary-age follow the written resize/placement steps, and for teens add engine Cylinders, cockpit interior holes, and export to STL/GLB for printing.
How can we enhance or personalize the jet after finishing the basic model?
Ungroup the model to add engine Cylinders under the wings, small Cylinder or Box landing gear, Text shapes as decals, recolor the grouped jet, then Export as STL or GLB for printing or virtual play.
Watch videos on how to create a 3D jet using Tinkercad
Tinkercad - How To Make A Jet Fighter
4 Videos
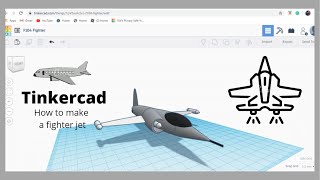
Tinkercad - How To Make A Jet Fighter
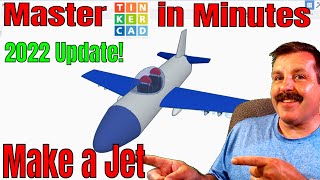
Absolute Beginner Tinkercad Jet with Chapters & Highlighted Clicks
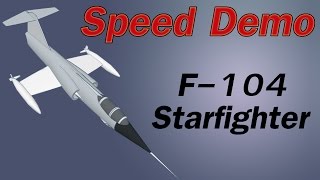
TinkerCad modeling Demo of F104 jet fighter
How to Use Tinkercad for 3D Printing (Step-by-Step Beginner's Guide)
Facts about 3D modeling and 3D printing for kids
✈️ Jet-powered military aircraft first appeared in the 1940s and completely changed how fast planes could fly.
🖨️ 3D printing isn't just for toys: engineers 3D-print jet engine parts and prototypes to save weight and time.
🧩 Basic CAD uses 'primitives' like boxes and cylinders—combine a few and you can create surprisingly complex jets!
🎨 In Tinkercad you build with simple shapes, group them, recolor them, and export as STL or OBJ for printing or virtual play.
🖥️ Tinkercad was created by Autodesk and runs in your web browser—kids can start designing without installing software!
How do I design and build a simple 3D jet in Tinkercad?
What materials and tools do I need to create a 3D jet in Tinkercad?
What ages is designing a 3D jet in Tinkercad suitable for?
What are the benefits and safety tips for kids making a 3D jet in Tinkercad?


One subscription, many ways to play and learn.
Only $6.99 after trial. No credit card required