Use a 3D Printer to Print Your Creation
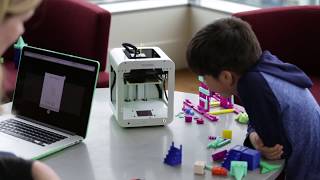
Design or choose a simple 3D model, prepare it with basic settings, and print your creation using a 3D printer with adult supervision.


Step-by-step guide to use a 3D printer to print your creation
Aoseed X Maker Review: 3D Printer for Kids!
Step 1
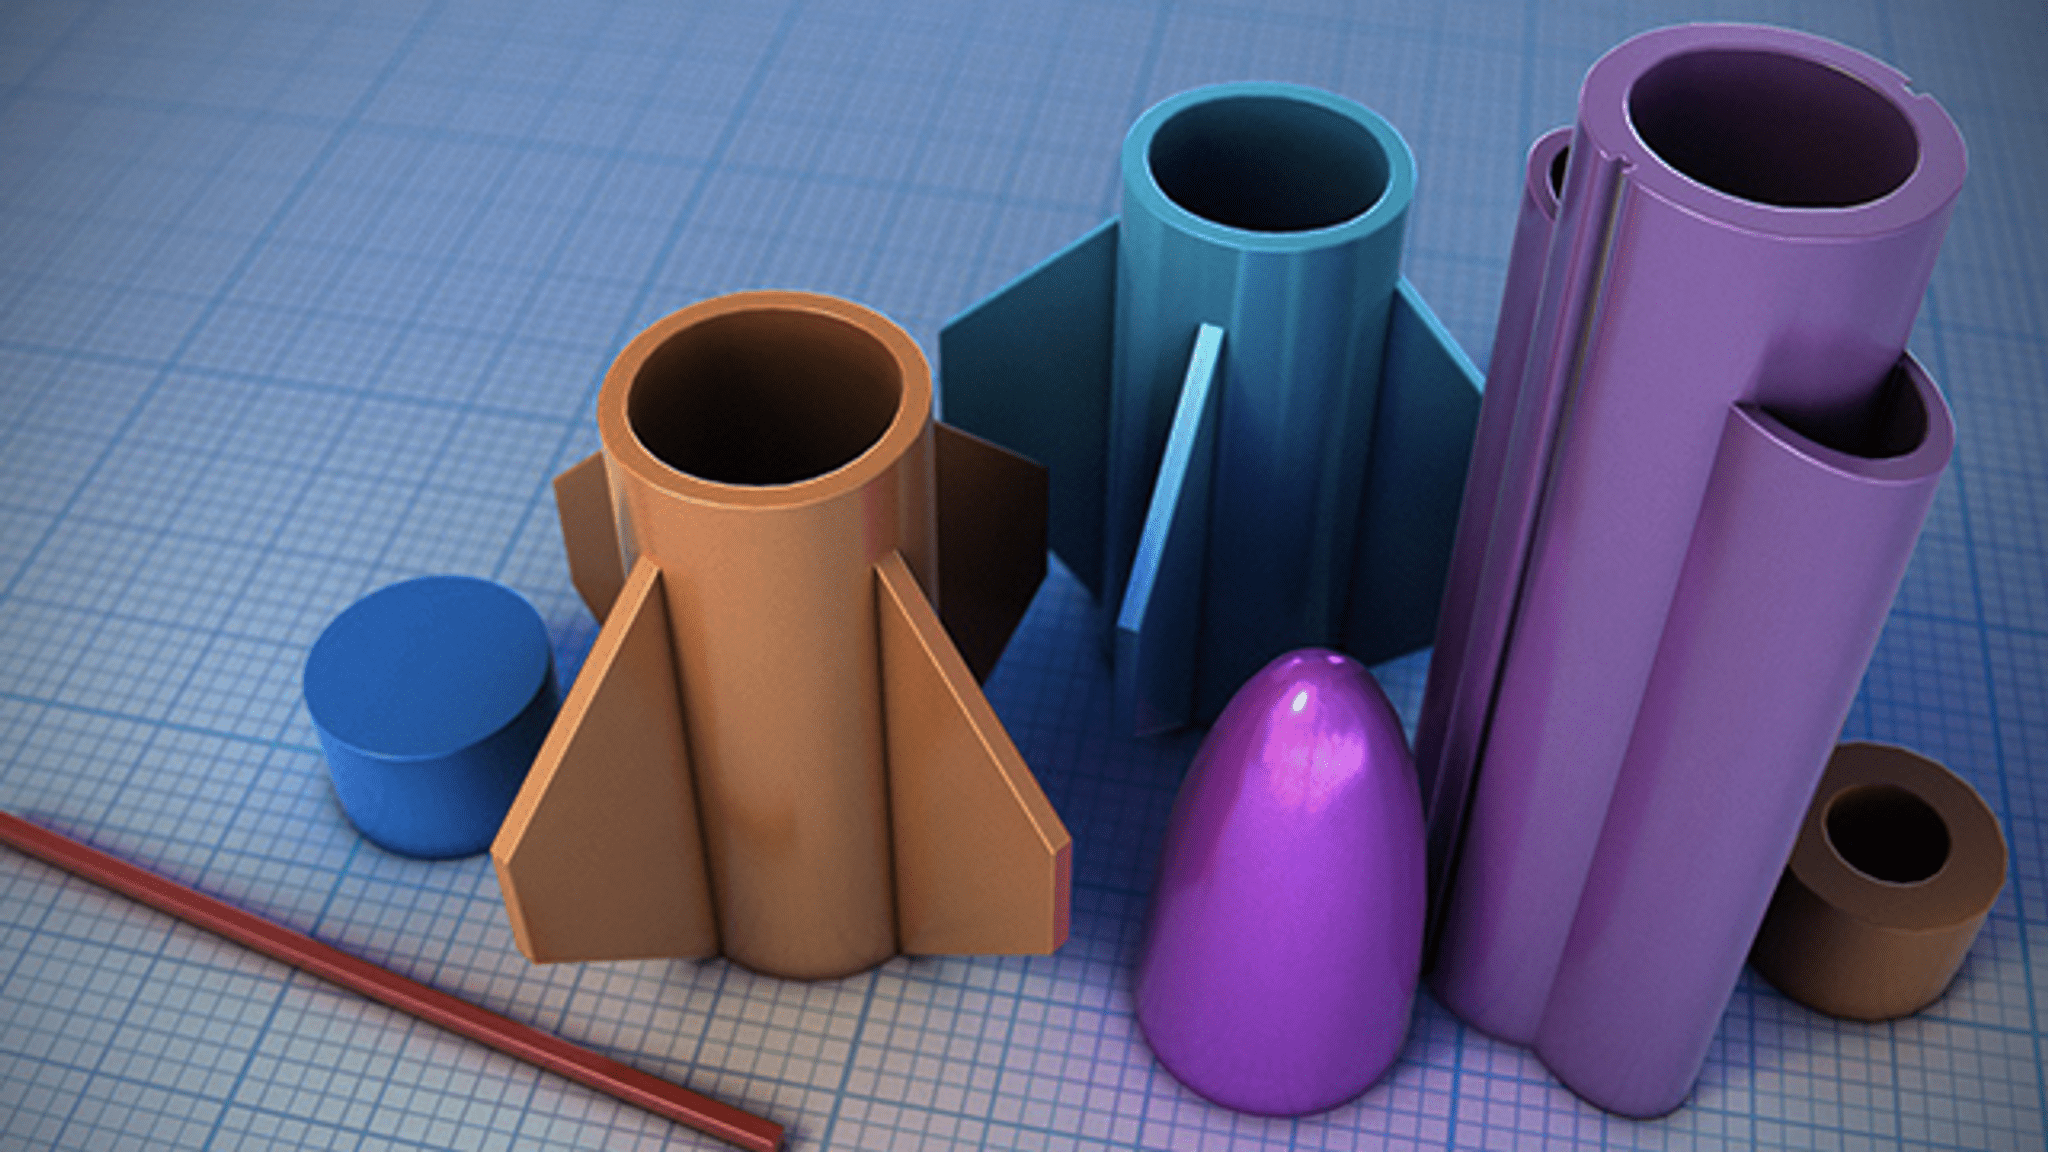
Decide whether you will download a ready-made STL file or design your own simple model.
Step 2
If you choose a ready-made model download a kid-safe STL file to your computer.
Step 3
If you want to design your own model open a beginner 3D design program and export your design as an STL file.
Step 4
Open the STL file in slicing software on the computer.
Step 5
Set basic print settings in the slicer to recommended values like 0.2 mm layer height 15% infill and enable supports only if the model has big overhangs.
Step 6
Slice the model and export the G-code file to your SD card or USB drive.
Step 7
Clean the printer bed and apply painter's tape or a thin layer of glue stick for better adhesion.
Step 8
Load the PLA filament into the printer following the printer’s loading steps until a small amount of filament extrudes.
Step 9
Preheat the nozzle to about 200°C and the bed to about 60°C for PLA.
Step 10
Insert the SD card or USB into the printer and start the print job.
Step 11
Watch the first layer for the first few minutes to make sure it sticks and ask an adult to help if it looks squished or not sticking.
Step 12
When the print finishes wait for the bed to cool then use the scraper to gently remove the printed object.
Step 13
Remove supports and extra strings with wire cutters and tweezers and lightly sand any rough spots if you want a smooth finish.
Step 14
Share a photo and story about your finished 3D-printed creation on DIY.org.
Help!?
What can we use if PLA filament, painter's tape, or an SD card are hard to find?
If PLA filament is unavailable you can use PETG but set the nozzle to about 230°C and the bed to 70–80°C, and if painter's tape or a glue stick are hard to find put a thin PVA glue layer or hairspray on the cleaned printer bed, while an SD card can be replaced by a USB drive or direct USB printing from the computer.
My first layer looks squished or isn't sticking—what should I check and do?
Check that the printer bed is clean, reapply painter's tape or glue stick, re-level or slightly increase the nozzle gap, and watch the first layer for a few minutes and ask an adult to pause the print if it keeps squishing or failing.
How can I adapt this activity for younger children or older kids who want more challenge?
For younger children use a ready-made kid-safe STL and have an adult handle loading filament, preheating to 200°C/60°C and bed removal while the child chooses colors and watches the first layer, and for older kids encourage designing in a beginner 3D program and experimenting with slicer settings like 0.2 mm layer height and 15% infill and support placement.
What are simple ways to personalize or improve the finished 3D print?
After the bed cools remove the print with a scraper, cut supports with wire cutters, sand rough spots, glue or paint parts for a custom look, or change infill and layer height in the slicer for different strength and then share a photo and story on DIY.org.
Watch videos on how to use a 3D printer to print your creation
This 3D Printer Was Made For Kids - Kidoodle MiniBox A1 First Look!
4 Videos
This 3D Printer Was Made For Kids - Kidoodle MiniBox A1 First Look!
Simple ways to create your own 3D models for 3D printing
TOYBOX: Your Kid's First 3D Printer

15 Super Fun THINGS to 3D Print that KIDS LOVE
Facts about 3D printing for kids
🖨️ 3D printers build objects layer by layer by depositing material — like stacking super-thin pancakes to make a toy!
🕰️ The first widely used 3D printing process was invented in 1984 by Charles Hull.
🌽 PLA filament is made from plants (like corn) and is one of the easiest, kid-friendly materials to print with.
⏱️ Print time varies a lot: a small keychain can take 20–60 minutes, while bigger creations can take many hours or days.
🧩 3D models are often saved as STL files, which describe shapes using lots of tiny triangles — like digital building blocks.
How do I design and print a simple 3D model with my child?
What materials do I need to 3D print with my child?
What ages is 3D printing suitable for children?
What safety tips should I follow when 3D printing with kids?
