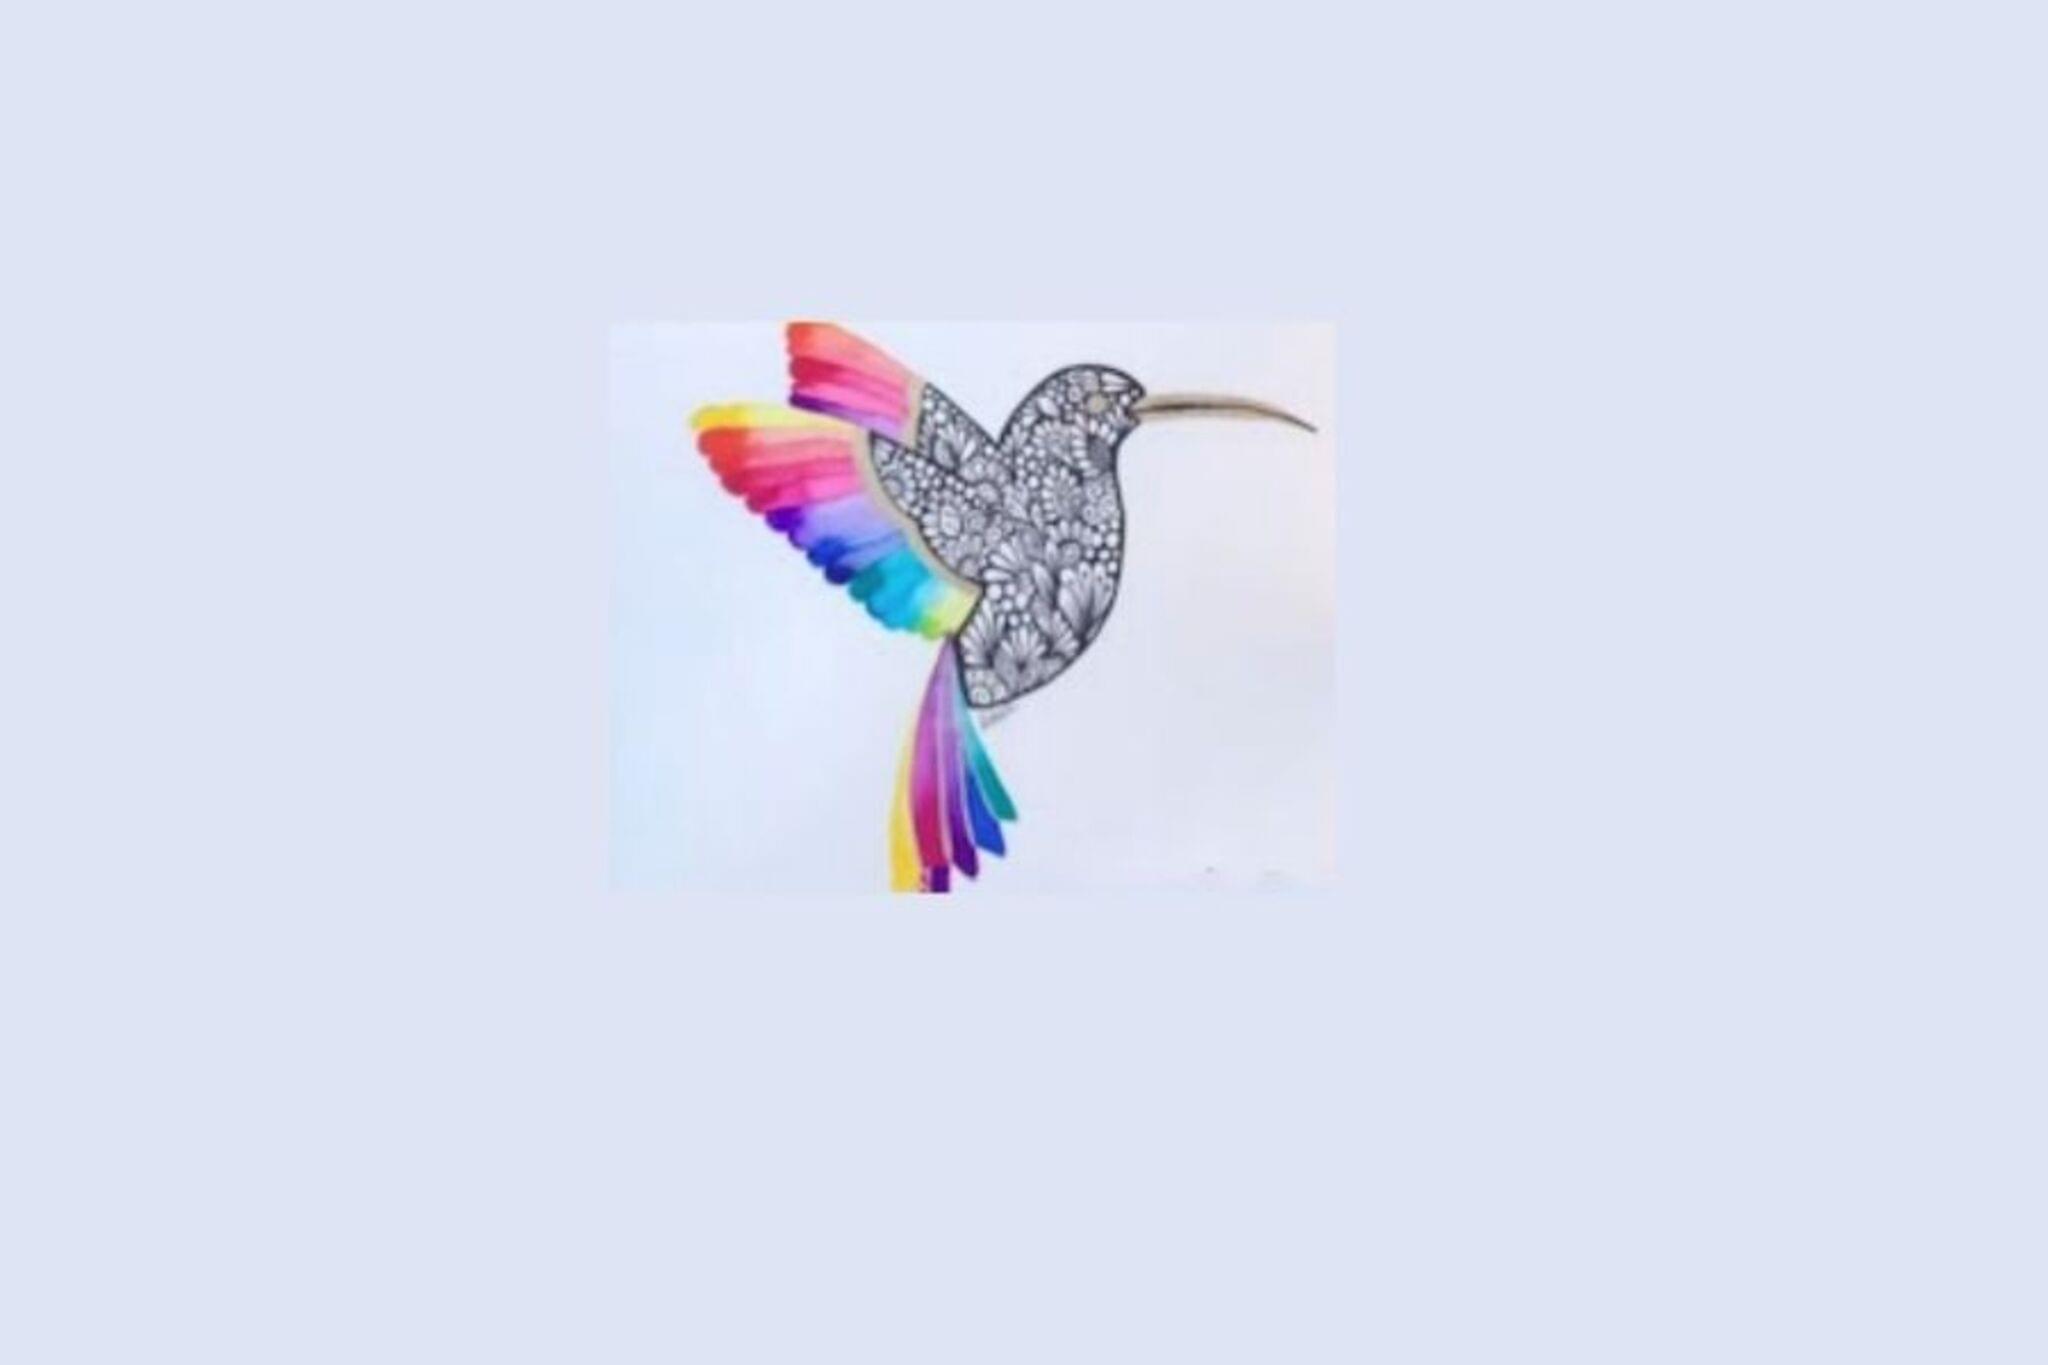
Doodle A Mesmerizing Bird
Draw and decorate a mesmerizing bird using simple shapes, repeating patterns, and colors on paper, learning about symmetry, texture, and creativity.

Drawing Apps
Step-by-step guide to doodle a mesmerizing bird
How to Draw a Realistic Bird | Step by Step Art Lesson for Beginners
Step 1
Place your paper on a flat surface and put your pencil eraser and colouring materials within easy reach.
Step 2
Draw a light vertical center line down the middle of the paper to help keep your bird symmetrical.
Step 3
Sketch a simple oval or circle for the bird’s body centered on the guideline.
Step 4
Add a smaller circle touching the body for the bird’s head so it looks like one smooth shape.
Step 5
Draw a small triangle at the front of the head to make the bird’s beak.
Step 6
Draw one round eye on each side of the center line at the same height so the eyes match.
Step 7
Sketch wing shapes on both sides of the body using flowing curves to keep them balanced.
Step 8
Add tail feathers at the back using repeating simple shapes like teardrops or triangles.
Step 9
Fill the body wings and tail with repeating patterns such as stripes dots scallops or zigzags to create texture.
Step 10
Trace all your final pencil lines with a black marker to make the bird pop.
Step 11
Erase any extra pencil marks and then colour your bird using matching colours on both sides to keep it symmetrical.
Step 12
Share your finished mesmerizing bird on DIY.org.
Help!?
What can we use if we don't have a black marker or specific colouring materials listed in the instructions?
If you don't have a black marker, use a fine-tip black pen or dark crayon to trace your final pencil lines, and if specific colouring materials are missing, use watercolors, washable paint, or cut paper scraps glued on the body and wings during the colouring step.
My bird looks lopsided—what part of the steps should I redo or change to fix symmetry?
If the bird looks uneven, redraw or lightly fold the paper on the vertical center line step to compare halves before inking, and keep pencil lines light so erasing extra pencil marks after tracing is easy.
How can I adapt the activity for younger or older children?
For younger children simplify by using a single large oval and big bold patterns to fill the body, while older kids can add detailed scallops and zigzags, more precise wing shapes, and use the black marker tracing step for a polished look.
What are some ways to extend or personalize our mesmerizing bird after finishing the basic steps?
To personalize, add a patterned background, glue on feathers or glitter along the tail after erasing pencil marks, experiment with metallic pens when you trace the final lines, and photograph the finished bird to share on DIY.org.
Watch videos on how to doodle a mesmerizing bird
How to draw a robin🐦 Step by step bird drawing
4 Videos
How to draw a robin🐦 Step by step bird drawing
How To Draw A Bird And Feeder
HOW TO DRAW A HUMMINGBIRD ✨ EASY STEP-BY-STEP TUTORIAL
How to Draw a Cute Bird - Easy Step-by-Step Tutorial for Kids
Facts about drawing and pattern design for kids
🐦 Many bird species wear dazzling patterns and colors on their feathers to attract mates or blend into their habitats.
🎨 Bilateral symmetry (left-right mirroring) is common in birds — drawing mirrored shapes makes your bird look balanced and realistic.
✍️ Doodling and making repeating patterns can help your brain focus and unlock creative ideas — artists call this getting into a 'flow'.
🪶 Feathers are made of keratin, the same protein as our hair and nails — you can mimic feather texture with simple lines and strokes.
🔁 Repeating shapes like dots, stripes, and spirals create rhythm and movement that make a doodled bird feel mesmerizing.
How do you do the 'Doodle a Mesmerizing Bird' activity step by step?
What materials do I need to doodle a mesmerizing bird?
What ages is the Doodle A Mesmerizing Bird activity suitable for?
What are the benefits and variations of doodling a mesmerizing bird?
