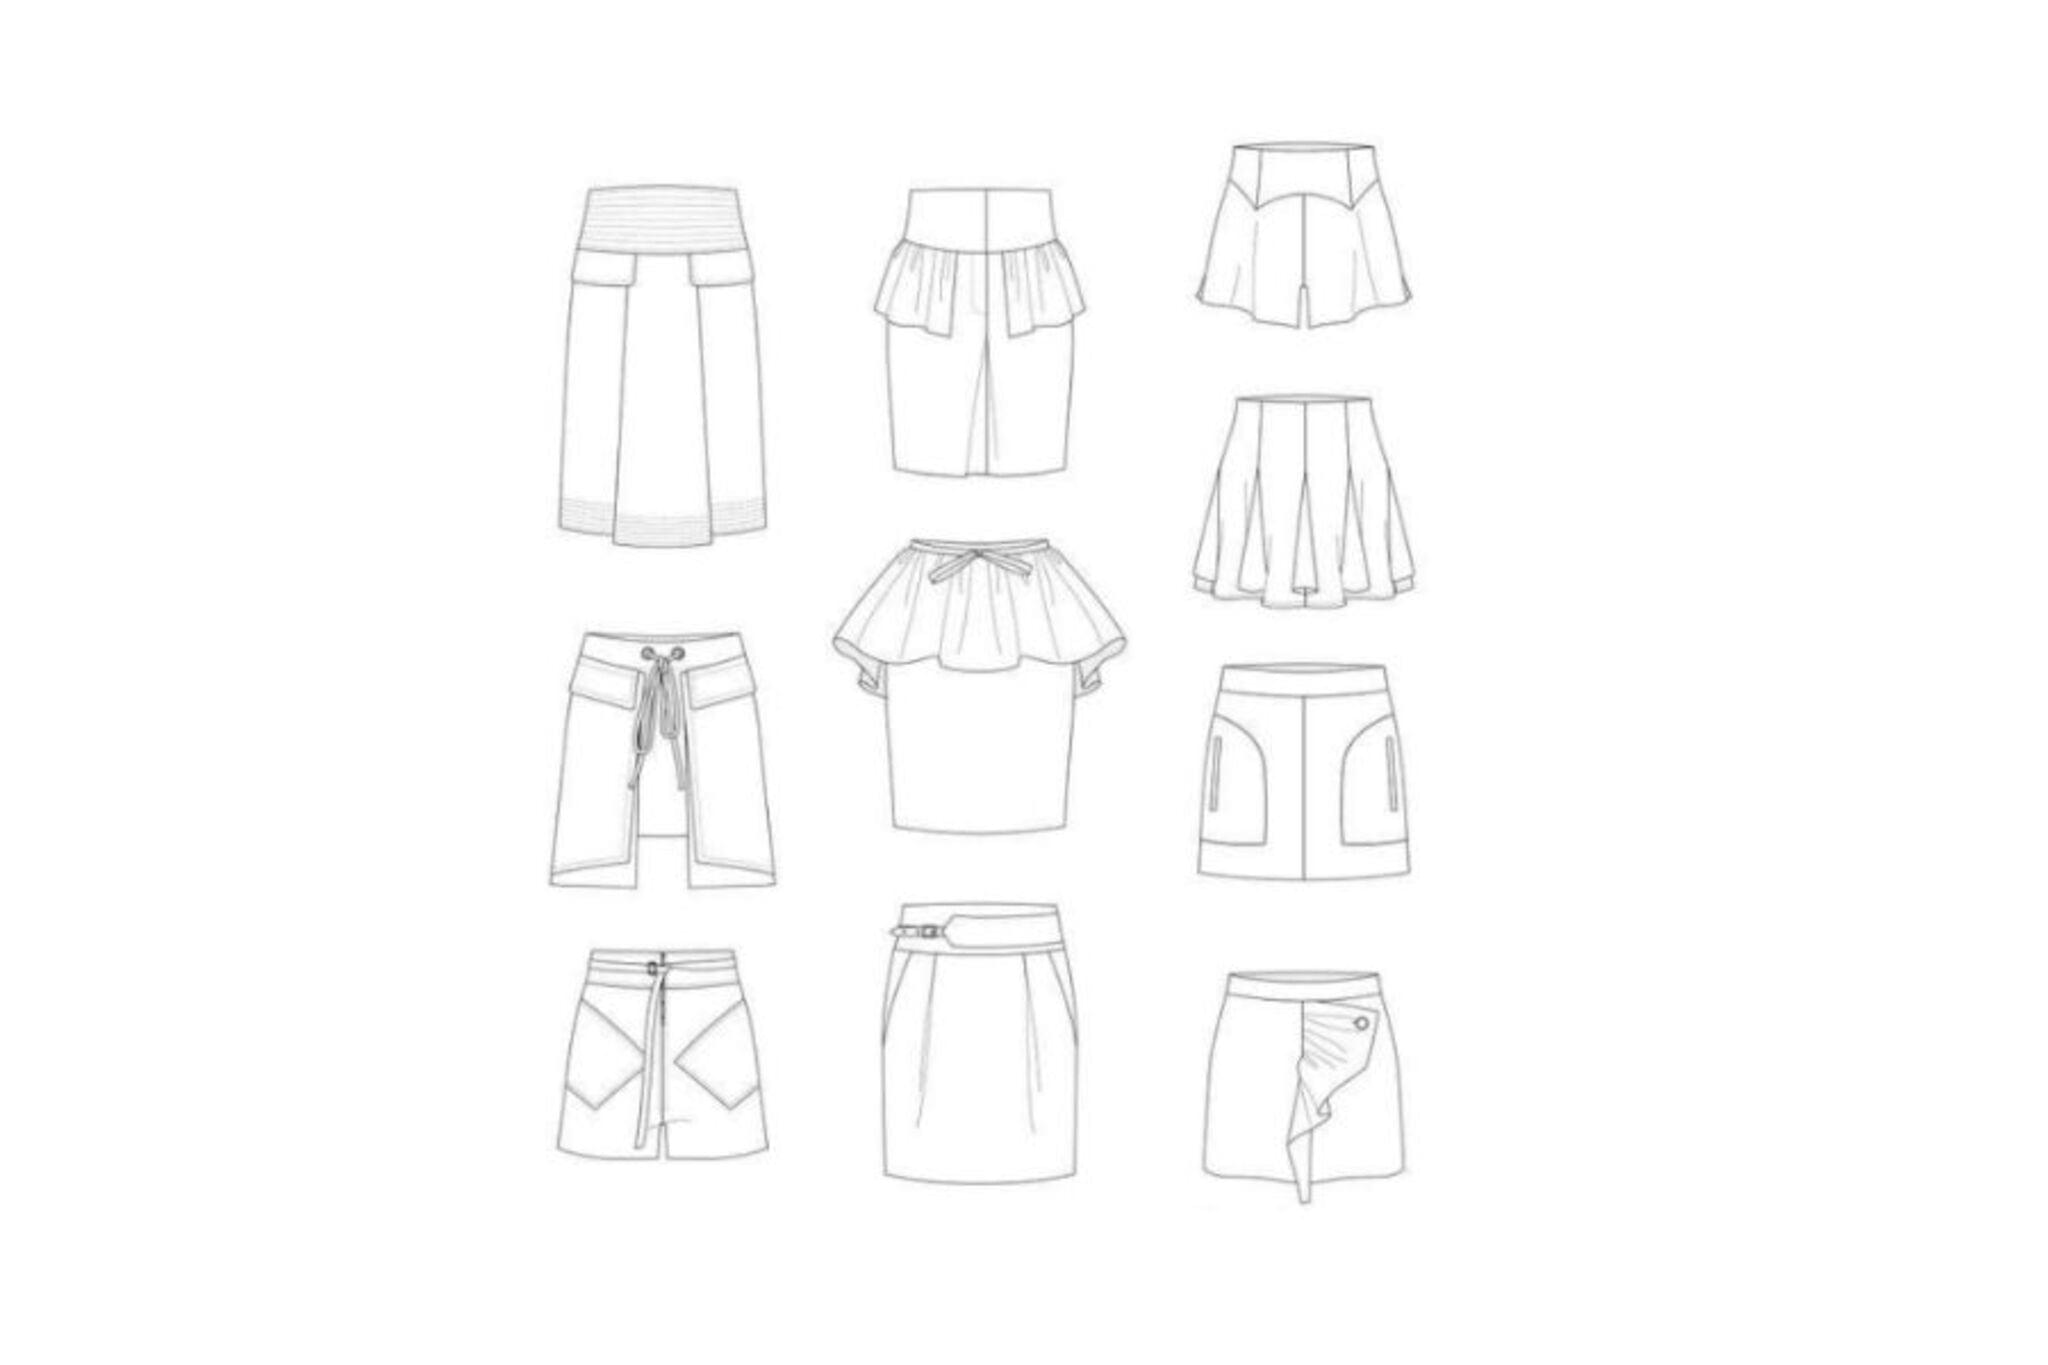
Design Skirts of All Kinds
Design and decorate simple skirts like circle, A line, and gathered using paper or fabric scraps; measure, cut, and sew safely with adult help.


Step-by-step guide to Design Skirts of All Kinds
How To Style Skirts For Women
Step 1
Clear a flat workspace and lay out your materials so everything is easy to reach.
Step 2
Choose which skirt style you want to make: circle A line or gathered.
Step 3
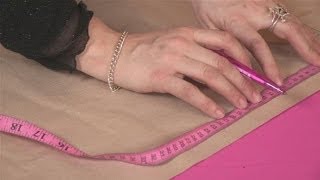
Measure your waist with the measuring tape and note the number on your paper.
Step 4
Measure how long you want the skirt from waist to hem and write that number down.
Step 5
Fold your fabric or paper scrap according to your chosen style before drawing the pattern.
Step 6
Use your ruler and pencil to draw the skirt outline on the folded fabric or paper using your measurements.
Step 7
Cut out the skirt shape carefully with scissors following the lines you drew.
Step 8
Pin or clip any edges or pieces together so they stay in place for sewing.
Step 9
With an adult present ask them to help you sew the main seams to join the skirt pieces.
Step 10
With adult help create a waistband by folding over the top edge and threading elastic or stitching a ribbon in place to fit your waist.
Step 11
Use decorating materials to add buttons sequins patches or drawings to your skirt to make it unique.
Step 12
Share a photo of your finished skirt on DIY.org
Help!?
What can we use instead of a measuring tape, fabric, or elastic if we can't find them?
Use a piece of string and a ruler to 'Measure your waist', repurpose an old sheet or heavy paper for the 'Fold your fabric or paper scrap' step, and substitute ribbon, a tied drawstring, or a safety-pinned elastic for 'threading elastic' in the waistband.
My fabric shifts or seams pucker when I cut or sew—how can I fix that?
To keep layers steady when you 'Cut out the skirt shape' and prevent puckering while you 'sew the main seams', pin or clip the fabric before cutting, trim slowly on your drawn lines with a ruler for accuracy, and use longer hand stitches or a longer machine stitch while pressing seams flat as you go.
How can I adapt the project for different ages?
For toddlers use paper scraps and pre-cut shapes for the 'Fold' and 'Cut out' steps and decorate with glue-on stickers, for elementary kids supervise scissors and simple hand stitching during 'sew the main seams', and for teens let them use a sewing machine, practice accurate 'Measure your waist' and create a fitted or lined skirt with an elastic or buttoned waistband.
What are simple ways to personalize or upgrade the skirt once it's made?
Before you 'sew the main seams' add patchwork by sewing scrap squares together, insert pockets by cutting extra fabric and pinning them to the side seams, line the skirt for a smoother finish, or embellish the hem and waistband with ribbon, sequins, or appliqué patches.
Watch videos on how to Design Skirts of All Kinds
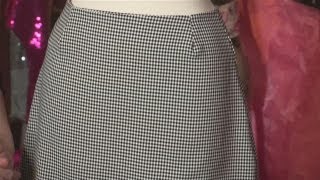
How To Design A Pencil Skirt
4 Videos
How To Design A Pencil Skirt
How To Sew A Simple Skirt

MAKEUP TUTORIALS FOR GIRLS
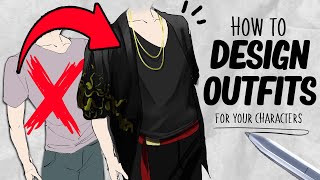
How to design Outfits for characters | Tutorial | DrawlikeaSir
Facts about sewing and garment design for kids
🧵 A-line skirts were popularized in the 1950s by designers like Christian Dior — a simple shape that’s easy to draft.
✂️ Circle skirts are made from a full circle of fabric, which gives them an amazing twirl when you spin!
🪡 Gathered skirts use simple gathering stitches to bunch fabric at the waist — a great beginner sewing technique.
👗 Skirts appear in traditional dress around the world, from Scottish kilts to Southeast Asian sarongs.
♻️ Small fabric scraps can become patchwork panels, pockets, or decorative trim — a fun way to upcycle and reduce waste.
How do I teach my child to design and decorate simple skirts (circle, A-line, gathered) using paper or fabric scraps?
What materials do I need to design and decorate skirts with paper or fabric scraps?
What ages is designing skirts with paper or fabric scraps suitable for?
What safety tips and benefits come with making skirts with children?
