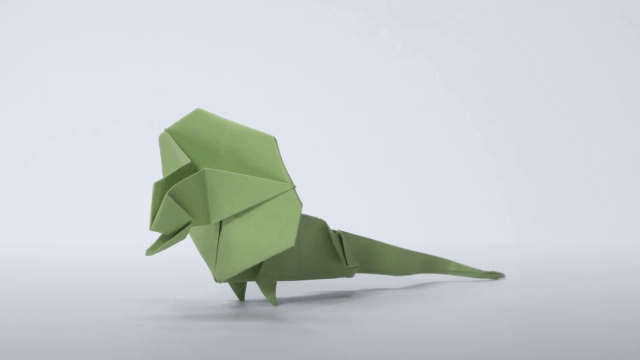
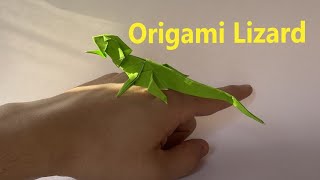
Make an Origami Frilled Lizard
Fold paper to make an origami frilled lizard with movable frill and legs, learning step by step folding techniques, patience, and fine motor skills.


Step-by-step guide to make an origami frilled lizard
Step 1
Place a square sheet of paper color side down on a flat table.
Step 2
Fold the paper in half diagonally from one corner to the opposite corner to make a triangle and crease firmly.
Step 3
Fold the bottom-left corner of the triangle up toward the top point stopping about one-third of the way and crease to start a leg flap.
Step 4
Fold the bottom-right corner up toward the top point the same distance and crease to make the second leg flap.
Step 5
Fold the top point down a little to form the lizard’s head and crease.
Step 6
Fold each leg flap outward so the legs stick out from the body.
Step 7
With adult help use scissors to cut small evenly spaced slits around the head edge leaving the slit bases attached to make the frill fringe.
Step 8
Fan the frill fringes outward so they form a round movable frill around the head.
Step 9
Curl the tips of each leg by rolling them gently around a pencil to make toes.
Step 10
Fold the back point of the triangle up a little to shape the tail and crease.
Step 11
Use colouring materials to draw eyes and add scale patterns on the body and frill.
Step 12
Share your finished origami frilled lizard on DIY.org
Help!?
What can we use if we don't have a pre-cut square sheet of paper or sharp scissors?
Fold a rectangular printer sheet diagonally and trim the excess to make the required square (color side down), and use child-safe scissors or ask an adult to do the frill cuts.
The frill keeps tearing when I cut the slits—how can I fix that?
When making the small evenly spaced slits around the head edge, leave the slit bases wider and make shallower snips with sharp scissors or use thinner paper so the fringe bases stay attached and don't tear.
How can I change this activity for younger children or make it harder for older kids?
For younger children have an adult pre-cut the frill and skip the pencil-curling toes while letting them fold and color, and for older kids challenge them to add extra slits, more detailed scale patterns, or use thinner origami paper to create sharper creases.
What are simple ways to personalize or extend the origami frilled lizard project?
After folding and cutting the frill, glue on googly eyes or a contrasting paper circle behind the head before cutting the slits so the fanned frill shows two colors, then add painted scales and make a paper habitat to photograph for DIY.org.
Watch videos on how to make an origami frilled lizard
Origami Frilled Lizard | Origami animals | Origami tutorial | Paper craft
4 Videos
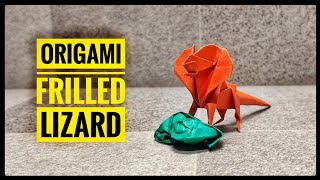
Origami Frilled Lizard | Origami animals | Origami tutorial | Paper craft
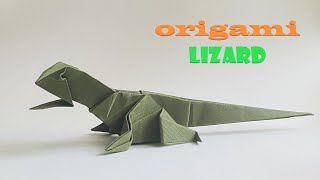
How to make an easy origami Lizard (revised tutorial), step by step tutorial
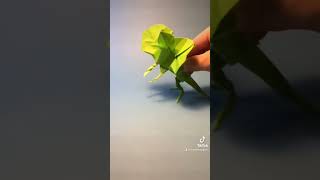
Origami Frilled Lizard (dance)
Easy Origami Lizard, step by step tutorial
Facts about origami for kids
🦎 Frilled lizards (Chlamydosaurus kingii) flare a big neck frill and can run on their hind legs to startle predators.
📐 The word origami comes from Japanese ori (folding) and kami (paper) — and traditional models start from one square sheet.
✨ Action origami is all about movable parts, perfect for making a popping frill and wiggly legs.
📄 Skilled folders can turn a single square of paper into complex creatures using pleats, squash folds, and reverse folds.
🤲 Repeating precise folds builds fine motor skills, hand–eye coordination, patience, and concentration in kids.
How do I fold an origami frilled lizard step by step?
What materials do I need to make an origami frilled lizard?
What ages is making an origami frilled lizard suitable for?
What are the benefits, safety tips, and fun variations for this activity?
