Make a Shark!
Create a cardboard and paper shark model using scissors, glue, paint, and markers. Learn basic shapes, symmetry, and simple assembly skills.


Step-by-step guide to make a shark model
Step 1
Gather all the materials and set up a clean flat workspace.
Step 2
Use your pencil and ruler to draw a large shark body shape on the cardboard with a pointed nose and a rounded belly.
Step 3
Carefully cut out the shark body shape from the cardboard using scissors with adult supervision.
Step 4
Paint the cardboard shark body a base color of your choice.
Step 5
Wait for the paint to dry completely before touching the body.
Step 6
Fold a sheet of plain paper in half to make a symmetry guide.
Step 7
Draw half a fin and half a tail along the folded edge so they will be symmetrical when cut.
Step 8
Cut out the shapes from the folded paper using scissors.
Step 9
Open the cut paper shapes to reveal two matching fins and a tail.
Step 10
Cut several small white triangles from paper to make the shark’s teeth.
Step 11
Glue the fins the tail and the teeth onto the painted shark body in the right places.
Step 12
Use markers to draw an eye gill lines and extra details on your shark.
Step 13
Wait for the glue and marker details to dry completely.
Step 14
Share your finished shark model on DIY.org
Help!?
What can I use if I don't have cardboard, paint, or glue listed in the materials?
Use a clean cereal box or poster board instead of cardboard, color the shark body with washable markers or crayons if you don't have paint, and attach fins, tail, and teeth with a glue stick or clear tape in place of liquid glue.
My shark body tore or the folded paper fins came out uneven — how can I fix cutting and symmetry problems?
Have an adult score the shark outline on the cardboard with a craft knife and ruler before cutting, and when making fins fold the paper tightly and cut slowly along the folded edge so the two halves open symmetrically.
How can I adapt this Make a Shark activity for younger or older kids?
For younger children, pre-draw or pre-cut the shark, fins, and teeth and let them paint and glue with washable supplies, while older kids can add details like textured paint, finer marker shading, or a movable jaw using a brad fastener.
What are some ways to personalize or extend the finished shark model after the steps are done?
After painting and gluing the fins, tail, and teeth, personalize your shark by adding googly eyes, sponge-painted scales, a 3D mouth from folded cardboard, or mounting it on a straw or cardboard stand for display.
Watch videos on how to make a shark model
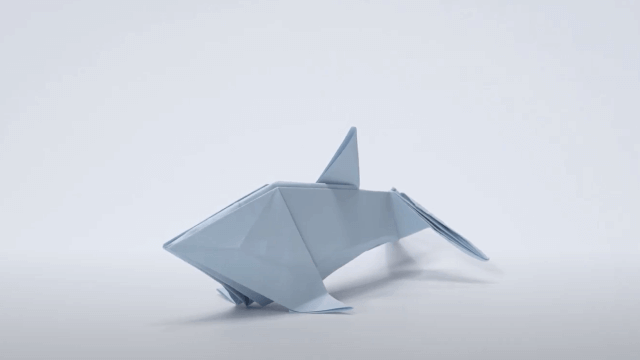
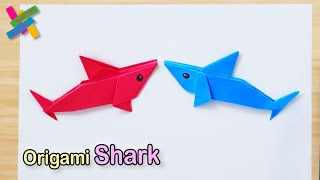
How to Make an Origami Shark step by step - Paper Shark Making - Shark Crafts
4 Videos
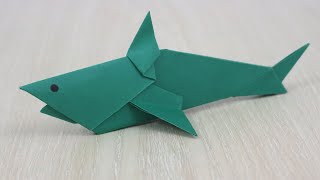
How to Make an Origami Shark step by step - Paper Shark Making - Shark Crafts
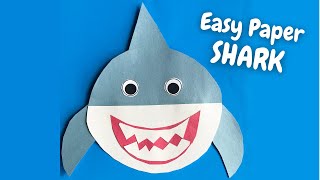
Easy Paper Shark Craft (Free Template)
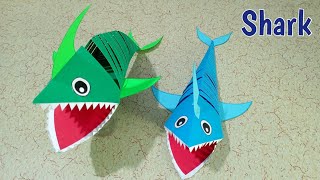
How To Make Easy Paper Shark Toy For Kids, Paper Shark Making, Kids Craft Ideas
Easy DIY Origami SHARK | Perfect for Kids and Beginners
Facts about paper and cardboard crafts for kids
🦈 Sharks have been swimming the oceans for about 400 million years — older than the dinosaurs!
✂️ Papercraft turns flat sheets into 3D models using cuts, folds, and glue — perfect for making fins and jaws.
🔺 Many animals, including sharks, show bilateral symmetry, so left and right sides mirror each other.
🎨 Acrylic paint dries quickly on cardboard, so kids can add bright colors and details without long waits.
📦 Cardboard is one of the most recycled materials and great for upcycling into sturdy craft models and toys.
How do I make a cardboard and paper shark model?
What materials do I need to make a shark craft?
What ages is making a cardboard shark suitable for?
What safety tips should I follow when making a shark model?
