Sail With the Origami Boat
Fold an origami boat from paper, decorate it, and test how it sails in water while experimenting with weight and balance.


Step-by-step guide to Sail With the Origami Boat
Step 1
Gather all your materials on a clean table so everything is ready.
Step 2
Fold the paper in half widthwise by bringing the short edges together and press the crease flat.
Step 3
Fold the top left and top right corners down to meet the center crease to make a triangle with a rectangle below.
Step 4
Fold the bottom flaps up on both sides so they lie over the base of the triangle and press the creases.
Step 5
Hold the triangle and gently pull the two outer points apart to open the bottom and flatten it into a diamond shape.
Step 6
Fold the bottom corner of the diamond up on both sides so you have a smaller triangle shape.
Step 7
Pull the two outer points of the small triangle apart to open and flatten it into a square.
Step 8
Gently pull the top points of the square apart to form the boat and shape the sides so it sits upright.
Step 9
Use your colouring materials and stickers to decorate the boat any way you like.
Step 10
Fill a large bowl bathtub or sink with water and dry nearby surfaces with the towel.
Step 11
Place your decorated boat gently on the water and watch how it floats.
Step 12
Add a small weight to the center of the boat then move the weight to different spots to see how balance and sailing change.
Step 13
Share your finished origami boat and what you learned about weight and balance on DIY.org
Help!?
What can we use instead of origami paper if we don't have any?
Use regular printer paper or a trimmed cereal-box sheet cut to the same rectangle and follow step 2 (fold the short edges together), but avoid very thick cardstock which may sink and very thin tissue that rips.
My boat won't open into a diamond at step 5 or it tears when I try—what should I do?
If the boat won't open at step 5, re-crease the folds from steps 2–4 with a fingernail or ruler and gently ease the outer points apart, and if the paper tears start again with slightly thicker printer paper.
How can I adapt this activity for younger or older kids?
For preschoolers, pre-fold through step 4 and let them do the safer step 5 opening and step 9 decorating, while older kids can quantify how much weight in step 12 makes the boat sink and record measurements.
How can we enhance or personalize the boat beyond coloring and stickers?
Reinforce the hull edges with clear tape after step 8, add a toothpick mast and paper sail before placing the boat in the water at step 11, and then experiment with moving the weight in step 12 to change balance and sailing behavior.
Watch videos on how to Sail With the Origami Boat
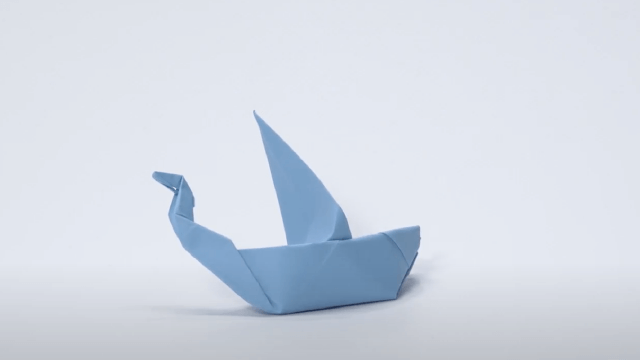
How to Make an Easy Origami Boat - Perfect for Kids & Beginners! ⛵️
4 Videos

How to Make an Easy Origami Boat - Perfect for Kids & Beginners! ⛵️
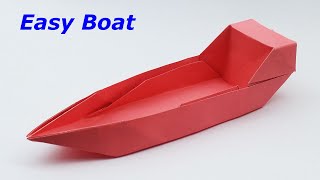
How To Make a Paper Boat - Origami Paper Boat Tutorial
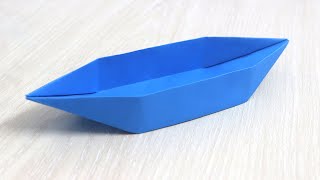
Make the BEST Paper Boat that Floats with Easy Origami Folding
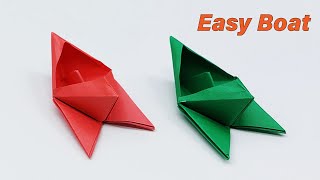
How to Make a Paper Boat | Origami Boat | Origami Step by Step Tutorial
Facts about origami and buoyancy
📄 Paper has been made for nearly 2,000 years — plenty of time to invent cool folds like boats!
🎌 'Origami' is Japanese for folding (ori) + paper (kami) — the name tells you exactly what to do!
🛶 A paper boat floats because its shape displaces water and creates buoyant force — shape matters more than size.
⚖️ Even a tiny extra weight (like a paperclip) can shift a boat's center of mass and make it tip over.
🧪 Coating or taping the bottom of a paper boat can stop it from soaking and help it sail longer.
How do you fold and test an origami boat so it sails?
What materials do I need to make and sail an origami boat?
What ages is the origami boat activity suitable for?
What are the benefits, variations, and safety tips for sailing origami boats?
