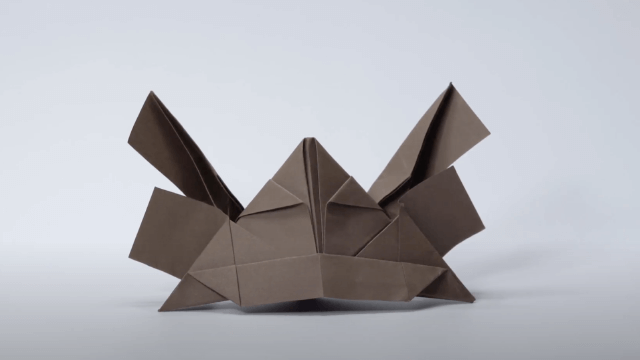
Origami Helmet
Fold a wearable origami helmet from paper, learn about symmetry and precision, decorate it, and test how it fits safely.


Step-by-step guide to make an origami helmet
Step 1
Place the A4 paper with the long side facing you and fold it in half from top to bottom so you have a long rectangle.
Step 2
Keep the folded edge at the top and fold the top two corners down so their points meet at the middle fold to make a triangle; this makes both sides match (symmetry).
Step 3
Fold the small triangular flap that sticks up at the top down over the two corner folds so its point touches the triangle base.
Step 4
Fold the front bottom rectangle up about halfway so it covers the triangle base and make a sharp crease.
Step 5
Turn the paper over so the back side faces you.
Step 6
Fold the other bottom rectangle up to line up with the front fold so both edges match.
Step 7
Tuck the right back corner into the pocket behind the triangle to start locking the helmet shape.
Step 8
Tuck the left back corner into the pocket as well so the helmet holds together firmly.
Step 9
Gently open the helmet by pulling the two sides apart and shape the opening so it fits a head.
Step 10
Try the helmet on your head to check how it fits and sit or stand safely while testing.
Step 11
If the helmet is loose, add a small piece of tape inside the back to make it snug and stable.
Step 12
Decorate the helmet using colouring materials and use the center fold to make matching designs on each side for neat symmetry.
Step 13
Share a photo of your finished origami helmet on DIY.org.
Help!?
What can I use if I don't have A4 paper?
If you don't have A4 paper, use U.S. letter (8.5×11) or trim a newspaper/magazine page to a similar long rectangle and follow the instruction to place the long side facing you and fold in half.
My helmet won't hold its shape when I tuck the back corners — what should I do?
If the back corners won't stay tucked into the pocket (steps 8–9), make sharper creases on the front bottom rectangle (step 4), press the triangular base flat, and add a small piece of tape inside the back as suggested (step 11) to lock the helmet.
How can I adapt this activity for younger or older kids?
For younger children, pre-fold to the triangle stage (step 2) and let them do the simpler bottom folds and decorate (steps 4 and 13), while older kids can tape two A4 sheets together before step 1 to make a larger, sturdier helmet to experiment with.
How can we make the helmet sturdier and more unique?
Reinforce the inside back with tape (step 11), add a ribbon or elastic strapped under the front and back folds so it stays on during testing (step 10), and use the center fold to draw matching designs before sharing a photo on DIY.org (step 14).
Watch videos on how to make an origami helmet
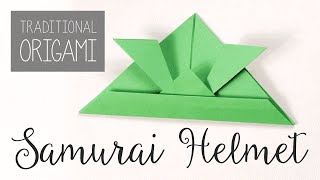
How to Make a Traditional Origami Samurai Helmet (Kabuto) - Perfect for Kids & Beginners! 🪖🇯🇵
4 Videos

How to Make a Traditional Origami Samurai Helmet (Kabuto) - Perfect for Kids & Beginners! 🪖🇯🇵

Easy Origami Helmet Tutorial - Fun Paper Craft!
Easy Origami Samurai Helmet Tutorial

How to Make a Traditional Origami Samurai Helmet Model Like a Pro with Kidzogami
Facts about origami and paper crafts
🎎 The origami kabuto (paper samurai helmet) is a traditional Japanese fold often made for Children's Day to celebrate bravery.
📐 Folding along symmetrical lines makes a helmet fit and balance better — symmetry helps both sides match perfectly.
🧱 A flat sheet of paper can hold a surprising amount of weight once folded into ridges and layers — folds add strength.
⏱️ You can fold a simple wearable paper helmet in about 5–10 minutes and with fewer than 10 major folds.
🚀 Origami ideas inspire engineers: foldable satellites, airbags, and medical devices use the same folding tricks.
How do you fold a wearable origami helmet step by step?
What materials do I need for an origami helmet?
What ages is folding an origami helmet suitable for?
Are there safety tips, benefits, or variations for origami helmets?
