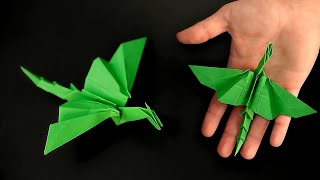
Make an Origami Dragon!
Fold paper to create a colorful origami dragon, learning basic folds, following step by step instructions, and decorating scales with crayons or markers.

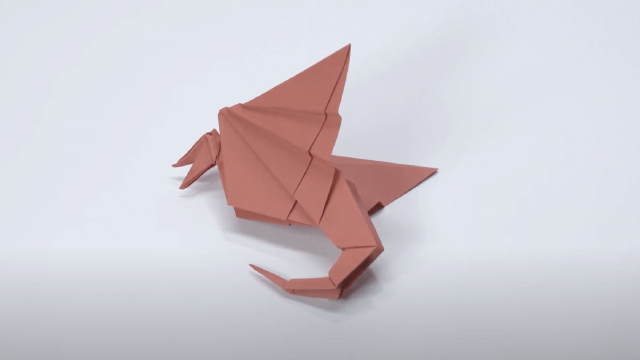

Step-by-step guide to make an origami dragon
Step 1
Place a rectangular sheet of paper on the table with the long side facing you.
Step 2
Fold the paper back and forth into an accordion with narrow equal folds about 2 cm wide until the whole sheet is folded.
Step 3
Press each fold flat with your fingernail or the side of a ruler.
Step 4
Fold one short end into a small triangle to make the dragon’s head.
Step 5
Fold the tip of that triangle outward a little to form a mouth flap.
Step 6
Use scissors to cut small V shapes into the opposite short end to make tail spikes.
Step 7
Gently fan open the accordion so the dragon’s body puffs and looks ruffly.
Step 8
Use colouring materials to draw scales along each folded ridge of the body.
Step 9
Give your dragon a name out loud.
Step 10
Share your finished origami dragon on DIY.org.
Help!?
What can we use if we don't have the rectangular paper, ruler, or scissors called for in the instructions?
Use any rectangular printer, construction, or wrapping paper cut to size, press each fold flat with a book edge instead of a ruler, and replace scissors by carefully tearing small V shapes or using child-safe cutters for the tail spikes.
My accordion folds are uneven or the dragon won't fan open—how can I fix that?
Before folding, mark 2 cm intervals with a pencil or a folded scrap strip, press each crease firmly with your fingernail or the side of a ruler as instructed, and gently fan open the accordion to avoid tearing the body.
How can I adapt the activity for younger or older children?
For younger kids, make wider 3–4 cm folds and have an adult pre-cut the tail and pre-fold the accordion, while older kids can try narrower 1 cm folds, a sharper triangle head with a smaller mouth flap, and more detailed colouring along each ridge.
How can we extend or personalize our origami dragon beyond colouring and naming?
Glue on googly eyes or sequins, attach pipe-cleaner wings or legs to the folded ridges, write a short origin story for the dragon, and share a photo of your finished origami dragon on DIY.org.
Watch videos on how to make an origami dragon
Origami Dragon - slow, step by step tutorial
4 Videos
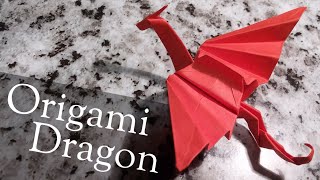
Origami Dragon - slow, step by step tutorial
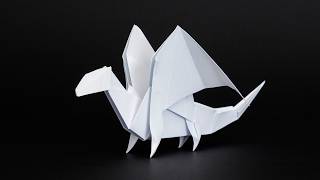
How to Make an Origami Dragon | Step-by-Step Tutorial
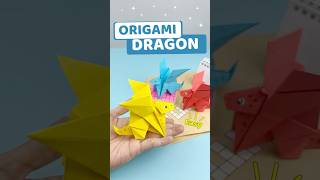
Origami Dragon | Origami Dragon Tutorial - Fun & Beginner Friendly
Easy Origami Dragon - How to Fold
Facts about origami and paper folding
🐉 Some origami dragon models can include wings, tails, and tiny claws — complicated ones can take dozens or even hundreds of folds!
🧾 The word "origami" comes from Japanese: "ori" (folding) + "kami" (paper).
🎨 Washi is traditional Japanese paper that’s strong and often beautifully patterned — ideal for colorful dragon scales.
✂️ Traditional origami uses no cuts or glue — just folding — so your dragon is made from one sheet of paper!
🧑🎨 Akira Yoshizawa helped popularize modern origami and created diagram symbols that made learning new folds much easier.
How do I fold an origami dragon step by step?
What materials do I need to make a colorful origami dragon?
What ages is making an origami dragon suitable for?
What are the benefits of folding origami dragons for kids?
