Create a Winter Landscape!
Make a winter landscape diorama using cardboard, paint, cotton, and paper; explore layering, texture, and perspective while decorating trees, snow, and sky.


Step-by-step guide to create a winter landscape diorama
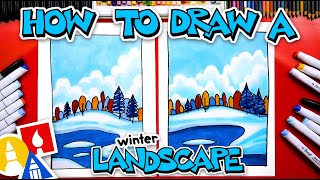
How To Draw A Winter Landscape
Step 1
Gather all your materials and clear a flat workspace where you can paint and cut safely.
Step 2
Cut off the front panel of the cardboard box so the inside becomes an open stage for your diorama.
Step 3
Paint the back panel of the box blue to make the winter sky and let the paint dry a little.
Step 4
Use white paint to add cloud shapes to the blue sky.
Step 5
Paint the bottom inside of the box white to make the snowy ground and let it dry.
Step 6
Draw tree shapes in different sizes on green construction paper and cut them out.
Step 7
Fold a small rectangular tab at the base of each paper tree to make a stand.
Step 8
Pull cotton balls into thin tufts and glue the tufts onto the tree branches to look like snow.
Step 9
Pull more cotton into tufts and glue them onto the painted floor to make snowdrifts.
Step 10
Arrange the trees inside the box from smallest at the back to largest at the front to create perspective.
Step 11
Glue each tree tab to the floor starting with the back trees so everything stands up securely.
Step 12
Cut small paper snowflakes or a moon from white paper.
Step 13
Glue the paper snowflakes or moon onto the sky area of the back panel.
Step 14
Dip a brush in white paint and gently flick it over the whole scene to add light falling snow speckles.
Step 15
Share your finished winter landscape diorama on DIY.org.
Help!?
What can we use instead of the cardboard box, green construction paper, or cotton balls if we don't have them?
Use a shoebox or open a cereal box into a stage instead of the cardboard box, paint or cut tree shapes from colored magazine pages if you lack green construction paper, and substitute torn tissue paper or polyester batting for cotton balls to make snow on the trees and floor.
My paper trees keep falling over—how can I fix that during the gluing step?
Make wider rectangular tabs at each tree base, score the fold for a sharp crease, and glue each tab with a bit more white glue while holding with clips or books until the glue sets so the trees stand securely when you glue them starting with the back trees.
How can I adapt this activity for younger children or older kids?
For younger kids, pre-cut the tree shapes and help with painting the sky and gluing cotton tufts, while older kids can design complex tree silhouettes, add layered background elements, and use a toothbrush or flicking technique to create finer falling-snow speckles.
What are some ways to enhance or personalize our finished winter landscape diorama?
Add battery-operated LED fairy lights behind the trees for sparkle, sprinkle fine glitter or clear-drying glue to make icicles on branches, and cut out and glue small paper animals or a sleigh onto the snowy ground to personalize the scene.
Watch videos on how to create a winter landscape diorama
How To Draw A Winter Landscape - version 2
4 Videos
How To Draw A Winter Landscape - version 2
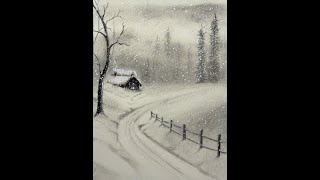
Simple Winter Landscape Drawing: Snowy Cabin & Trees Tutorial | Charcoal & Acrylic Art for Beginners

REAL TIME child walking winter scene » Easy WATERCOLOR winter landscape painting tutorial beginner
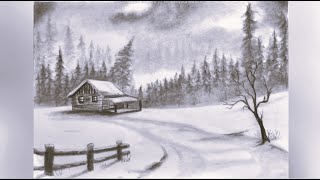
How to Draw a Simple Landscape in Winter with Pencils | Snowy Cottage, Trees | Easy Step by Step Art
Facts about diorama-making and mixed-media crafts for kids
🎨 Dioramas became popular in the 19th century as museum displays to show realistic miniature scenes.
🎯 Linear perspective tricks—like a horizon line and converging lines—make tiny dioramas look much deeper.
❄️ Adding a touch of blue or gray to white paint helps snow look shaded instead of flat and shiny.
📦 Corrugated cardboard is lightweight, strong, and easy to cut — ideal for hills, platforms, and backing.
🌲 Cotton, torn paper, and layered tissue create fluffy, three-dimensional snow and cloud textures without special tools.
How do I create a winter landscape diorama?
What materials do I need for a winter landscape diorama?
What ages is this activity suitable for?
What are the benefits of making a winter landscape diorama?
