Create Abstract patterns with Colorwheel Pinwheel
Make a colorwheel pinwheel from paper, paint segments, then spin it to create and study abstract patterns, color mixing, and radial symmetry.


Step-by-step guide to Create Abstract patterns with Colorwheel Pinwheel
Dot Mandala PINWHEEL Design Step By Step Tutorial | Lydia May
Step 1
Fold the square paper corner to corner and press a strong crease.
Step 2
Fold the paper along the other diagonal and press a strong crease.
Step 3
Fold the paper in half left to right and press a strong crease.
Step 4
Fold the paper in half top to bottom and press a strong crease.
Step 5
Open the paper flat and mark a small circle about 1 cm across at the center where the creases meet.
Step 6
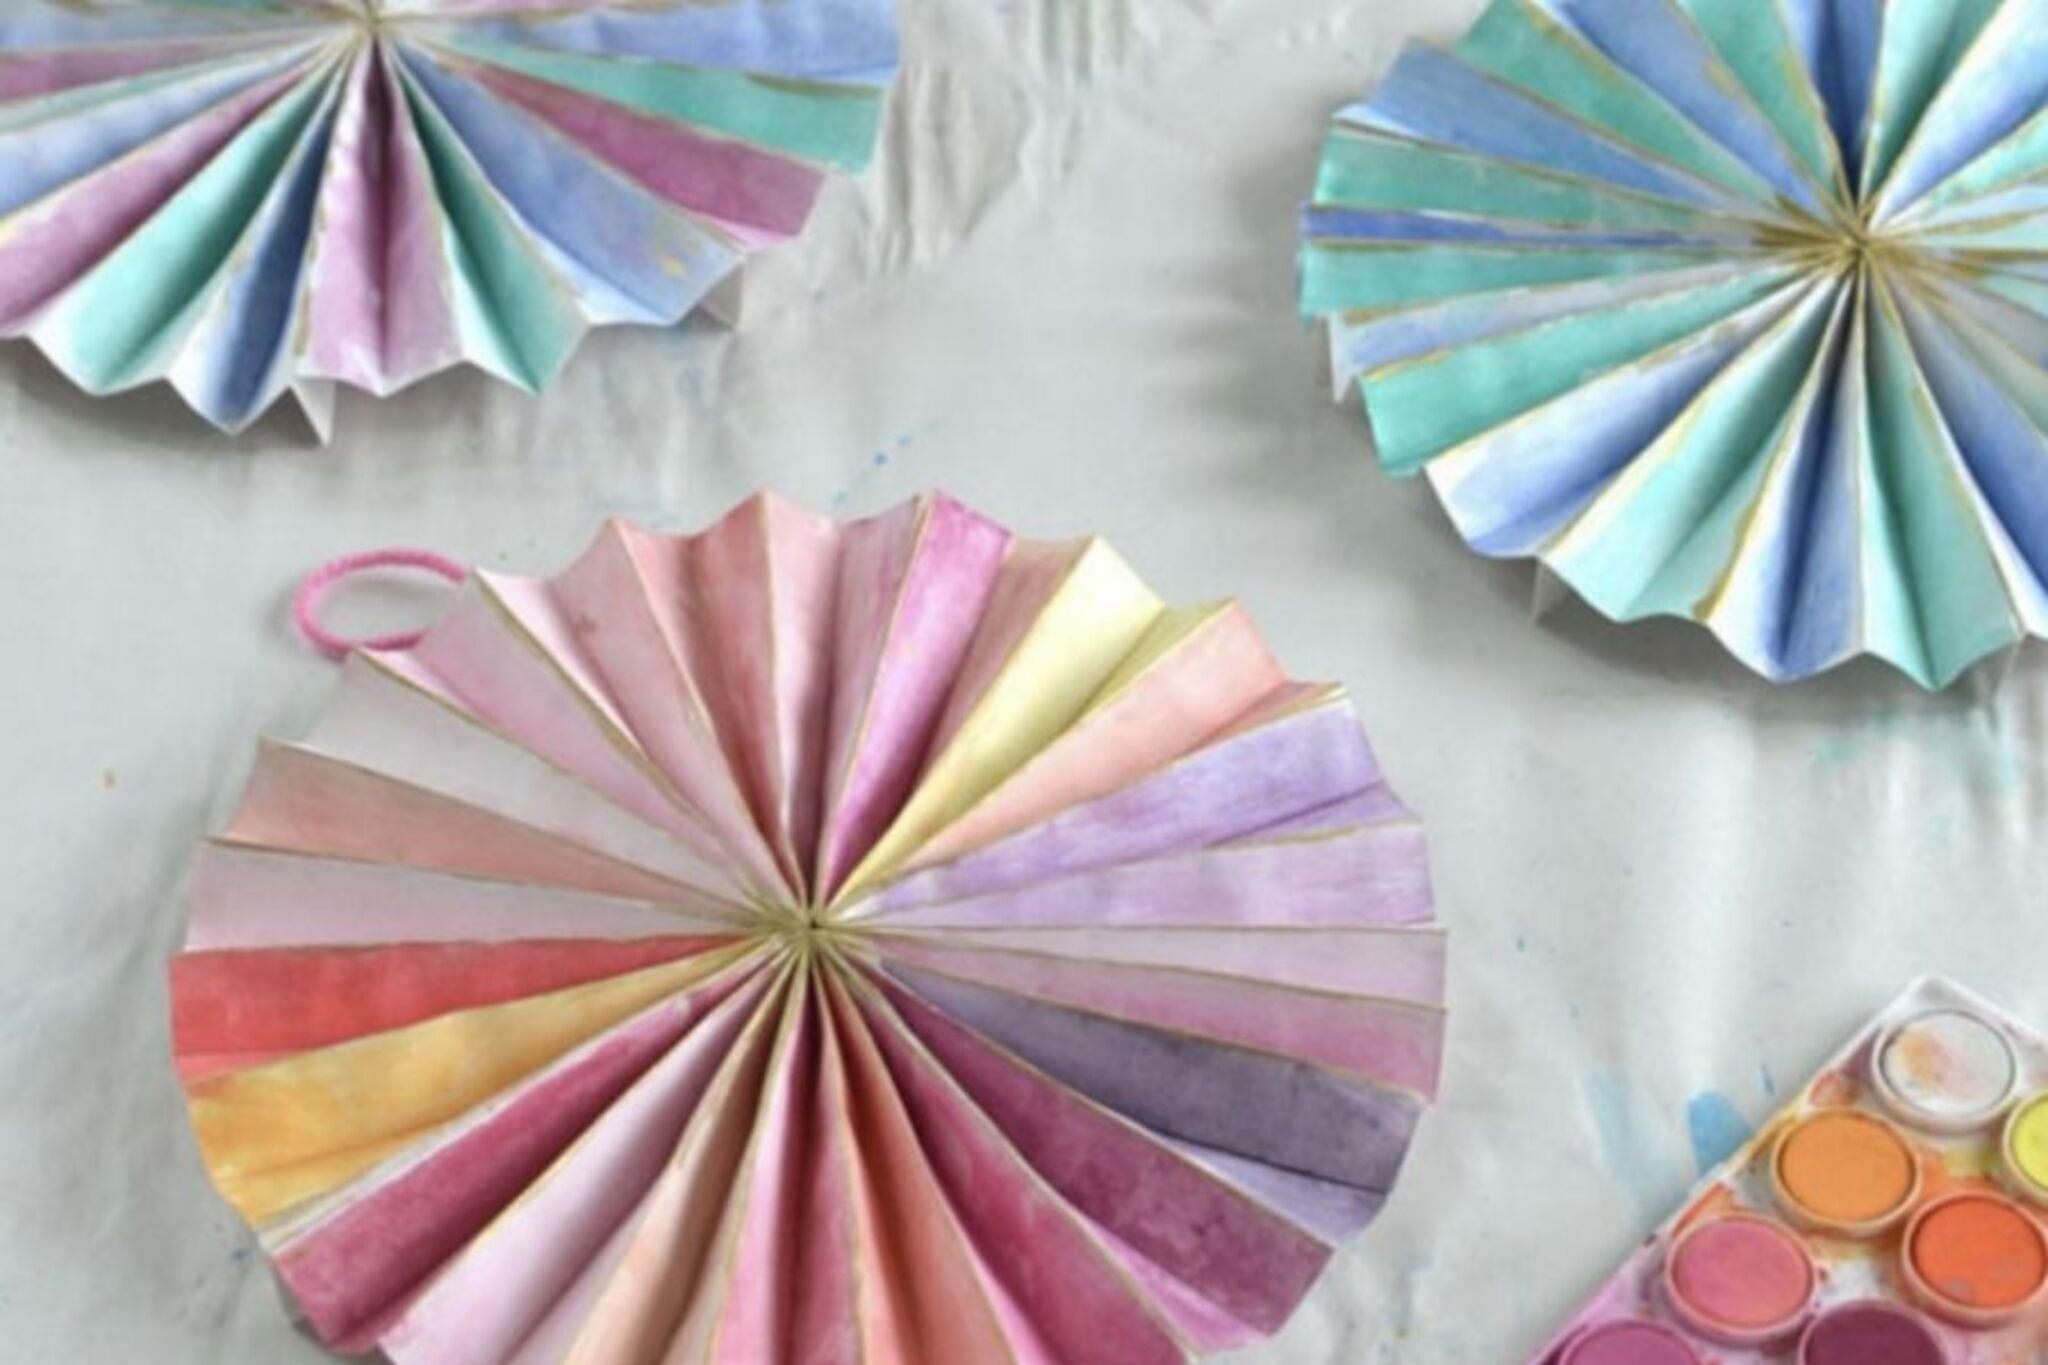
Paint alternating wedge sections around the center with the three primary colors in order (for example red then yellow then blue).
Step 7
Mix pairs of the primary colors on your palette to make the three secondary colors (orange green purple).
Step 8
Paint the wedges between the primaries with the matching secondary colors so each secondary sits between its two primaries.
Step 9
Wait until the paint is fully dry and not tacky before moving on.
Step 10
Cut from each corner toward the center circle and stop cutting when you reach the circle to make four slits.
Step 11
Fold every other corner point into the center so the folded tips overlap the marked circle.
Step 12
Push the pushpin through the overlapped tips and the center circle into the eraser of the pencil leaving a little space so the pinwheel can spin freely.
Step 13
Give the pencil a gentle spin and watch the colors blend into abstract patterns and notice the radial symmetry as it turns.
Step 14
Share a photo or description of your finished colorwheel pinwheel on DIY.org.
Help!?
What can we use if we don't have paint, a pushpin, or a pencil with an eraser?
Use markers or crayons to color the wedges instead of paint, a small brad (paper fastener) and straw or skewer in place of the pushpin, and a cork or thick bead instead of a pencil eraser when following the folding, cutting, and pinning steps.
My pinwheel won't spin or the folded tips are stuck — what should I check and fix?
Make sure the paint is fully dry before cutting and folding (step 'Wait until the paint is fully dry'), don't cut past the center circle, and leave a little space when pushing the pushpin into the eraser so the pinwheel can spin freely, or loosen the pin and add a small bead between the paper and eraser to reduce friction.
How can I adapt this activity for preschoolers or older kids?
For preschoolers, pre-fold the creases, pre-cut the four slits and let them color wedges with crayons or stickers, and for older kids have them mix paints to make the secondary colors precisely, draw the center circle with a compass, and experiment with cardstock or different pin sizes for stronger spin.
How can we enhance or personalize the colorwheel pinwheel once it's finished?
Personalize it by adding a clear coat of diluted glue or varnish for shine, glitter along specific wedges, write names or symmetrical designs on wedges before folding, make a mobile of several sizes, or photograph and share the finished colorwheel on DIY.org as suggested in the final step.
Watch videos on how to Create Abstract patterns with Colorwheel Pinwheel
PAPER PINWHEEL | Step by Step Guide on How to Make a Pinwheel | Science Project
4 Videos
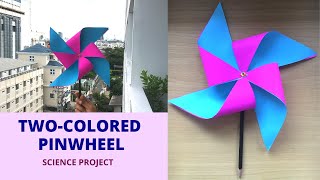
PAPER PINWHEEL | Step by Step Guide on How to Make a Pinwheel | Science Project
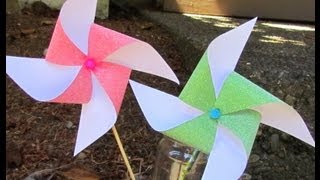
How to make a Pinwheel that Spins! EZ Tutorial!
How to make a pinwheel that spins? | Paper Windmill | Paper Pinwheel Tutorial | Easy Crafts | DIY
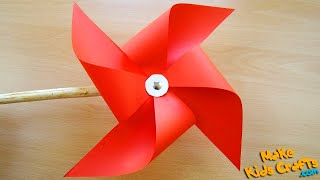
How to Make a PINWHEEL!! - (Easy for Kids!)
Facts about color theory and paper crafts for kids
🎨 Isaac Newton drew the first circular color diagram in 1666 — an early color wheel that shaped how we organize colors today.
🌈 Mixing light (additive color) uses red, green, and blue; combine all three and your eyes see white light!
🖌️ Mixing paints (subtractive color) works differently — combine lots of pigments and you usually get brownish tones, not white.
🌀 When a pinwheel spins fast, your eyes blend the painted segments into new colors because of persistence of vision.
🌸 Radial symmetry means parts repeat around a center — many flowers, starfish, and mandalas show this pattern in nature.
How do I make and use a colorwheel pinwheel to create abstract patterns?
What materials do I need to make a colorwheel pinwheel?
What ages is the colorwheel pinwheel activity suitable for?
What are the benefits of making and spinning a colorwheel pinwheel?
