Make An Acrylic Painting Artpiece
Create an acrylic painting artpiece using brushes, palette, and canvas; learn mixing colors, layering techniques, and safe cleanup while expressing personal creativity.


Step-by-step guide to make an acrylic painting art piece
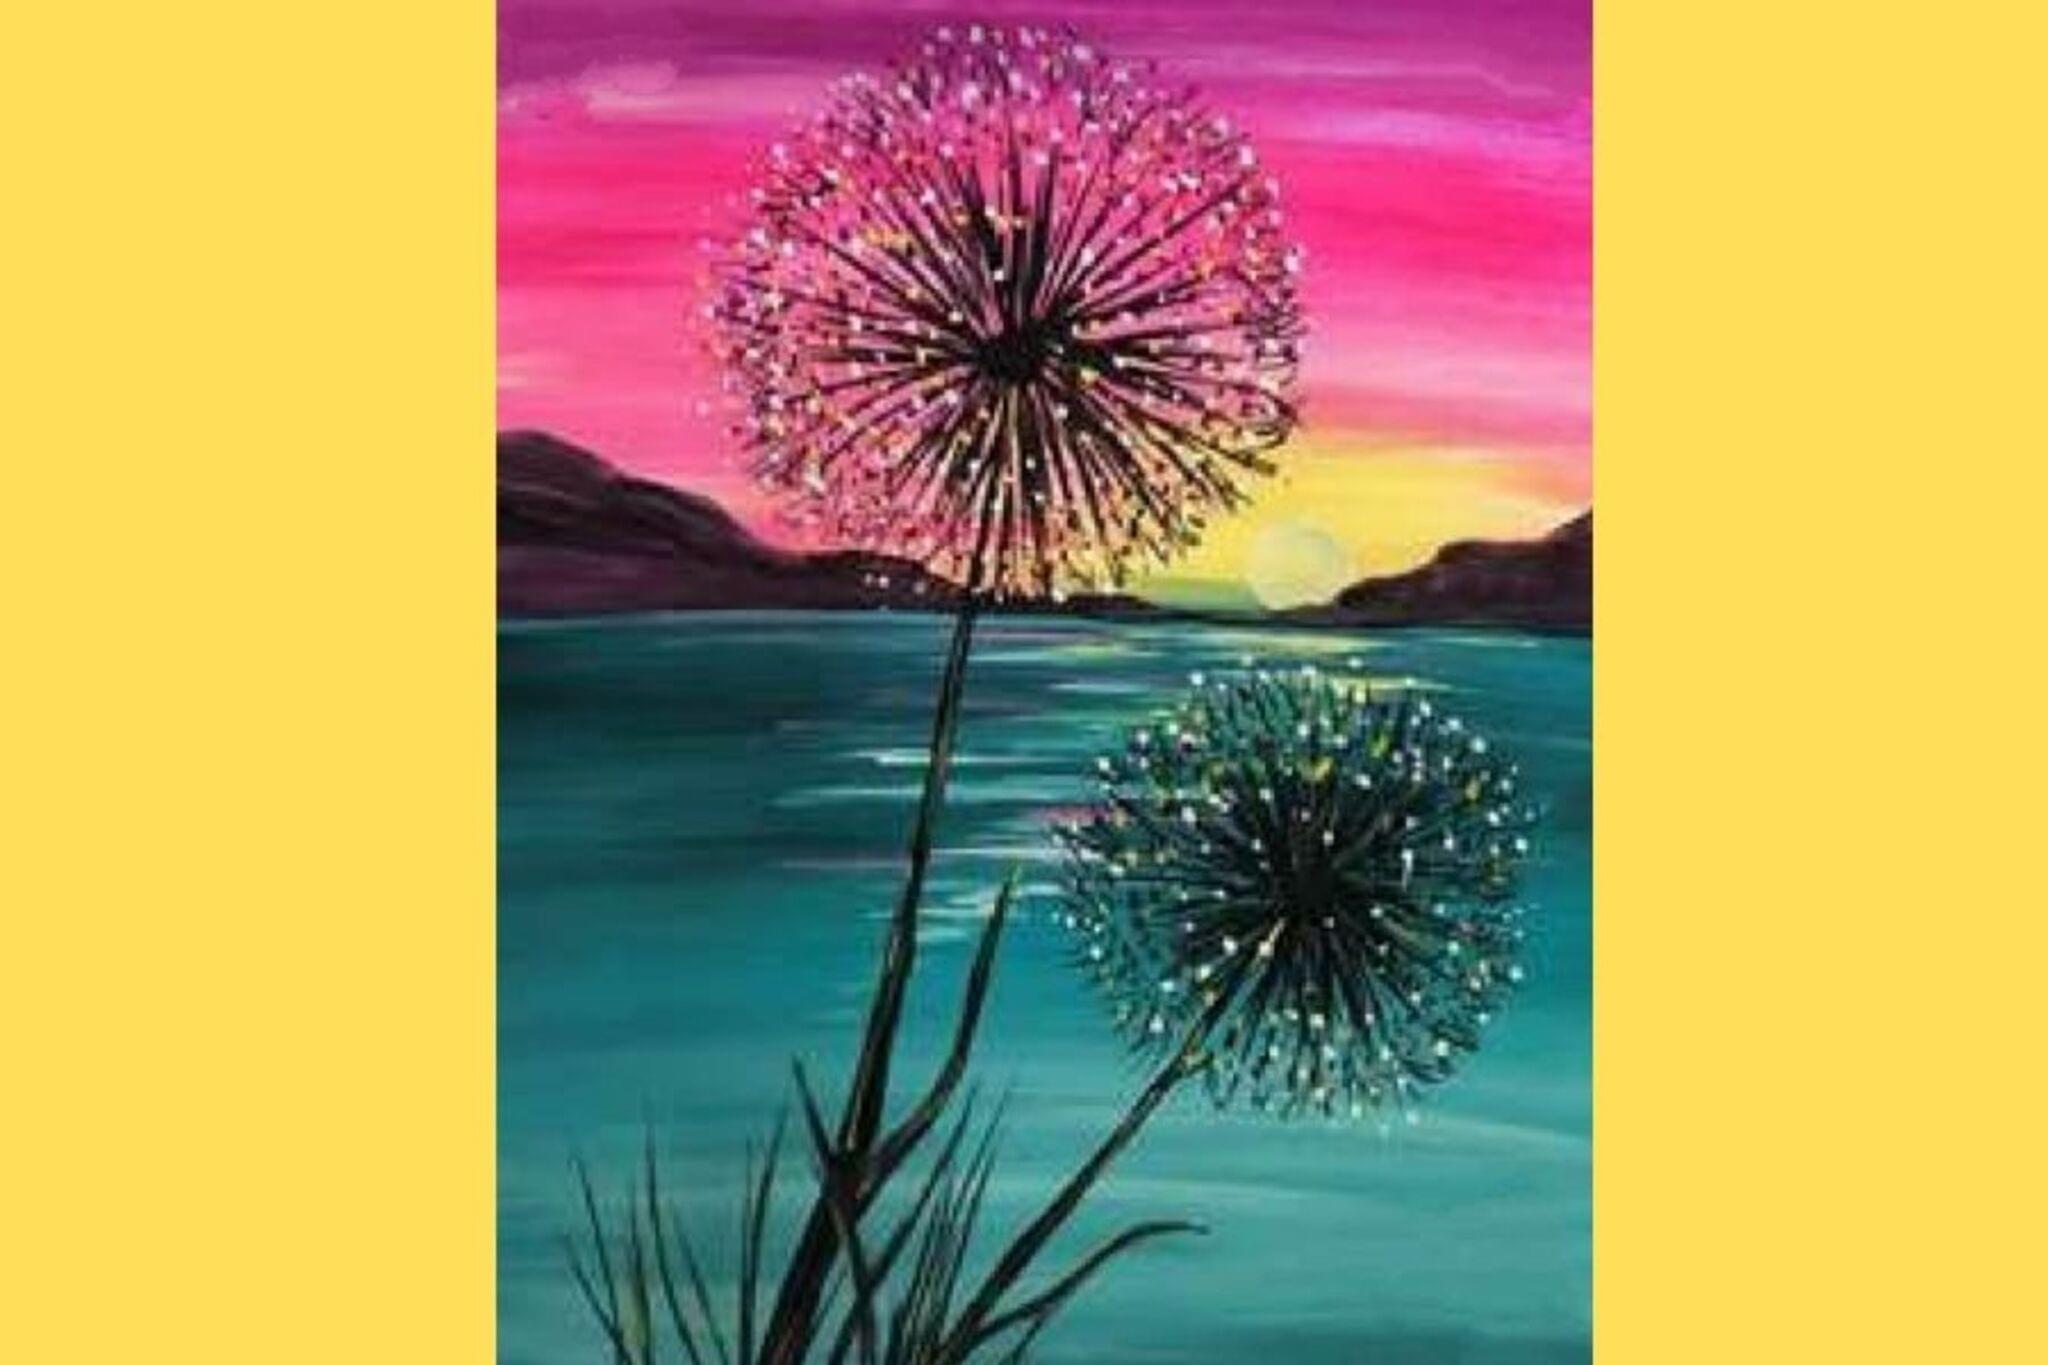
River Forest STEP by STEP | EASY Acrylic Painting Tutorial for Beginners
Step 1
Cover your work surface with newspaper or a plastic sheet.
Step 2
Place your canvas upright and set out the palette brushes water cup and paper towels.
Step 3
Lightly sketch your design on the canvas with a pencil.
Step 4
Squeeze small blobs of acrylic paint onto the palette.
Step 5
Mix new colors on the palette by blending primary paints and adding white to make tints.
Step 6
Thin a small amount of one mixed color on the palette by adding a few drops of water.
Step 7
Load a medium brush with the thinned paint.
Step 8
Paint the background using broad even strokes to cover large areas.
Step 9
Wait until the background is dry to the touch about 5 to 15 minutes.
Step 10
Paint middle and foreground layers with thicker paint to build shapes and depth.
Step 11
Use a small brush to add details highlights and shadows.
Step 12
Rinse your brushes in the water cup until the water runs clear.
Step 13
Let the painting dry completely.
Step 14
Sign your name in a corner of your finished painting.
Step 15
Share your finished creation on DIY.org
Help!?
What can we use if we don't have a canvas, acrylic paint, or a paint palette?
Use heavyweight watercolor paper or a stiff cardboard panel instead of the canvas, student-grade acrylics or washable tempera in place of artist acrylic paint, and a clean plastic plate or a piece of wax paper as your palette.
Why does my background stay tacky or my colors look muddy, and how can I fix it?
If the background stays tacky past the 5–15 minute drying step or colors get muddy, use less water when you 'Thin a small amount' of paint, blot excess with paper towels, let the background fully dry before adding middle/foreground layers, and rinse brushes until the water runs clear between colors.
How can I change the activity for younger kids or make it more challenging for older kids?
For younger children, simplify the 'Lightly sketch your design' step, give large brushes, pre-mixed colors, and washable paints, while older kids can practice mixing tints, thinning paints for glazing, and building thicker middle/foreground layers for depth.
What are easy ways to extend or personalize the finished painting?
After the painting is dry, add texture with glued-on materials before painting, use metallic or gloss acrylics for highlights when adding 'details, highlights and shadows', varnish the finished piece, sign your name in a corner, and share it on DIY.org.
Watch videos on how to make an acrylic painting art piece
Realistic Acrylic Painting: EASY Steps for Beginners
4 Videos
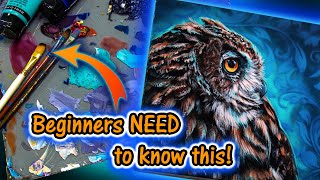
Realistic Acrylic Painting: EASY Steps for Beginners
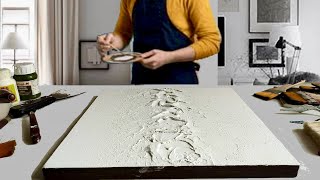
Mastering TEXTURED Art / Easy ACRYLIC Painting Tutorial / Simple ABSTRACT for Beginners
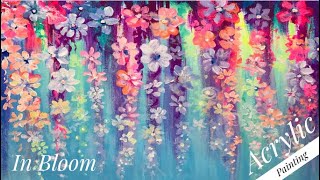
EASY! ACRYLIC PAINTING -STEP BY STEP/ HOW TO PAINT FLOWERS
![3 Acrylic Painting Techniques for Beginners 🎨 [Add depth & texture to your artwork]](https://img.youtube.com/vi/Qpd8tRl59fA/mqdefault.jpg)
3 Acrylic Painting Techniques for Beginners 🎨 [Add depth & texture to your artwork]
Facts about acrylic painting for kids
🖌️ Acrylic paint can dry in minutes to hours, so you can layer colors fast—perfect for trying new ideas quickly!
🎨 Acrylics became hugely popular with artists in the 1950s and 1960s because they're versatile and durable.
💧 While wet, acrylics mix with water, but once dry they form a water-resistant plastic film.
🌈 You can mix thousands of shades by combining three primary colors (red, blue, yellow) plus white for tints.
🧼 Clean brushes with soap and water right after painting—dried acrylic is tough to remove from bristles.
How do I make an acrylic painting artpiece with my child?
What materials do I need to create an acrylic painting artpiece with kids?
What ages is acrylic painting suitable for?
What are safety tips and cleanup steps for acrylic painting with children?
