Create a 3-D Doodle Artwork
Make a 3-D doodle artwork using paper strips, glue, and markers. Learn layering, depth, and simple sculpture techniques while decorating your design.


Step-by-step guide to create a 3-D doodle artwork
Ultimate Guide on How to Draw 3D Steps - Trick Art For Kids
Step 1
Gather all the materials listed and set them on a clear workspace.
Step 2
Pick a doodle idea you want to turn into a 3 D artwork.
Step 3
Lightly draw the doodle outline on your base paper with a pencil.
Step 4
Cut the coloured or scrap paper into strips of different widths and lengths.
Step 5
Curl or fold some strips into loops arches or coils to make 3 D shapes.
Step 6
Arrange the paper strips on your sketch without glue to plan the layers and positions.
Step 7
Glue one paper strip to the base paper where you planned it.
Step 8
Glue the next strips one at a time layering them to build depth and form.
Step 9
Press each glued spot gently for a few seconds to secure the strip.
Step 10
Wait about ten minutes for the glue to set until it feels not tacky.
Step 11
Decorate the strips and the background with markers to add patterns and color.
Step 12
Let the whole artwork dry completely before moving it.
Step 13
Share your finished 3 D doodle artwork on DIY.org
Help!?
What can we use if we don't have coloured or scrap paper or craft glue?
If coloured or scrap paper isn't available use magazine pages, wrapping paper, or cereal-box cardstock cut into strips and replace craft glue with a glue stick or double-sided tape when you reach the 'Glue one paper strip to the base paper...' step.
My paper strips keep flattening or the glue stays tacky—how can we fix that?
If strips flatten or glue stays tacky, press each glued spot longer and temporarily hold loops with small clothespins or paper clips while you 'Wait about ten minutes for the glue to set' so layers and coils hold their shape.
How can I adapt this 3-D doodle project for younger or older kids?
For preschoolers pre-cut wider strips and simple loops for them to arrange and glue, while older kids can cut varied widths, create tight coils and complex layered compositions during the 'Curl or fold some strips...' and 'Glue the next strips...' steps.
What are easy ways to personalize or make the artwork more advanced?
To enhance the piece, add foam tape under select strips for extra height, glue on sequins or textured fabric before decorating with markers, and photograph the finished 3 D doodle to share on DIY.org as in the final step.
Watch videos on how to create a 3-D doodle artwork
How to draw basic 3D shapes for kids How to draw basic forms (3D shapes) step by step
4 Videos
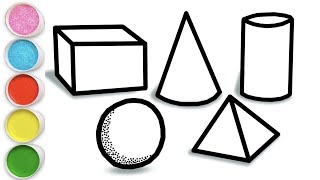
How to draw basic 3D shapes for kids How to draw basic forms (3D shapes) step by step
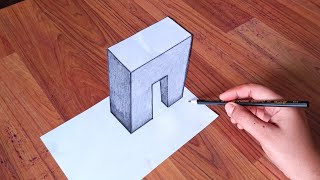
3D Drawing Tutorial for Beginners - Step by Step Guide and Tips
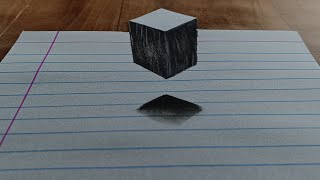
Easy 3D drawing on Paper for Beginners - Step-by-Step | How to Draw 3D | Optical illusion

How to Draw 3D Shapes | Easy Step-by-Step Tutorial
Facts about paper sculpture for kids
🧻 Paper can hold surprising strength when folded or layered—many paper sculptures support their own weight without frames.
✂️ Papercraft artists often use slits, tabs, and interlocking pieces so components fit together without glue.
🖊️ Markers come in water-based and alcohol-based inks; water-based markers are easier to blend and safer for kids.
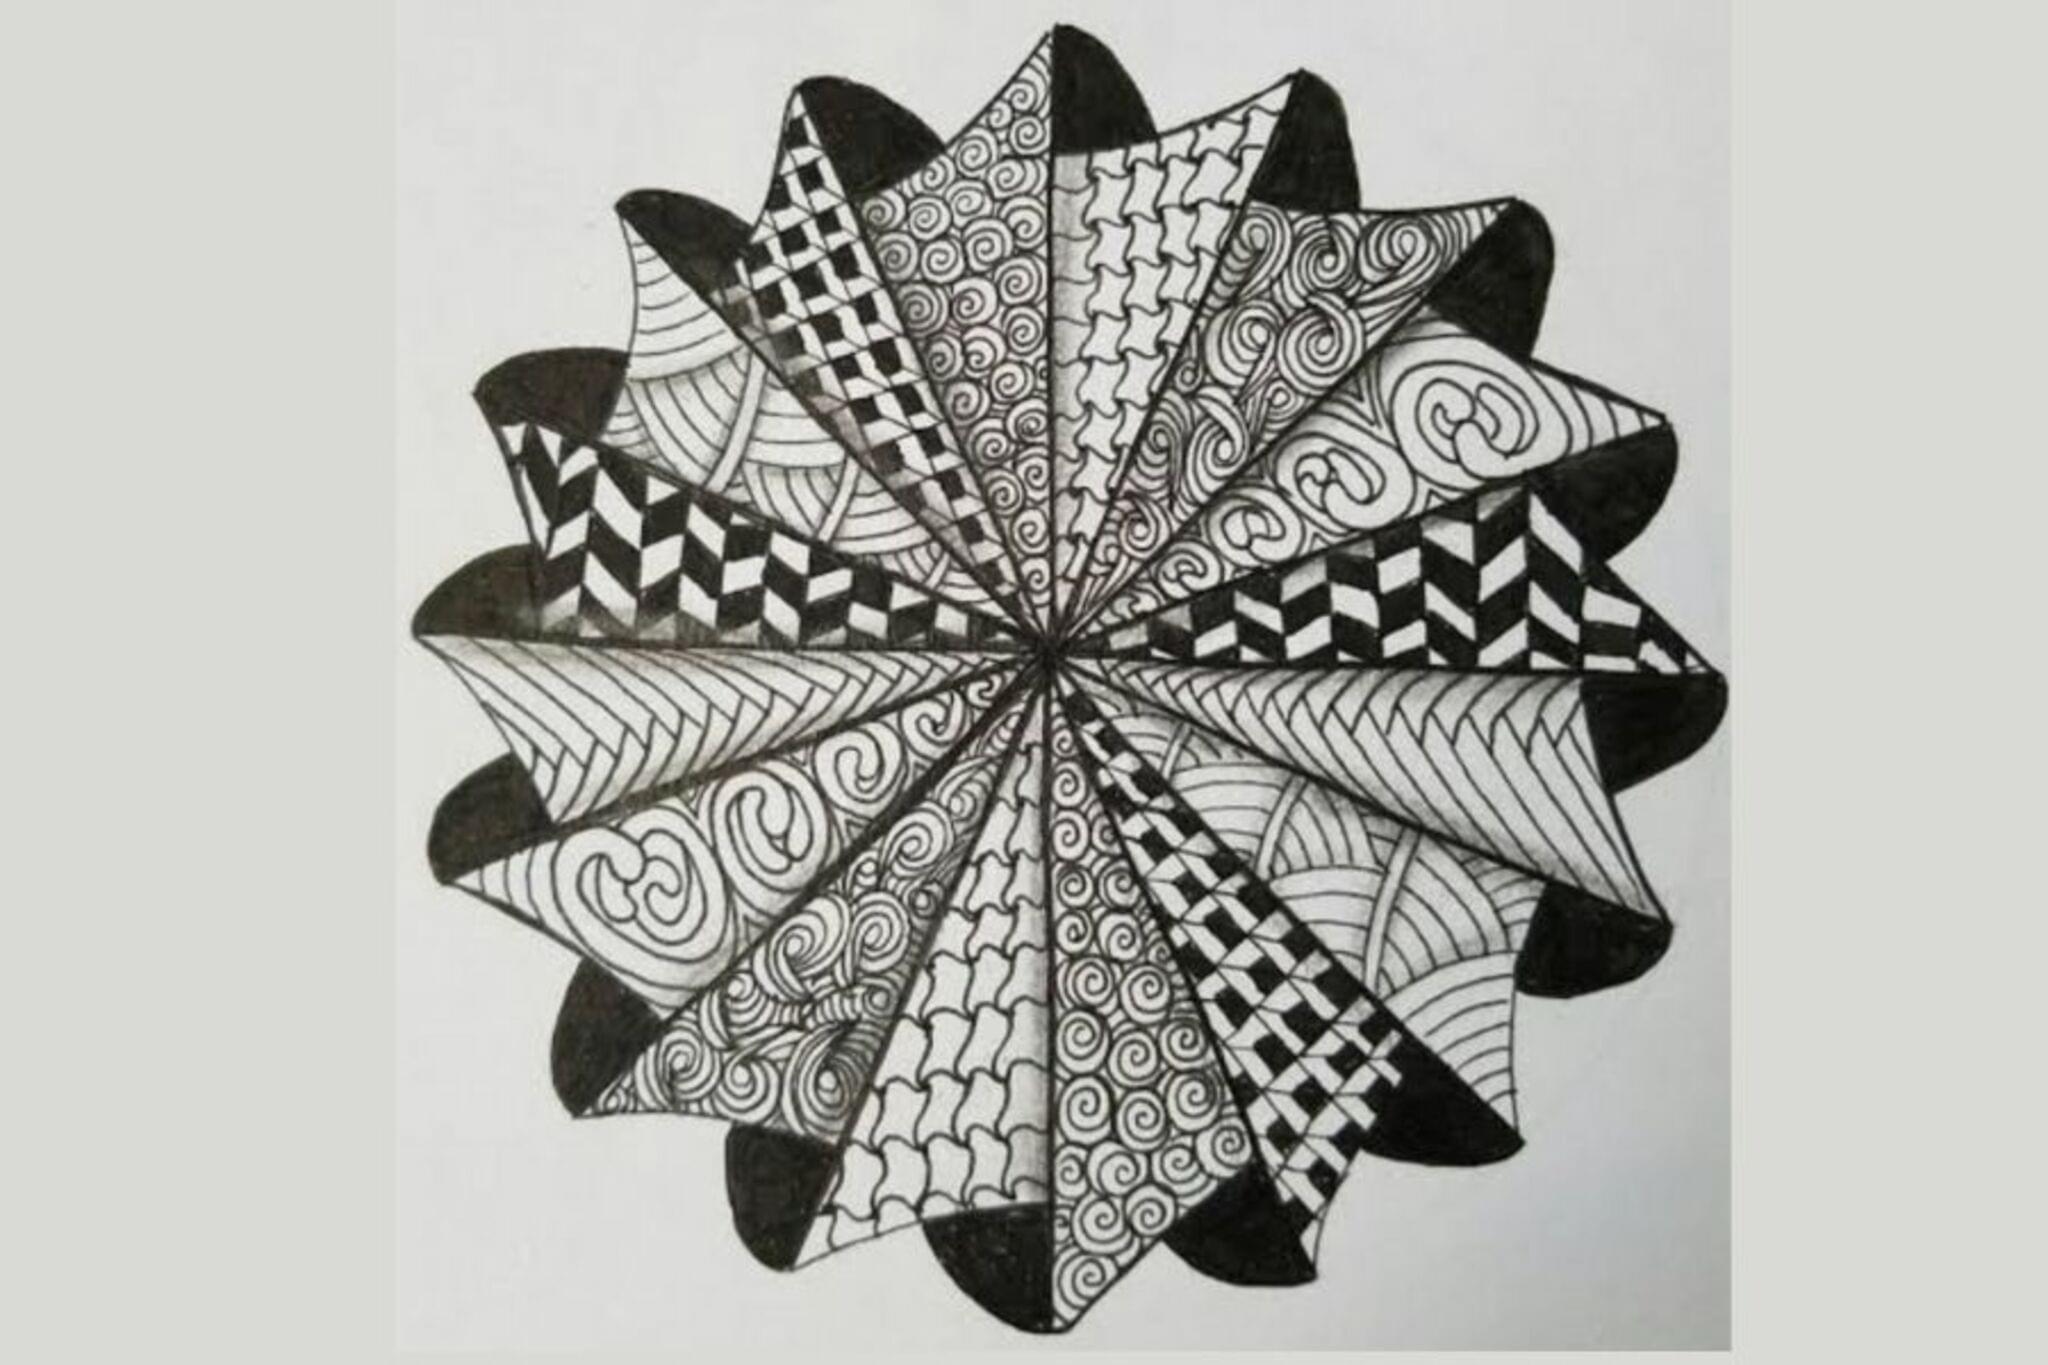
🎨 Zentangle is a modern doodling practice that uses repeating patterns to create relaxing, decorative designs—great for 3-D doodle surfaces.
📚 Pop-up book engineers use clever folds, layers, and tabs to create depth—perfect inspiration for making layered 3-D doodles.
How do you make a 3-D doodle artwork?
What materials do I need for a 3-D doodle artwork?
What ages is this 3-D doodle activity suitable for?
What are the benefits, safety tips, and variations for 3-D doodle artworks?
