Build a ringing or knocking machine
Build a simple ringing or knocking machine using cardboard, rubber bands, small motor or crank, and a bell or mallet to explore mechanical motion.


Step-by-step guide to build a ringing or knocking machine
4 Sound Science Experiments for Kids
Step 1
Gather all the materials on a clear workspace so you can reach everything easily.
Step 2
Cut a cardboard rectangle about 20 cm by 12 cm to use as the base.
Step 3
Cut a small cardboard strip about 4 cm by 6 cm and fold it into a U shape to make a motor holder.
Step 4
Tape or glue the motor into the U-shaped holder so the motor shaft sticks out past the edge of the base.
Step 5
Tape the battery pack to the base near the motor and connect the battery wires to the motor terminals.
Step 6
Bend a paperclip into an L shape with a short nub to make an off-center cam.
Step 7
Push the short nub of the paperclip cam onto the motor shaft so it sits off-center.
Step 8
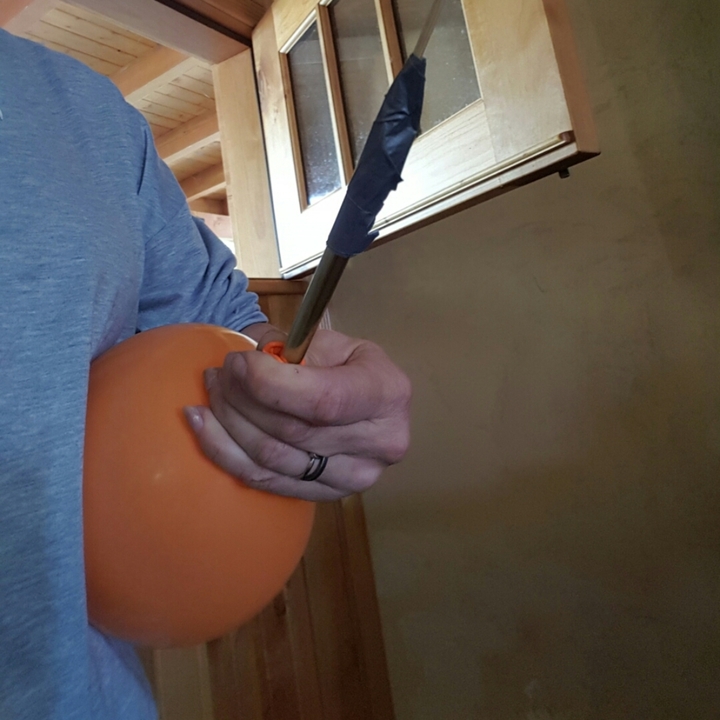
Tape the bell or mallet securely to the end of the wooden skewer or craft stick to make the striker.
Step 9
Stand the striker upright on the base and tape it so the cam will swing into it as the motor turns.
Step 10
Hook a rubber band from near the top of the striker to a taped anchor point on the base so the rubber band pulls the striker back after each hit.
Step 11
Turn on the motor by connecting the battery to make the cam spin.
Step 12
Listen carefully to see whether the cam hits the striker and makes the bell knock each rotation.
Step 13
If the striker does not knock, turn off the motor before touching any parts.
Step 14
Move the striker or rotate the cam position slightly and secure it so the cam makes a gentle knock once per rotation.
Step 15
Take a photo or short video and share your finished ringing or knocking machine on DIY.org
Help!?
What can we use if we don't have the small motor, battery pack, bell/mallet, or wooden skewer listed?
You can substitute the small motor with a vibrating motor from an old toy or a DC motor from a broken toothbrush, use an AA battery holder or a 9V battery clip instead of the battery pack, tape a metal washer or bottle cap to the end of a popsicle stick or pencil in place of the bell/mallet and replace the wooden skewer with that popsicle stick or pencil.
Why might the cam spin without knocking the striker, and how can we fix it?
If the cam spins but doesn't hit the striker, turn off the motor, then push the paperclip cam further onto the motor shaft so it's truly off-center, secure the U-shaped motor holder and base tape so nothing shifts, and adjust the striker position or rubber band anchor tension so the cam makes a gentle knock each rotation.
How can this activity be changed for younger kids or for older kids who want more challenge?
For younger children have an adult pre-cut the 20×12 cm cardboard base, fold and tape the U-shaped motor holder, and pre-connect the battery wires, while older kids can solder the battery wires, add a small on/off switch, experiment with multiple paperclip cams, and vary striker length to change rhythms.
What are simple ways to improve the sound or make the machine more interesting after it works?
Decorate and label the cardboard base, try different-shaped paperclip cams or add extra cams on the motor shaft to produce rhythms, attach different bells, washers, or bottle caps to the skewer for varied tones, and add a speed control or switch between the battery pack and motor to change tempo.
Watch videos on how to build a ringing or knocking machine
4 Fun Sound Science Experiment That Anyone Can Do!
4 Videos

4 Fun Sound Science Experiment That Anyone Can Do!
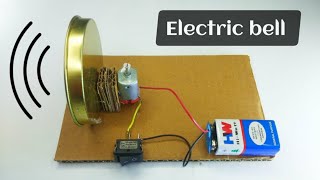
How to Make Electric bell / DIY electric bell
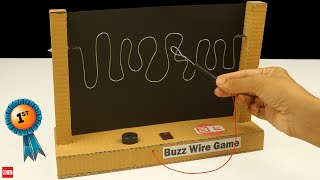
How to Make Buzz Wire Game at Home
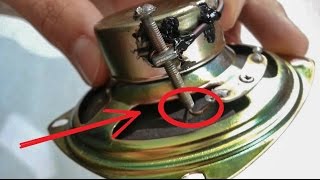
DIY Alarm Siren / Simple Noise Maker without transistors using only a Speaker ✔
Facts about simple machines and mechanical motion
🔔 Bells can be ancient — some of the oldest bells date back thousands of years and huge church bells can weigh several tons!
🤖 Small DC electric motors can spin at thousands of revolutions per minute and are the same kind used in many toys and simple machines.
🪢 A stretched rubber band stores elastic energy that can be released to make things move — toy planes and cars have used them for propulsion!
📦 Corrugated cardboard is lightweight but very strong for its weight, which is why it's great for building prototypes and kid projects.
🎨 Rube Goldberg drew funny, complicated machines to do simple tasks — people still build chain-reaction machines for contests and creativity.
How do you build a ringing or knocking machine?
What materials do I need to build a ringing or knocking machine?
What ages is this ringing machine activity suitable for?
What are the benefits, safety tips, and variations for the ringing machine?
