Design A Tote Bag
Design and decorate a reusable tote bag using fabric markers, stencils, and simple sewing or fabric glue to personalize a useful carryall.


Step-by-step guide to design a tote bag
Child's Fully Lined Tote Book Bag Easy Beginner Sewing Project with boxed corners
Step 1
Gather all materials and bring them to a flat clean workspace.
Step 2
Slide the cardboard insert into the tote bag to keep the two sides apart and stop marker bleed-through.
Step 3
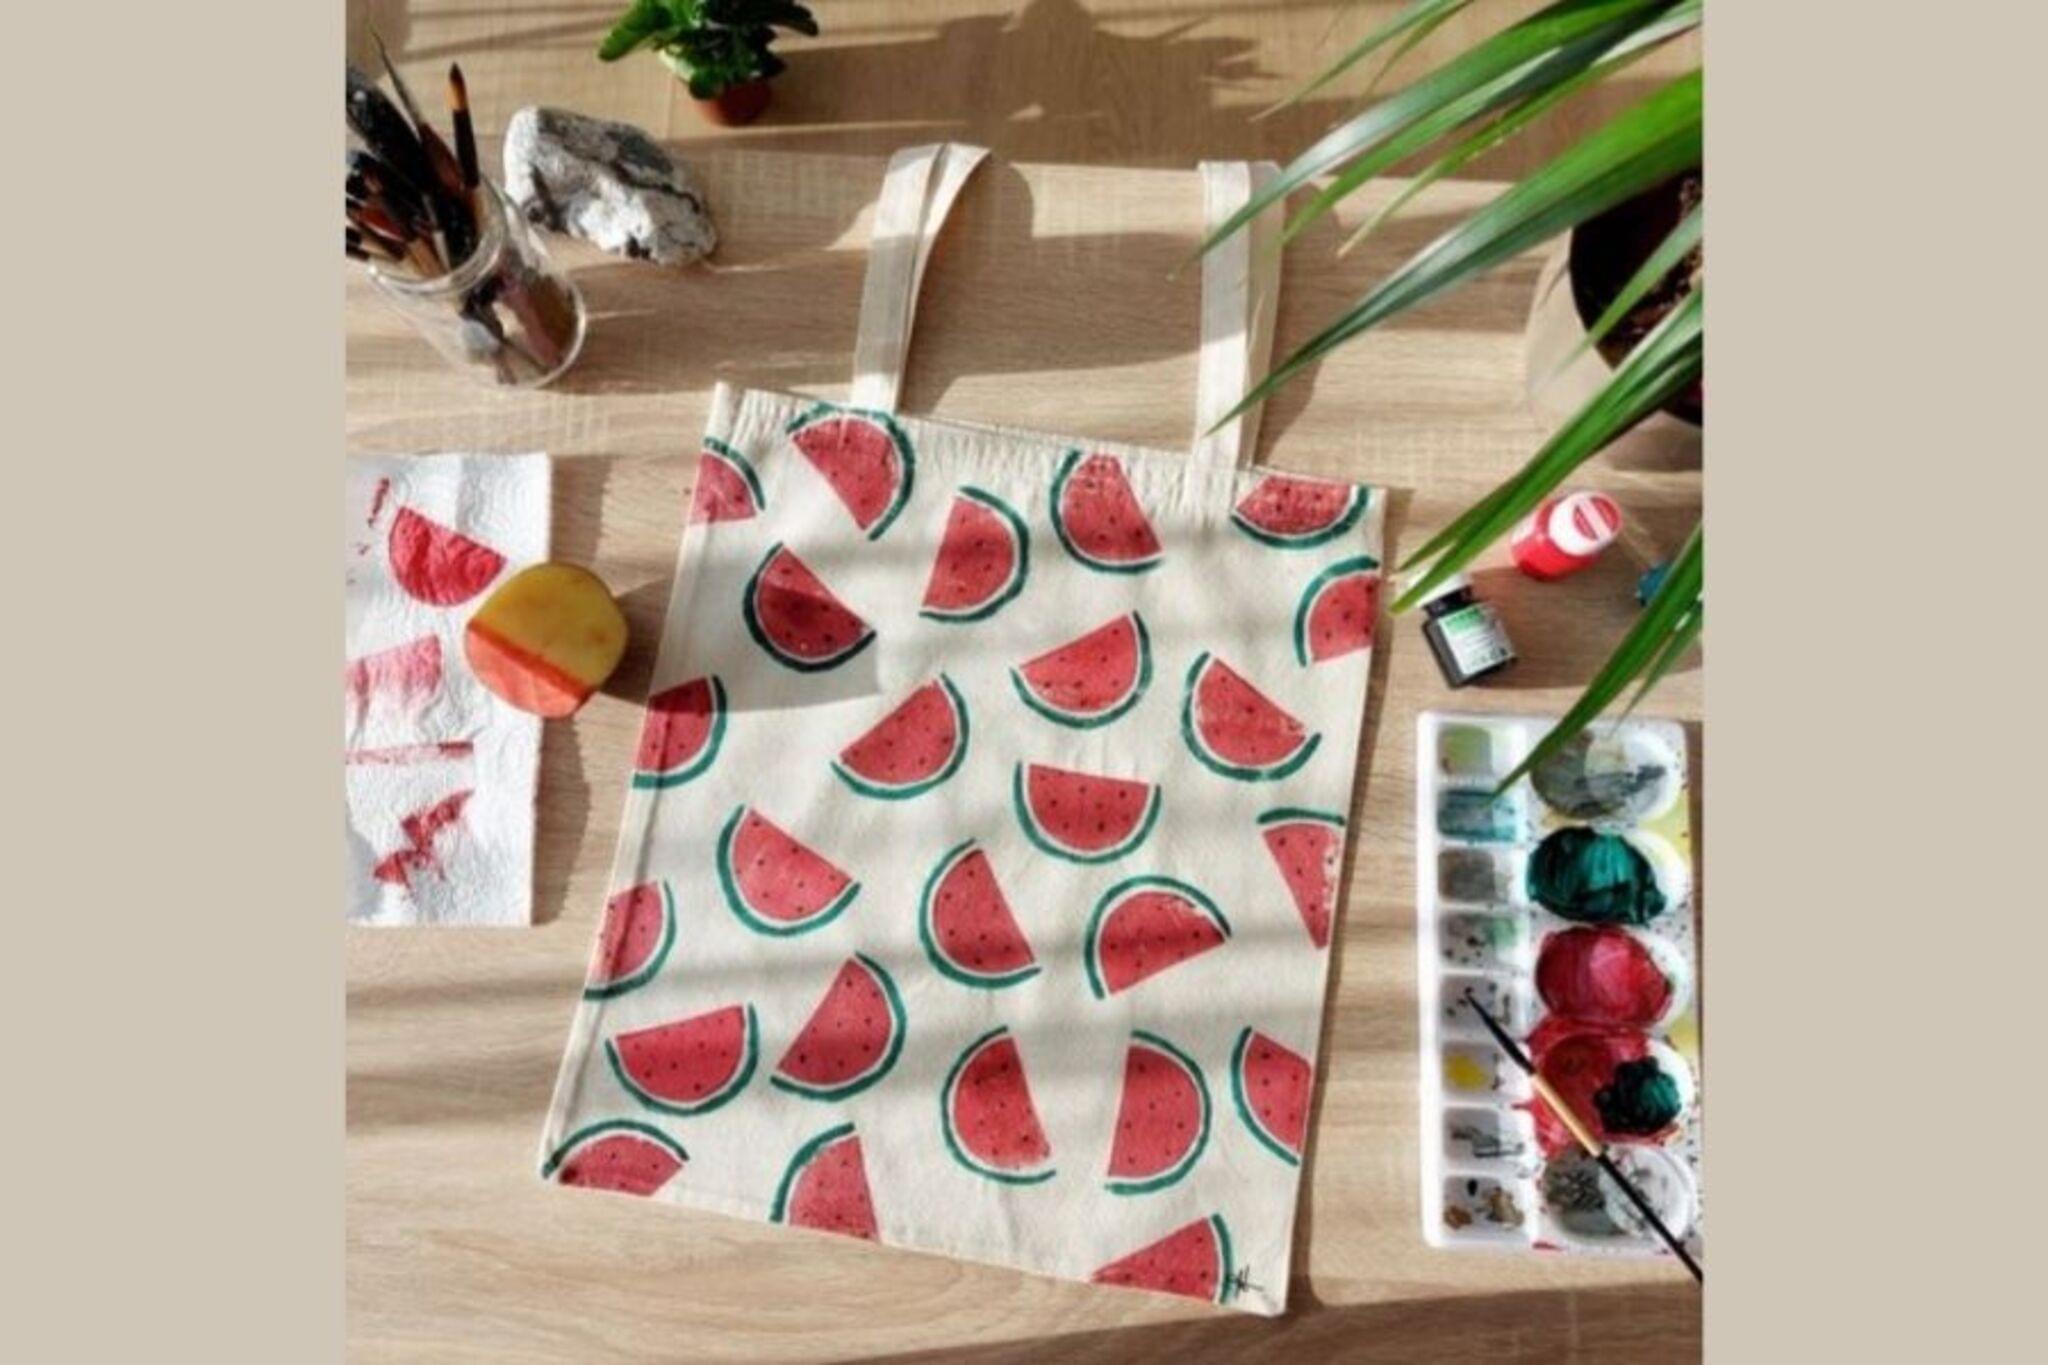
On a scrap piece of paper sketch a simple design or layout for your tote bag.
Step 4
Lightly draw your chosen design onto the tote bag with the pencil.
Step 5
Place a stencil over one area of your pencil drawing and secure it with a small piece of tape.
Step 6
Color inside the stencil shape on the bag using fabric markers with firm gentle strokes.
Step 7
Carefully remove the stencil to reveal the stenciled area.
Step 8
Attach any fabric patches or extra decorations by applying fabric glue and pressing them down or by sewing them on with a needle and thread.
Step 9
Let the fabric glue and marker ink dry completely for at least 24 hours before handling.
Step 10
Trim any loose threads or fabric edges with scissors to make the bag neat.
Step 11
Share a photo of your finished tote bag and tell the story of your design on DIY.org.
Help!?
What can I use instead of the cardboard insert if I can't find one?
If you don't have the cardboard insert (step 2), slide in a piece of cereal-box cardboard, a cut-to-fit file folder, or a thin plastic cutting board to keep the sides apart and prevent marker bleed-through.
My stencil kept slipping and the marker bled—what should I do?
If the stencil slips or the fabric markers bleed while coloring (steps 5–6), firmly tape the stencil with painter's tape, test markers on your scrap paper (step 3), use light but firm strokes, and add an extra layer of cardboard under the bag while allowing the full 24 hours to dry (step 9).
How can I adapt this project for younger or older kids?
For younger children, use pre-cut stencils, let them color with fabric markers and attach patches with fabric glue only (steps 5–6 and 8) while an adult handles any sewing and scissors (steps 8 and 10), and for older kids encourage freehand pencil designs (step 4), sewing patches (step 8), or adding embroidery for extra detail.
What are easy ways to personalize or extend the tote bag project?
To enhance the design, combine stenciling (steps 5–6) with iron-on transfers or fabric paint, add embroidered outlines or sewn-on patches using the needle and thread from step 8, stitch a small inner pocket before trimming edges (step 10), and then share the finished bag and its story on DIY.org (step 11).
Watch videos on how to design a tote bag
How to Sew a Reversible Children's Beach Bag: Fun DIY Tutorial! Book Bag, Tote Bag
4 Videos
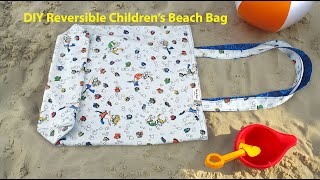
How to Sew a Reversible Children's Beach Bag: Fun DIY Tutorial! Book Bag, Tote Bag
Beginner Sewing Project | Tote Bag Tutorial
How To Make a Tote Bag For Beginners | Tote Bag Tutorial For Beginners
Tourist Tote Bag Tutorial - The PERECT beginner bag!
Facts about fabric crafts for kids
👜 The word “tote” comes from the verb “to tote,” which means “to carry” — perfect name for a carryall!
♻️ A single reusable tote bag can replace dozens (or even hundreds) of disposable plastic bags over its lifetime.
🎨 Stenciling has been a decorative technique for centuries and makes repeating cool shapes super easy for kids.
✂️ Just a few strong stitches or a dab of fabric glue at the seams can make a tote much sturdier for groceries or books.
🌈 Many fabric markers become permanent after heat-setting (an iron), so designs stay bright through washes.
How do I help my child design and decorate a reusable tote bag step-by-step?
What materials do I need to design a custom tote bag?
What ages is designing a tote bag suitable for?
What are the benefits and safety tips for making a personalized tote bag?
