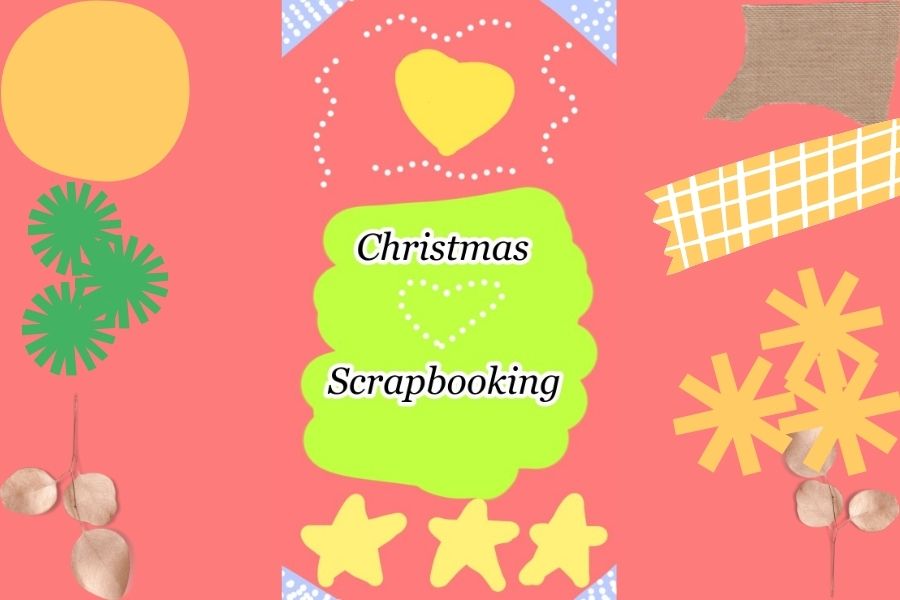
Save Christmas Memories in a Scrapbook with DIY Star Girlaorsom
Make a Christmas scrapbook and a DIY paper star garland using photos, stickers, colored paper, glue, and string while writing captions and decorating pages.


Step-by-step guide to save Christmas memories in a scrapbook with a DIY star garland
Step 1
Gather all your materials and bring them to your table.
Step 2
Clear a flat workspace so you have lots of room to create.
Step 3
Pick your favorite photos to put in your Christmas scrapbook.
Step 4
Lay the chosen photos on one page to plan the layout without gluing.
Step 5
Cut colored paper into frames and fun shapes to fit around the photos.
Step 6
Write a short caption for each photo on a small strip of paper.
Step 7
Glue the frames and photos onto the scrapbook page.
Step 8
Glue the caption strips next to or under each photo.
Step 9
Decorate the page with stickers and coloring materials to make it festive.
Step 10
Draw star shapes on colored paper for your paper star garland.
Step 11
Cut out each star carefully with scissors.
Step 12
Punch a hole near the top of each paper star.
Step 13
Thread the string through the star holes and space the stars evenly on the string.
Step 14
Attach the finished star garland to the scrapbook cover or along a page using tape or glue.
Step 15
Share your finished scrapbook and star garland on DIY.org.
Help!?
I don't have a hole punch or string for the star garland — what can I use instead?
If you don't have a hole punch, poke a small hole with a sharp pencil or needle and use yarn, ribbon, or even twist-tie pieces instead of string to thread your paper star garland.
My photos wrinkle or the stars tear when I thread them — how can I fix that?
To prevent wrinkling and tearing, use small pieces of double-sided tape or photo corners when gluing photos and reinforce star holes with a small piece of clear tape before threading the string.
How can I adapt this scrapbook and garland activity for different ages?
For younger children, pre-cut frames and stars and let them glue and stick stickers, while older kids can cut their own shapes with scissors, write longer captions, and design more complex layouts or patterns on the star garland.
How can we make the scrapbook and star garland more special or long-lasting?
Make it more personal by gluing a pocket for ticket stubs or notes on a page, adding dates to each caption strip, decorating with laminating sheets or washi tape, and attaching the star garland to the cover with strong tape or glue for display.
Watch videos on how to save Christmas memories in a scrapbook with a DIY star garland
DIY Star Garland & Printable Christmas Village | DIY & Decorate with Me!
4 Videos

DIY Star Garland & Printable Christmas Village | DIY & Decorate with Me!
Easy Scrapbook Page with Christmas Ornaments using Creative Memories
5 Low cost Christmas Star making ideas with waste material - Part 1 | DIY Christmas craft idea🎄181

Beautiful Handmade Scrapbook | Memories Scrapbook | DIY Scrapbook Making Ideas | Tutorial
Facts about holiday scrapbooking and paper crafts for kids
🎄 The modern Christmas tree tradition grew in 16th-century Germany and inspired many of today's holiday decorations.
✂️ Scrapbooking mixes photos, captions, stickers, and keepsakes — people have preserved memories this way for centuries.
⭐️ Paper stars like the Moravian star have been used as Christmas decorations since the 19th century and inspire many DIY garlands.
📸 Writing short captions next to photos helps preserve who, where, and why — making memories easier to share later.
♻️ You can upcycle old cards and scrap paper into colorful garlands, making decorations both festive and eco-friendly.
How do you make a Christmas scrapbook and DIY paper star garland?
What materials do I need for a Christmas scrapbook with a star garland?
What ages is this Christmas scrapbook and star garland activity suitable for?
What are the benefits and safety tips for making a Christmas scrapbook and star garland?
