Identify the principle of squash & stretch in animations you see
Watch short animated clips and sketch frames demonstrating squash and stretch; compare shapes before and after motion to understand how elasticity affects character movement.


Step-by-step guide to identify the principle of squash & stretch in animations you see
Step 1
Gather your paper pencil eraser and colouring materials and set them on a flat surface.
Step 2
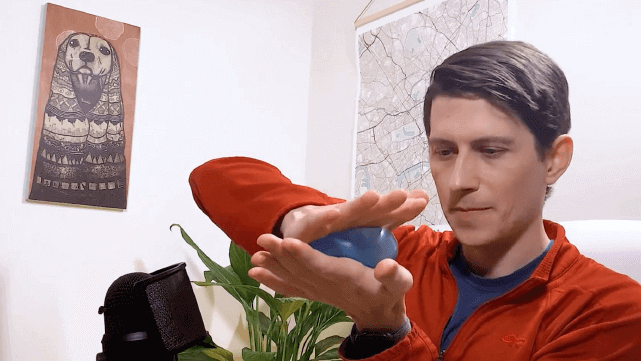
Choose three short animated clips (about 5–15 seconds) that look like they show a bouncing ball a character landing or any squishy motion.
Step 3
Watch the first clip all the way through to notice when things move quickly or hit the ground.
Step 4
Replay the clip and pause on a clear frame just before the object or character stretches or squashes.
Step 5
Sketch the paused "Before" frame quickly on your paper with simple shapes.
Step 6
Play the clip forward to the most squashed or most stretched frame and pause there.
Step 7
Sketch the paused "After" frame showing the squash or stretch with the same simple shapes.
Step 8
Label the two sketches "Before" and "After" and draw one arrow between them to show the change.
Step 9
Repeat Steps 3 to 8 for the second and third clips so you have three sets of Before and After sketches.
Step 10
Line up all your Before sketches and all your After sketches side by side to compare their shapes.
Step 11
Write three short observations about how the shapes changed for example longer flatter wider or taller.
Step 12
Make one extra drawing where you exaggerate the squash or stretch even more to practice the effect.
Step 13
Colour or shade your favourite sketches to make the squash and stretch easier to see.
Step 14
Share your finished set of sketches and observations on DIY.org
Help!?
What can we use if we don't have a pencil, eraser, or colouring materials listed in the first step?
Use any pen or marker and a scrap of printer or notebook paper in place of pencil and paper, a folded bit of scrap paper as an eraser substitute for smudging, and crayons, felt tips, or colored pencils you already have for the 'Colour or shade your favourite sketches' step.
I'm having trouble pausing on a clear 'Before' or 'After' frame—how do I fix that?
Use your video's frame‑by‑frame or slow‑motion controls, or take a screenshot while you 'Replay the clip and pause' so you can accurately 'Sketch the paused "Before" frame' and the most squashed or stretched 'After' frame.
How can I adapt the activity for younger children or make it more challenging for older kids?
For younger kids, do just one clip and have them trace big simple shapes during Steps 3–8, while older kids can quantify shape changes and turn their Before/After sets into a flipbook or timed sequence to extend Step 12 and Step 13.
What are some ways to enhance or personalize the finished set of sketches and observations?
After lining up your Before and After sketches in Step 10, make a quick flipbook or stop‑motion from those frames, push the exaggeration from Step 12 even further, and use contrasting colours in Step 13 to highlight which parts squash or stretch.
Watch videos on how to identify the principle of squash & stretch in animations
Here's everything you need to know to play squash… ☄️#sports
4 Videos

Here's everything you need to know to play squash… ☄️#sports
How to Play Squash for Beginners | All Rules in 8 Minutes
Squash Game explained in simple terms💡 Full FREE Beginners Guide on squashskills.com 🎥 #squash
How to Play Squash - The Complete Beginner's Guide
Facts about animation principles
🐇 Squash and stretch helps characters feel alive—Disney animators used it to give animals and people bouncy, expressive motion.
🏀 Animators often practice with a simple "bouncing ball" exercise to learn timing, weight, and how much to squash or stretch.
🎬 Squash and stretch is one of the core ideas in the 12 basic principles of animation taught by early Disney artists.
📚 The book "The Illusion of Life" (1981) by Ollie Johnston and Frank Thomas helped spread these principles to generations of animators.
🎨 Even modern CGI and stop-motion artists use squash and stretch—while usually preserving an object's volume so motion still looks believable.
How do I teach my child to identify squash and stretch in animations?
What materials do I need for the squash and stretch sketching activity?
What ages is this squash and stretch activity suitable for?
What are the benefits of practicing squash and stretch with children?
