Draw an Elf on the Shelf and a Santa with DIY Star Nightingale20
Draw an Elf on the Shelf and Santa, then create a paper star nightingale ornament using simple folding, coloring, glue, and string to decorate.

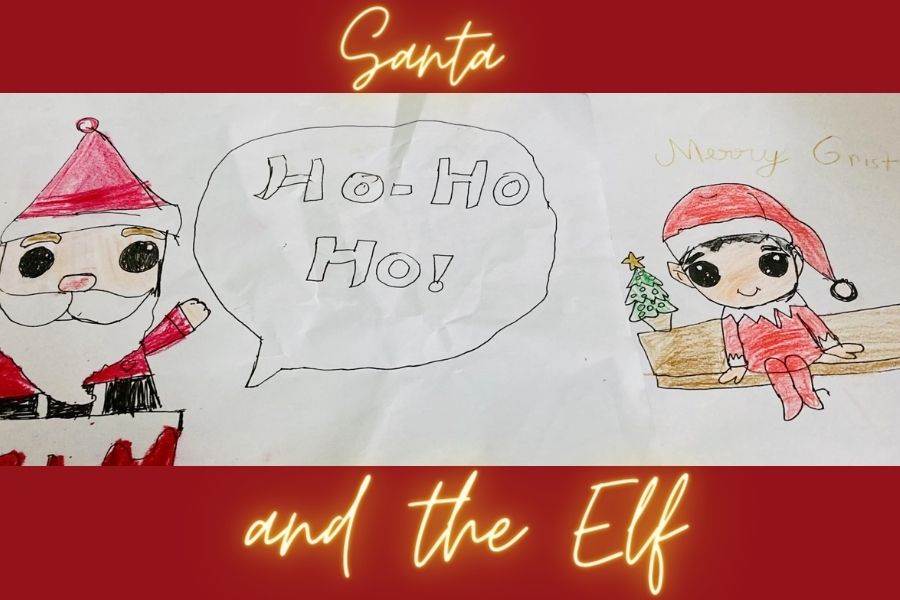

Step-by-step guide to draw an Elf on the Shelf and Santa and make a paper star nightingale ornament
Step 1
Gather all the materials on a clear table so you can reach everything easily.
Step 2
Draw an Elf on the Shelf on one sheet using a pencil with simple shapes like a round head and triangle hat.
Step 3
Draw a jolly Santa on another sheet using a pencil with simple shapes like a round belly and hat.
Step 4
Colour your Elf and Santa using your colouring materials to make them bright and fun.
Step 5
Cut out the Elf and Santa carefully with scissors while an adult watches.
Step 6
On a new sheet draw two identical five-point stars side by side using a pencil.
Step 7
Colour both stars with night-sky colours and draw a small nightingale bird on one star using your marker or crayons.
Step 8
Cut out both star shapes carefully with scissors while an adult watches.
Step 9
Apply glue evenly to the back of one star with your glue stick or a thin layer of white glue.
Step 10
Place a short loop of string on the glued back of the first star so the loop sticks up for hanging.
Step 11
Press the second star onto the glued first star to sandwich the string and hold them together until the glue grips.
Step 12
Glue your cut-out Elf or Santa onto the front of the star to decorate the ornament and let everything dry completely.
Step 13
Share a photo of your finished Elf and Santa star nightingale ornament on DIY.org.
Help!?
What can we use instead of a glue stick or white glue if we don’t have any?
If you don’t have a glue stick or white glue for the step that sandwiches the string between the two stars, use double-sided tape or a small strip of clear tape folded sticky-side out to hold the stars and loop in place.
My star layers keep sliding and the string won’t stay put — how do we fix that?
If the two star cutouts slide apart or the string slips while pressing them together after applying glue, press them under a heavy book or clamp for 10–15 minutes and use a dab of extra glue just where the loop sits to secure it.
How can we adapt this activity for younger or older kids?
For preschoolers have an adult pre-draw and pre-cut the Elf, Santa, and star shapes and let them color and stick the pieces, while older kids can freehand more detailed Elf/Santa features, add layered decorations, or stitch the star edges for a sturdier ornament.
What are some ways to personalize or upgrade the Elf and Santa star nightingale ornament?
To personalize the ornament after gluing the Elf or Santa onto the star, add metallic gel-pen stars on the night-sky background, a name or year on the back with a marker, or sprinkle fine glitter glue along the star points for sparkle.
Watch videos on how to draw an Elf on the Shelf and Santa and make a paper star nightingale ornament
How to make elf on the shelf - Make your own elf on the shelf with bendable arms and legs at home
4 Videos
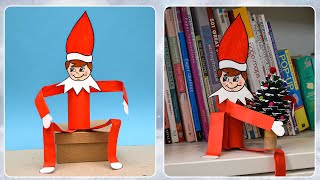
How to make elf on the shelf - Make your own elf on the shelf with bendable arms and legs at home
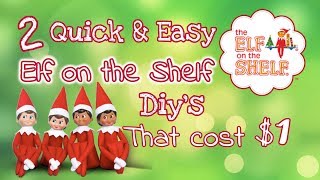
2 Quick & Easy ELF on the Shelf Diy's that will cost you ONLY $1
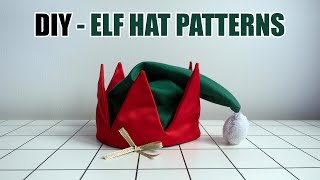
ELF HAT - Pattern included - DIY
Fast way to make your Elf on the shelf poseable
Facts about holiday drawing and paper crafts
🧝 The Elf on the Shelf tradition began with a 2005 children's book and many families move their 'scout elf' each night!
🎅 The modern image of Santa Claus (red suit, white beard) was shaped by 19th-century cartoons and 20th-century ads.
✂️ Origami — the art of paper folding — has roots in Japan over a thousand years ago and inspires many paper ornaments.
🌟 Star-shaped Christmas ornaments often symbolize the Star of Bethlehem and have decorated trees for centuries.
🐦 The nightingale's song has inspired poets and composers for hundreds of years — great for musical-themed decorations!
How do I draw an Elf on the Shelf and Santa and make a DIY Star Nightingale20 ornament?
What materials do I need for the Elf, Santa, and Star Nightingale20 craft?
What ages is the Elf and Santa drawing plus Star Nightingale20 activity suitable for?
What are the benefits and safety tips for doing this holiday craft?
