Psychedelic Name Art
Create psychedelic name art by designing colorful, swirly letters with markers, watercolors, and patterns, experimenting with blending, symmetry, and bold outlines.


Step-by-step guide to Psychedelic Name Art
How to Create Art Using Your Name | Easy Fun DIY
Step 1
Gather all the materials listed and place them on a clean flat surface.
Step 2
Decide which name or word you want to turn into psychedelic art.
Step 3
Lightly write that name in pencil centered on the paper.
Step 4
Draw a faint vertical center line with the ruler to help make parts symmetrical.
Step 5
Trace around each pencil letter to make thick swirly bubble letters.
Step 6
Fill the inside of each letter with psychedelic patterns like spirals waves and teardrops.
Step 7
Repeat each pattern on the opposite side of the center line when you want a mirrored look.
Step 8
Color some pattern sections with bright solid marker colors.
Step 9
Use a damp paintbrush and watercolors to paint and gently blend colors inside larger swirls.
Step 10
Let all the marker and watercolor areas dry completely.
Step 11
Trace bold outlines around each letter and important patterns with the black marker.
Step 12
Add tiny white highlights or dots with the white gel pen for a shiny pop.
Step 13
Take a photo of your finished psychedelic name art and share it on DIY.org
Help!?
What can I use if I don't have watercolors or a white gel pen listed in the materials?
If you don't have watercolors for step 9, dilute bright markers or use washable tempera paint with a damp brush for blending, and if you lack a white gel pen for step 11, add tiny highlights with a small dot of white acrylic paint or correction fluid.
My marker colors smudge or the paper wrinkles when I use water—how do I fix that?
Prevent smudging and warping by using thick watercolor paper or cardstock, let all marker areas dry fully before painting in step 9, and use light brush strokes with minimal water to avoid bleeding and buckling.
How can I adapt this psychedelic name art activity for younger kids or older kids?
For preschoolers (3–6) pre-draw bold bubble letters and let them fill patterns with stickers or crayons (steps 3–8), for elementary kids (7–10) let them draw and color with washable markers and simple watercolor blending (steps 5–9), and for teens encourage complex mirrored patterns, layered watercolor glazing, and bold black outlines for photography and sharing (steps 6–11 and 13).
What are some ways to extend or personalize the finished psychedelic name art?
To personalize and extend your piece, add metallic gel-pen accents or collage cutouts over swirls, mount the dry artwork on colored cardstock, and photograph it in natural light for sharing on DIY.org (steps 10–13).
Watch videos on how to create Psychedelic Name Art
Pop Art Name Inspired by Roy Lichtenstein Art Lesson - Art With Trista
4 Videos

Pop Art Name Inspired by Roy Lichtenstein Art Lesson - Art With Trista
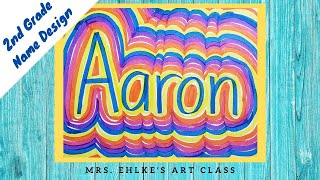
2nd Grade Name Design
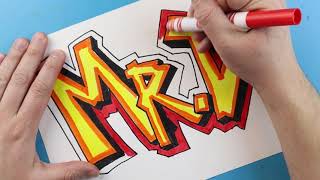
GRAFFITI NAME ART LESSON
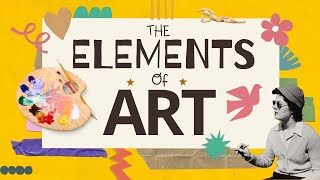
The 7 Elements of Art Explained: A Fun and Easy Guide for Kids! 🎨
Facts about hand-lettering and mixed-media art for kids
🎨 Psychedelic art burst into popular culture in the 1960s with vibrant, swirly concert posters and album covers.
✍️ Typography's modern roots trace back to Gutenberg's movable type around 1450, which standardized letter shapes.
🖌️ Watercolor has been used for centuries and is loved for its translucent washes that blend into luminous color fields.
🔁 Mirror symmetry and repeating patterns are classic tricks to make designs look kaleidoscopic and mesmerizing.
🖍️ Many water-based markers blend with water or each other to create marbled, gradient effects perfect for psychedelic lettering.
How do you make psychedelic name art?
What materials do I need for psychedelic name art?
What ages is this activity suitable for?
What are the benefits of making psychedelic name art?
