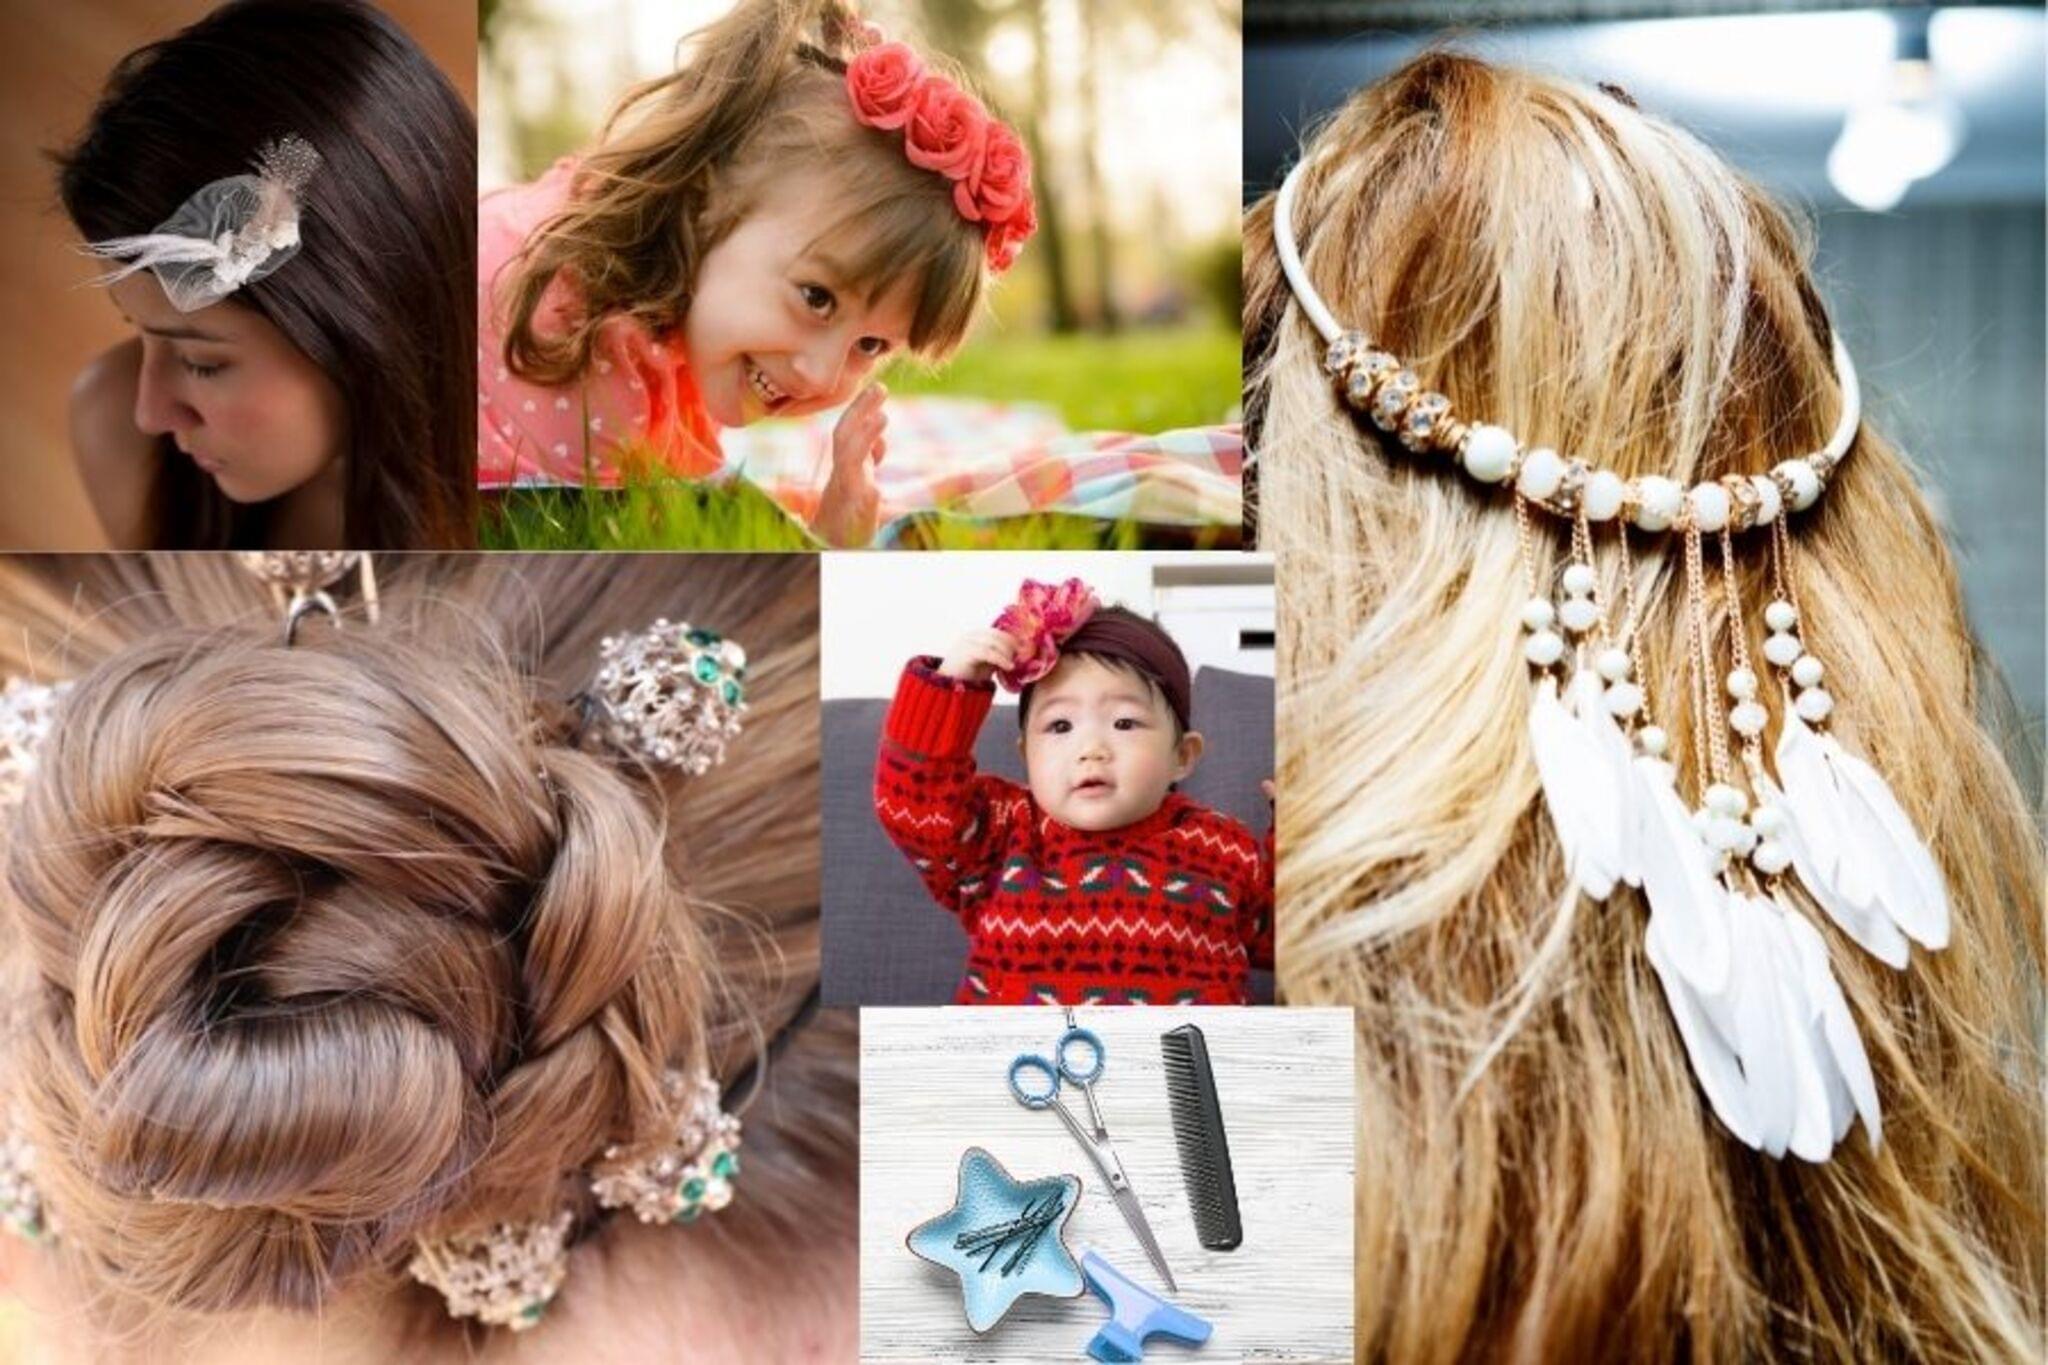
Design a Jazzy Hair Accessory
Design and create a jazzy hair accessory using fabric, beads, ribbons, and glue. Measure, decorate, and personalize a stylish clip or headband.


Step-by-step guide to design and make a jazzy hair accessory
How to create feather hair accessories
Step 1
Choose whether you will make a hair clip or a headband.
Step 2
Measure the length of your chosen clip or headband with the ruler.
Step 3
Mark the fabric at the measured length.
Step 4
Cut the fabric along your mark with the scissors.
Step 5
Apply a thin line of fabric glue along one long edge of the fabric strip.
Step 6
Wrap the fabric strip around the clip or headband so it covers the piece.
Step 7
Press the glued edge firmly for about 10 seconds to stick it down.
Step 8
Trim any extra fabric neatly with the scissors.
Step 9
Cut a length of ribbon for decoration.
Step 10
Tie the ribbon into a bow.
Step 11
Glue the ribbon bow onto your wrapped clip or headband.
Step 12
Lay out the beads on the accessory to decide where each one will go.
Step 13
Glue the beads onto the accessory one bead at a time.
Step 14
Let all the glue dry completely before you touch the decorations.
Step 15
Share your finished jazzy hair accessory on DIY.org.
Help!?
What can we use instead of fabric glue or a metal clip if those are hard to find?
Use a low-temperature hot glue gun (with adult help) or strong craft glue instead of fabric glue, and swap a missing metal clip for a plain headband, an elastic hair tie, or a safety pin wrapped by the fabric strip.
My fabric keeps slipping while I wrap the clip — what should I do?
Follow the instruction to apply a thin line of fabric glue along one long edge, press and hold the glued edge for about 10 seconds, and use a clothespin or binder clip to hold the wrap in place while the glue dries before you trim any extra fabric.
How can I change the activity to suit younger or older kids?
For younger children, pre-measure and pre-cut the fabric and let them stick on ready-made ribbons and beads, while older kids can measure with the ruler themselves, sew the fabric edge instead of gluing, and create more complex bead patterns to glue on.
How can we make our jazzy hair accessory more unique or longer-lasting?
Personalize it by adding fabric paint or glitter glue to the fabric before wrapping, layer or sew on additional ribbons or charms after you lay out and glue the beads one at a time, and optionally seal painted areas with clear craft sealer before sharing the finished jazzy hair accessory on DIY.org.
Watch videos on how to design and make a jazzy hair accessory
Learn To Make Decorative Bows For Children's Hair
4 Videos
Learn To Make Decorative Bows For Children's Hair
How To Make Your Own Beaded Hair Comb
Kids Give Their Mom a Wild New Hairstyle | Kids Design | HiHo Kids
How To Design Anime Hair For Boys
Facts about fabric and accessory crafts for kids
🎀 Ribbons have been used to decorate clothing and hair for hundreds of years — even royalty loved fancy bows!
💇♀️ Headbands go way back: ancient Greeks wore wreath-like headbands called fillets to show status or victory.
💎 People have been stringing beads for a very long time — some bead finds are tens of thousands of years old!
🧵 Turning fabric scraps into accessories is a fun upcycling trick that reduces waste and sparks creativity.
🔥 For safety, many kid-friendly craft groups use low-temp glue guns because they’re less likely to burn little fingers.
How do I design and create a jazzy hair accessory with my child?
What materials do I need to make a jazzy hair accessory?
What ages is this activity suitable for?
What safety tips and variations can I use for the jazzy hair accessory activity?
