Make A Paper Geometric Sculpture
Fold and assemble paper polygons to build a freestanding geometric sculpture, exploring symmetry, angles, and spatial reasoning using scissors, glue, and a ruler.


Step-by-step guide to make a paper geometric sculpture
How to Make a Paper Sculpture | Tate Kids
Step 1
Gather all your materials on a clear table so everything is ready to use.
Step 2
Choose a side length for your polygons such as 4 centimeters and write that number on your paper.
Step 3
Decide which polygon shapes you want to build like triangles squares pentagons and hexagons and choose how many of each so you have at least six pieces.
Step 4
Draw one polygon at a time using the ruler and protractor by drawing a side of your chosen length then using the exterior angle 360 ÷ n to place each next side until the shape closes.
Step 5
Repeat the drawing step until you have all the polygons you planned.
Step 6
Cut out each polygon carefully with scissors along the pencil lines.
Step 7
Draw and cut small glue tabs about 1 centimeter wide along some edges of the polygons so you can glue them together.
Step 8
Score and fold each glue tab outward by running the ruler along the tab fold to make a clean crease.
Step 9
Decorate the faces of your polygons with colouring materials now so the colors stay bright when you assemble.
Step 10
Apply glue to a tab and press that tab to the edge of another polygon to join two pieces together; hold them until the glue feels tacky.
Step 11
Add one polygon at a time connecting tabs to edges and keep checking angles so the sculpture grows into a balanced freestanding form.
Step 12
Adjust and add supportive base pieces or tape if needed so the sculpture can stand on its own.
Step 13
Let your sculpture dry completely so all the glue is set before moving it.
Step 14
Share a photo and a short description of your finished geometric sculpture on DIY.org
Help!?
What can we use if we don't have a protractor, ruler, or liquid glue?
If you don't have a protractor use a printable protractor or smartphone protractor app to place exterior angles during the 'Draw one polygon at a time' step, swap a ruler for any straight-edged book or cardboard, and replace white glue with glue sticks, double-sided tape, or clear craft tape for the 'Apply glue to a tab' step.
The tabs keep tearing or the sculpture won't stand—what should we try?
Make glue tabs wider (about 1.5 cm), score and fold them outward firmly with the ruler before gluing, hold each 'Apply glue to a tab and press' connection until tacky, and add extra supportive base pieces or clear tape at the base if the freestanding form still wobbles.
How can we adapt this activity for younger or older children?
For younger kids use pre-drawn or pre-cut cardstock polygons and thicker 1 cm–1.5 cm tabs so they can focus on decorating faces, while older kids can choose larger side lengths, use the protractor to make higher-n polygons, and plan more than six pieces to build complex freestanding forms.
How can we extend or personalize the finished geometric sculpture?
Decorate faces before assembly with paint or markers, label each face with its polygon name and side length, insert a small LED tea light inside hollow areas for illumination, or join several sculptures into a modular installation to photograph and share on DIY.org.
Watch videos on how to make a paper geometric sculpture
How to make Paper Pyramid ( very easy ) | DIY Crafts
4 Videos
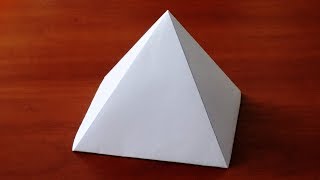
How to make Paper Pyramid ( very easy ) | DIY Crafts
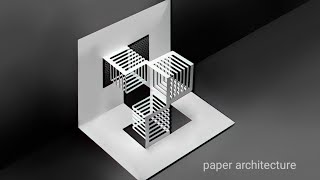
3D geometrical paper architecture | paper folding architecture step-by-step| kirigami paper model
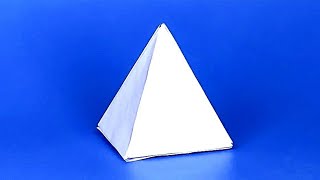
How To Make A Paper 3D Pyramid // Easy 3D Figures Tutorial
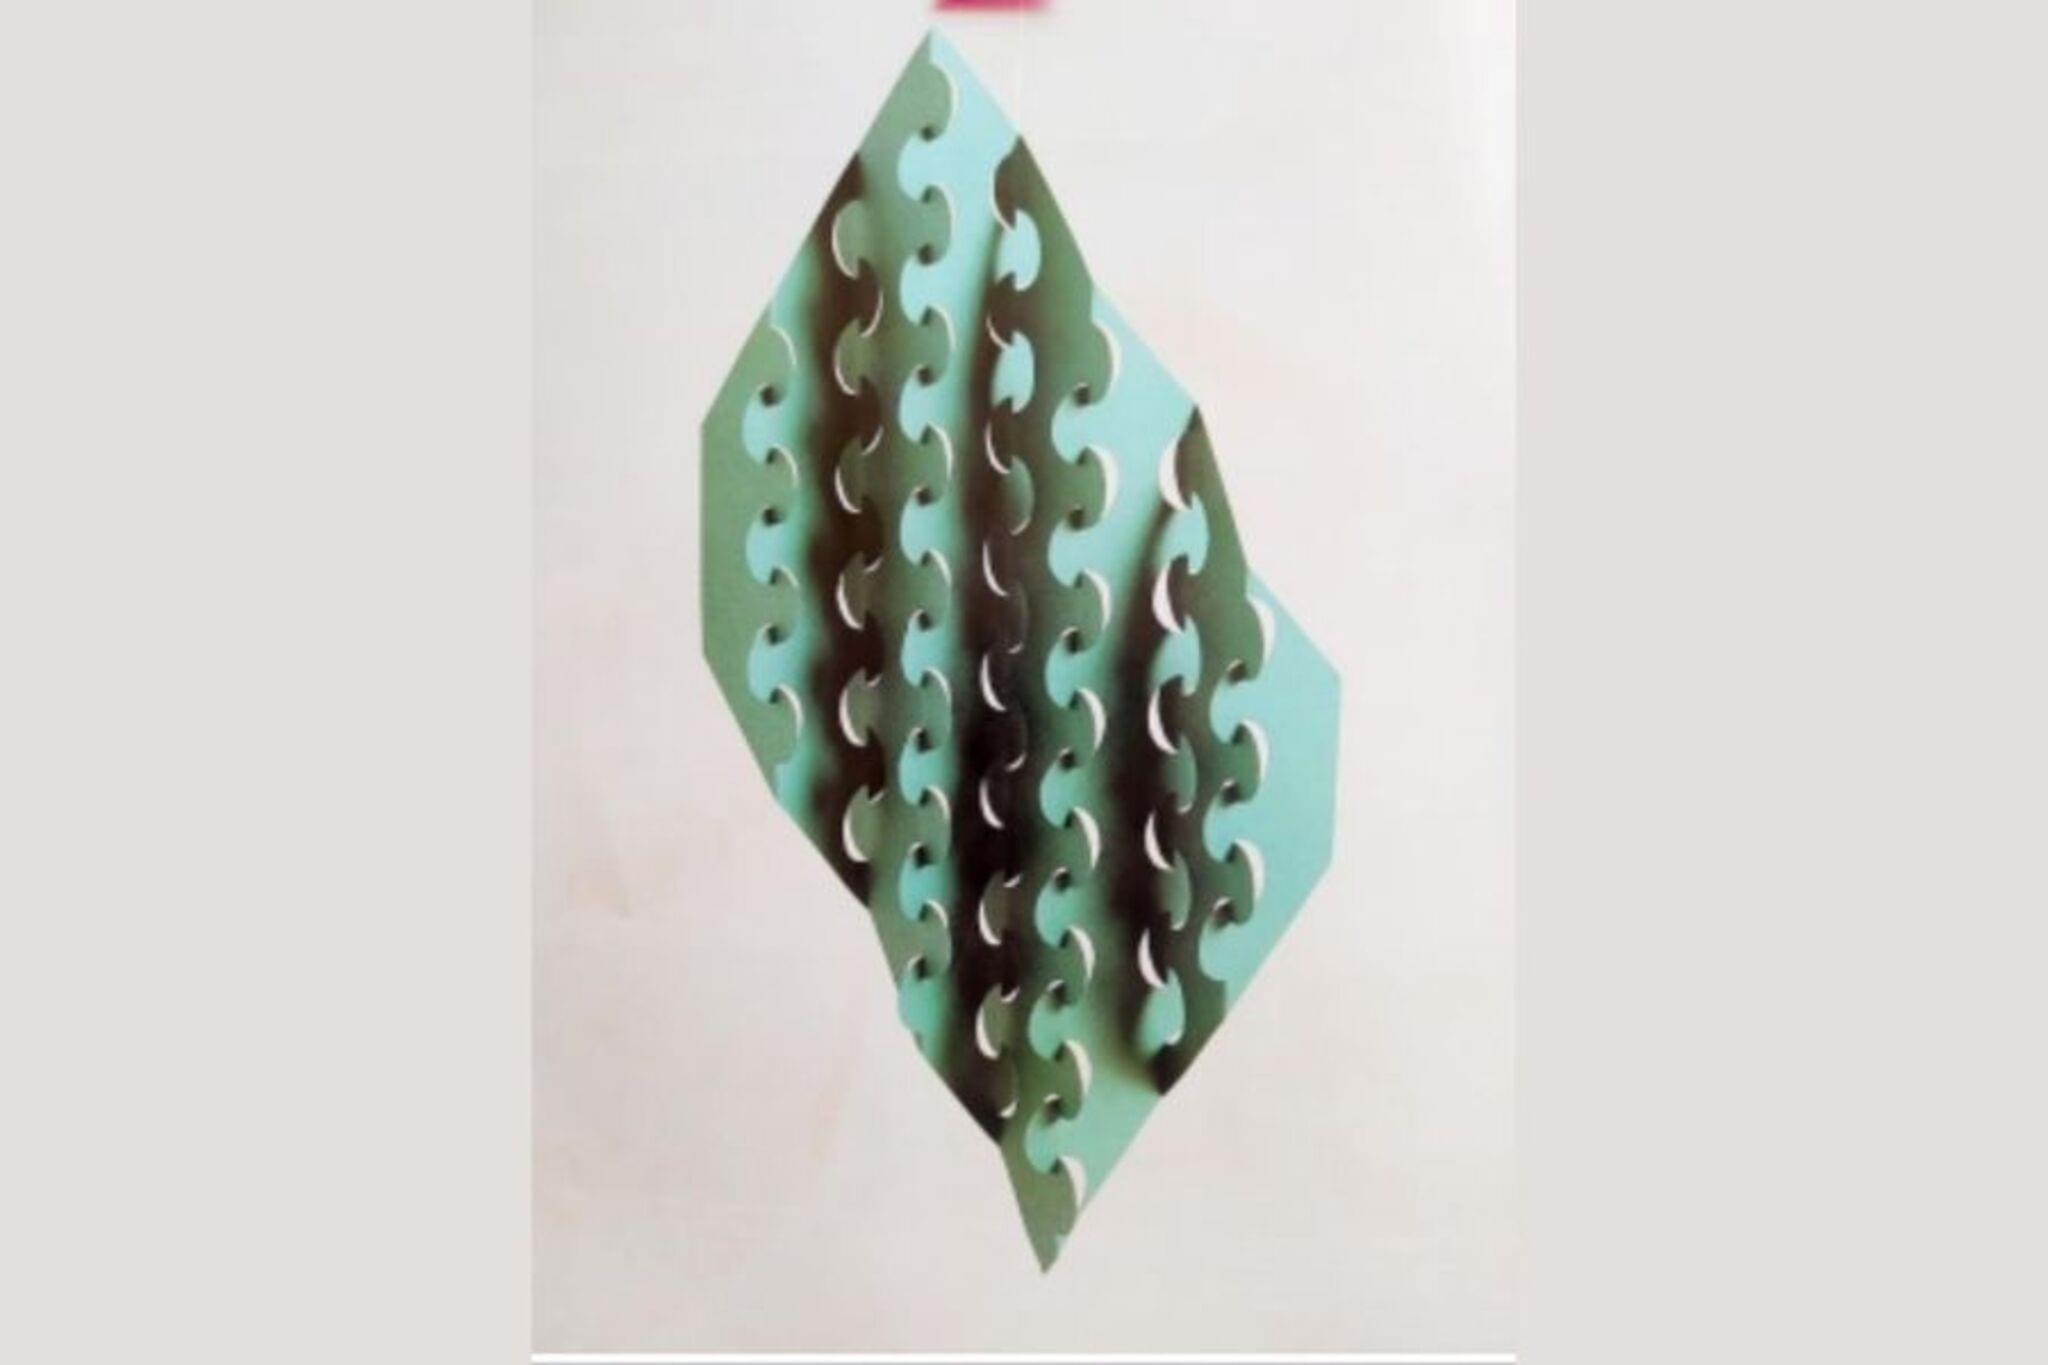
Stunning Geometric Paper Cutting Art | Easy Step-by-Step Tutorial #tutorial #papercutting
Facts about paper engineering and geometry
📐 There are exactly five Platonic solids — shapes like the cube and tetrahedron with identical faces and angles.
✂️ Papercraft uses cutting, folding, and gluing to turn flat sheets into sturdy 3D models and artworks.
🔷 Modular origami builds big, complex sculptures by joining many identical folded units — some designs use hundreds of pieces!
🧠 Folding and assembling paper polygons boosts spatial reasoning and symmetry skills used in STEM and art.
📏 Measuring and scoring folds with a ruler makes cleaner edges and stronger joints for freestanding sculptures.
How do I make a paper geometric sculpture?
What materials do I need to make a paper geometric sculpture?
What ages is a paper geometric sculpture suitable for?
What are the benefits and safety tips for making paper geometric sculptures?
