Create Beautiful Mandala Art!
Draw and color symmetrical mandala designs using circle templates or a compass, ruler, and colored pencils, learning about patterns, symmetry, and creativity.

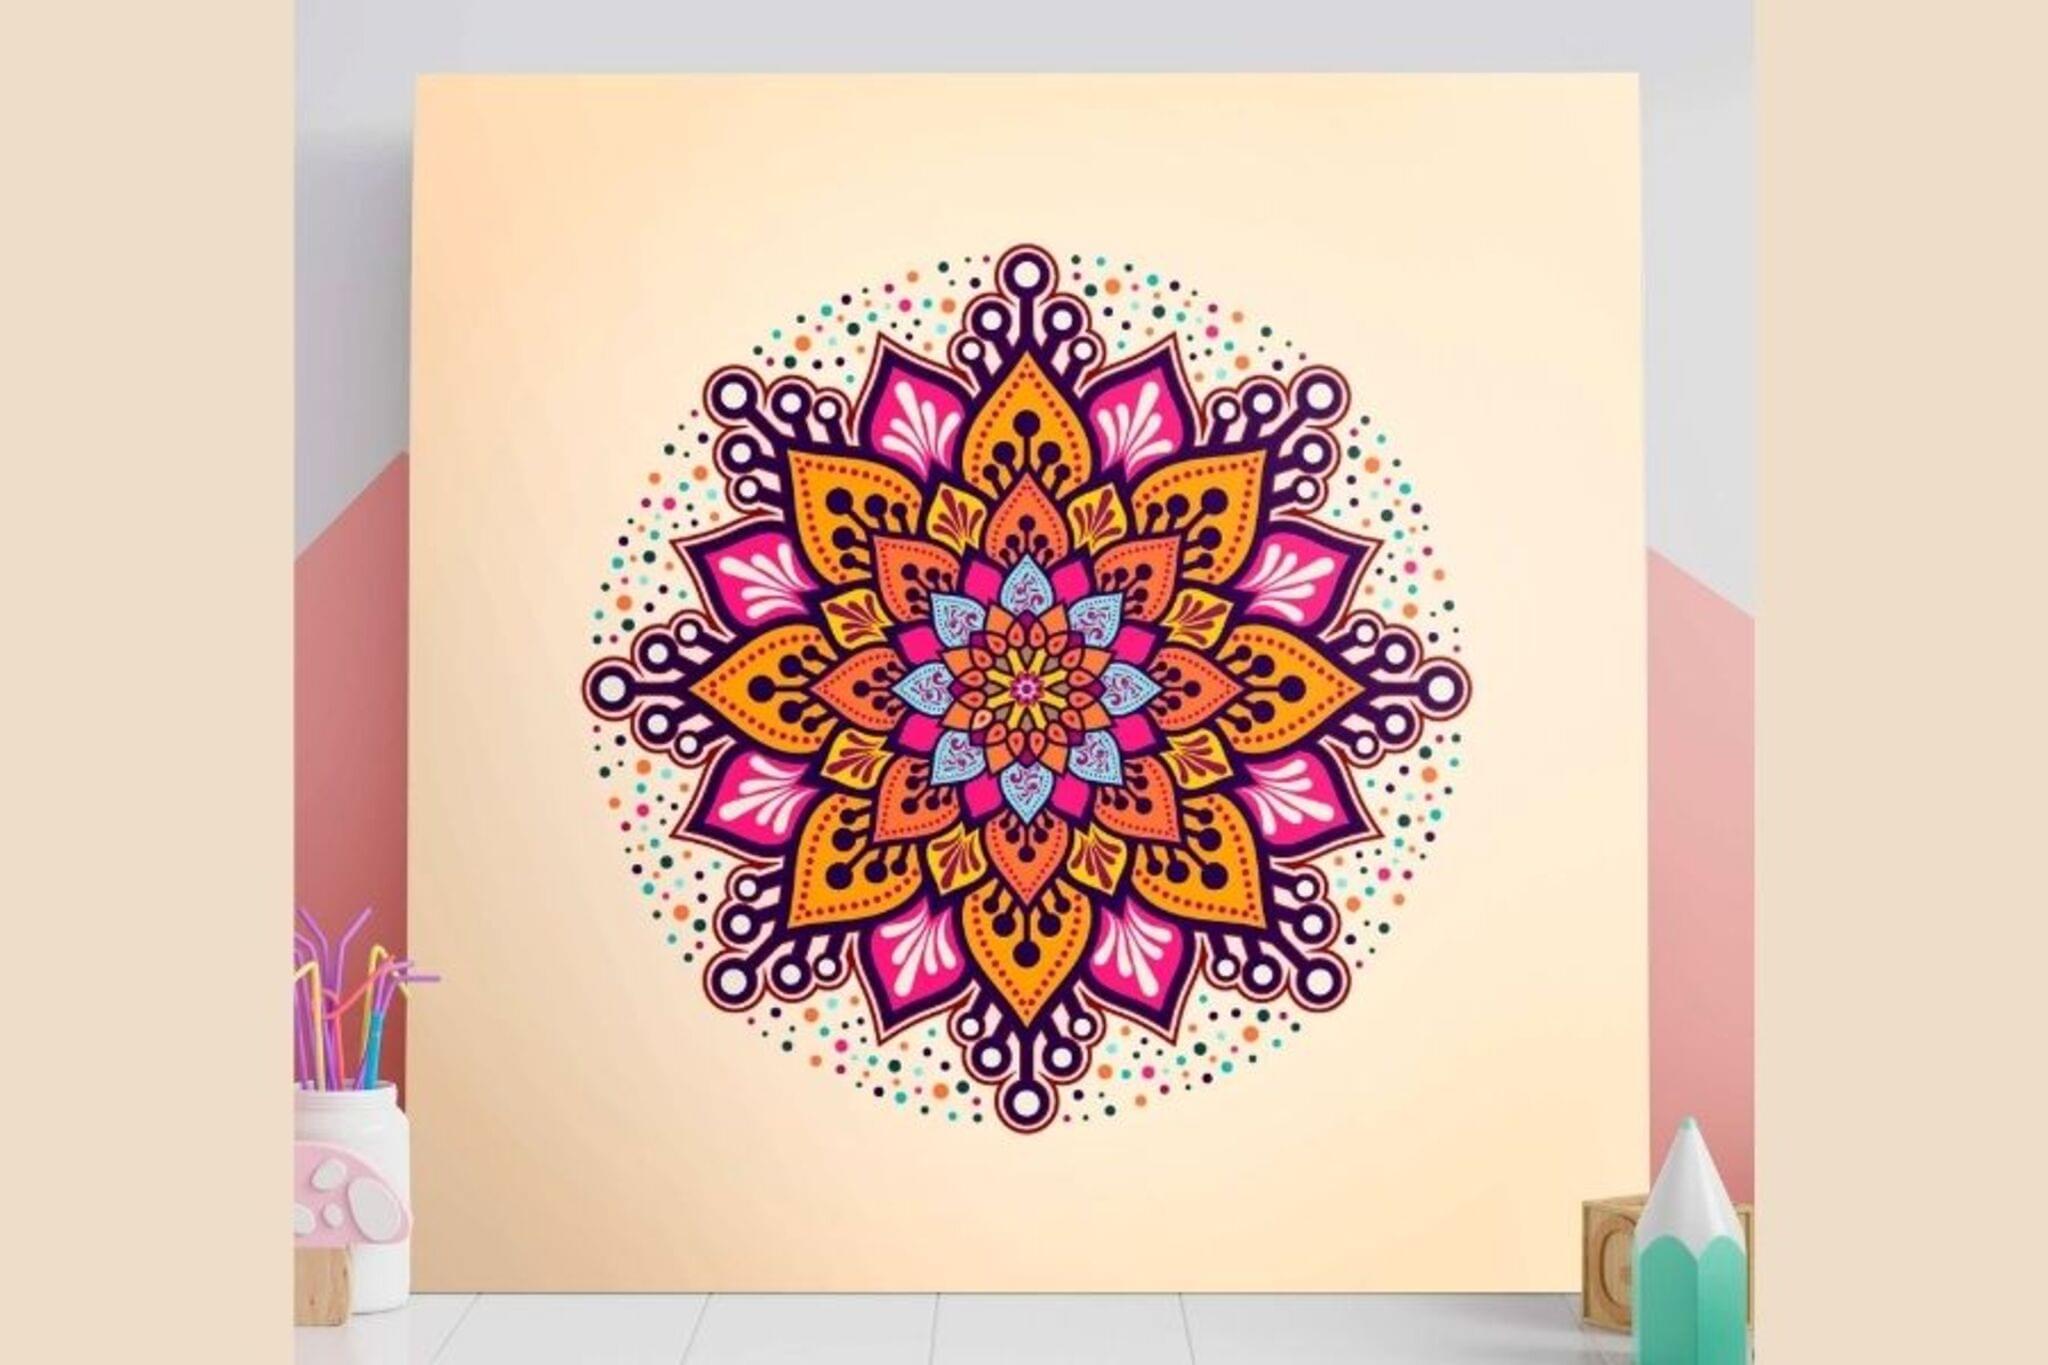

Step-by-step guide to create beautiful mandala art
How to Draw an Easy Mandala - a Step by Step Tutorial | Anyone Can Make This Mandala Art!
Step 1
Gather all Materials Needed and set them on a flat clean table.
Step 2
Use your ruler to measure and make a small pencil dot at the center of the paper.
Step 3
Use a circle template or a compass to draw three or four concentric circles around the center dot.
Step 4
Choose how many slices you want for your mandala such as 8 or 12.
Step 5
Use your ruler to lightly draw straight lines from the center to the outer circle to create that number of equal slices.
Step 6
Pick a simple shape like a petal dot or triangle and draw it inside one slice between two circles.
Step 7
Repeat the exact same shape into every matching slice around the circle so the design stays symmetrical.
Step 8
Choose a new shape and draw it in the next ring in one slice between two circles.
Step 9
Repeat that new shape into every matching slice around the ring to keep the pattern balanced.
Step 10
Add small decorative details like dots lines or tiny shapes to fill any empty spaces in your mandala.
Step 11
Gently erase the pencil guidelines you no longer need so your patterns look clean.
Step 12
Color your mandala starting from the center and use repeating color choices in each slice so the colors stay symmetrical.
Step 13
Outline important shapes with a darker pencil or the fine black marker to make your design pop.
Step 14
Share your finished creation on DIY.org.
Help!?
What can I use instead of a compass or circle template if I don't have one?
Trace different-sized circular household items like cups, lids, or a tape roll around the center pencil dot to make the three or four concentric circles called for in the instructions.
My slices aren't even—how can I fix that so the design stays symmetrical?
Fold the paper into equal sections or use a protractor to mark equal angles before you use your ruler to lightly draw straight lines from the center to the outer circle so the shapes repeat symmetrically when you copy them around the ring.
How can I adapt this mandala activity for different ages?
For younger kids use fewer slices, pre-drawn concentric circles, and large simple shapes or stickers to copy, while older kids can add more slices, tiny decorative details, and use the fine black marker and shading to create intricate patterns.
How can we personalize or extend the mandala after coloring?
After coloring from the center using repeating color choices (step 10), outline important shapes with the fine black marker (step 11), add metallic gel pens or collaged paper for texture, write your name in the center dot, and share or frame the finished creation on DIY.org (step 12).
Watch videos on how to create beautiful mandala art
How to Draw a Mandala: Easy Step-by-Step Tutorial for Beginners!
4 Videos
How to Draw a Mandala: Easy Step-by-Step Tutorial for Beginners!

Let's create Mini Mandalas with some basic & easy Patterns ✨🥰 How to draw Mandala Art for beginners
HOW TO: Make the MOST SIMPLE MANDALA! (Part 1)
Easy & Simple Mandala using Colored Pens | How to Draw Basic Colorful Mandala Art for Beginners
Facts about drawing and symmetry
🌀 Mandalas have been used for over 2,000 years in Hinduism and Buddhism as tools for meditation and symbolic art.
✂️ Many mandalas are built by dividing a circle into equal slices—6, 8, or 12 segments are popular templates for repeating patterns.
🔁 Mandala designs often use rotational symmetry: the pattern repeats as you rotate around the center, which makes them feel balanced and calming.
🧭 A simple drafting compass can draw dozens of perfectly spaced circles and arcs, giving your mandala a precise geometric framework.
🌈 Colored pencils are great for mandalas because you can layer and blend colors gently—artists often make dramatic looks with just 3–4 well-chosen hues.
How do I create mandala art with circle templates or a compass?
What materials do I need for mandala drawing and coloring?
What ages is mandala art suitable for and how can I adapt it?
What are the benefits of making mandala art for children?
