Craft an origami butterfly
Fold colorful paper to craft an origami butterfly, learning precise folding steps, symmetry, and decoration while practicing patience and fine motor skills.

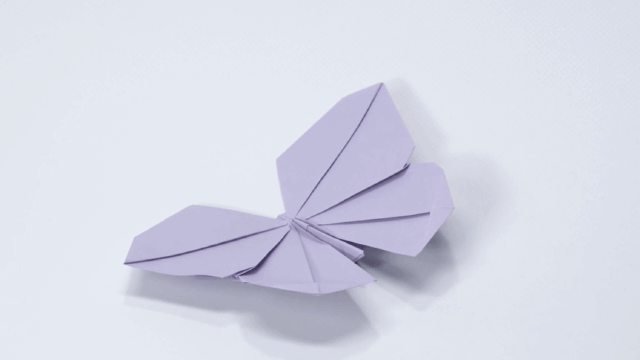

Step-by-step guide to craft an origami butterfly
Step 1
Place one sheet of colourful square paper color side up on a flat table.
Step 2
Fold the paper into tight accordion (zigzag) folds about 1 cm wide across the whole square and crease each fold firmly.
Step 3
Fold the finished accordion bundle in half so the fold lines meet and crease the middle to mark the center.
Step 4
Secure the center by wrapping the small strip of paper tightly around it or clipping it with a paperclip.
Step 5
Gently spread the top half of the folded layers outward on both sides to form the upper wings.
Step 6
Gently spread the bottom half of the folded layers outward on both sides to form the lower wings.
Step 7
Pinch and adjust the center knot lightly so the wings sit at a balanced angle on both left and right sides.
Step 8
Use colouring materials to draw matching patterns on the left and right wings to practice symmetry.
Step 9
Add stickers or other decorations equally to both wings to finish your design.
Step 10
Take a photo and share your finished origami butterfly on DIY.org.
Help!?
What can we use if we don't have colourful square paper or the small strip/paperclip to secure the center?
Cut a square from rectangular printer, wrapping, or magazine paper to make the colourful square paper, and secure the center using a twist-tie, pipe cleaner, small hair elastic, staple, or a short piece of tape instead of the small strip or paperclip.
My accordion folds are uneven or the butterfly keeps coming apart; how can I fix that?
Refold the paper using a ruler to mark consistent ~1 cm fold widths and press each crease firmly with a fingernail or the back of a spoon, then tighten the center by wrapping the small strip tightly or replacing it with a staple or paperclip so the wings hold when you spread them.
How can we adapt this activity for different age groups?
For toddlers, pre-fold the accordion and let them spread the wings and add big stickers; for preschoolers use wider 2 cm folds and help wrap the center; and for older kids make finer 0.5–1 cm folds, add detailed symmetric patterns with colouring materials, or layer papers for complexity.
How can we enhance or personalize the butterfly to make it more special or long-lasting?
Layer two sheets color-side-out before folding for two-tone wings, add a twisted pipe cleaner or a small folded paper body at the center and seal it with a dab of glue or a tiny staple, then decorate with matching patterns and stickers and take the photo to share on DIY.org.
Watch videos on how to craft an origami butterfly
Easy Paper BUTTERFLY Craft for Kids | Step-by-Step Origami BUTTERFLY | Fun Paper Crafts for School
4 Videos
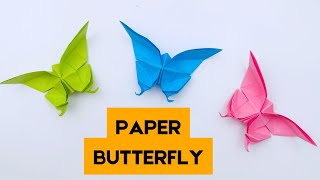
Easy Paper BUTTERFLY Craft for Kids | Step-by-Step Origami BUTTERFLY | Fun Paper Crafts for School
How to Make an Easy Origami Butterfly - Perfect for Kids & Beginners! 🦋✨
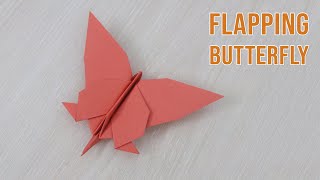
How to Make a Paper Flapping Butterfly - Easy Origami Butterfly step by step

How to Make a Beautiful Origami Butterfly | Step-by-Step Tutorial
Facts about origami and paper folding
🦋 Many origami butterfly models are folded from a single square of paper—no cuts needed—to make perfect wings and symmetry.
📄 Origami as a named art grew in Japan during the Edo period (1603–1868) and later spread worldwide.
🎨 Traditional origami often uses washi paper, which has been hand-made in Japan for over a thousand years.
🤏 Folding tiny creases in origami helps kids practice fine motor skills and patience—great for steady hands!
🧠 Learning symmetry through folding boosts spatial thinking—the same idea shows up in science, art, and nature.
How do you make an origami butterfly?
What materials do I need to make an origami butterfly?
What ages is this origami butterfly activity suitable for?
What are the benefits and variations of making origami butterflies?
