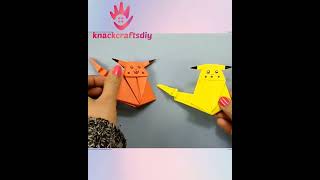
Origami Pikachu
Fold simple origami paper to make a Pikachu figure, follow step by step creases, add drawn features, and learn patience and fine motor skills.


Step-by-step guide to Origami Pikachu
Step 1
Place the square yellow paper on a clean flat surface with the colored side facing down.
Step 2
Fold the paper in half diagonally from one corner to the opposite corner to make a triangle and press the crease firmly.
Step 3
Turn the triangle so the long flat edge is at the bottom and the point is at the top.
Step 4
Fold the bottom-left corner up toward the top point to form Pikachu's left ear and press the crease.
Step 5
Fold the bottom-right corner up toward the top point to form Pikachu's right ear and press the crease.
Step 6
Fold the tip of the left ear back a little to create a small black-tipped ear and press the crease.
Step 7
Fold the tip of the right ear back a little to match the left ear and press the crease.
Step 8
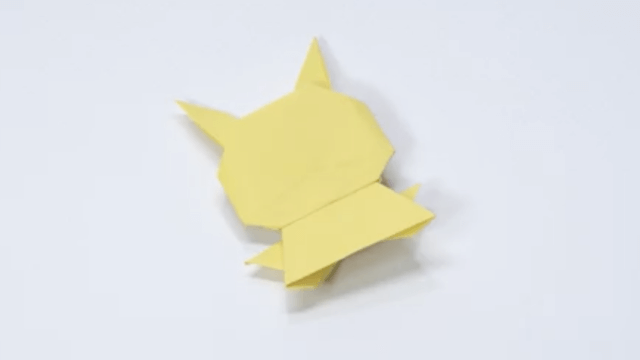
Fold the bottom point up about one third of the triangle's height to make Pikachu's chin/body and press the crease.
Step 9
Flip your paper over so the face side of Pikachu is showing.
Step 10
Use the black marker to draw two round eyes near the center of the face.
Step 11
Use the black marker to draw a small nose and a smiling mouth below the eyes.
Step 12
Use the red crayon to color two round cheeks on either side of the mouth.
Step 13
Share your finished Pikachu creation on DIY.org.
Help!?
What can we use if we don't have square yellow paper or a red crayon or black marker?
If you don't have square yellow paper, cut standard paper into a square or color white square paper yellow and for the red cheeks and black details use colored pencils, pens, or small cut-out red and black paper circles so you can still place the colored side facing down and complete the face-drawing steps.
My ears look uneven or the creases won't stay — how do I fix that?
Unfold the ear folds from steps 4–7 and refold them aligning each bottom corner to the top point while pressing a firm crease with a fingernail or a ruler to make the left and right ears match and keep the small black-tipped backfolds snug.
How can I adapt this origami for different ages?
For toddlers have an adult pre-fold the diagonal triangle in step 2 and guide them through coloring the cheeks in step 12, for school-age kids let them do all folds and drawing, and for older kids encourage sharper creases in step 2 and extra facial details with the black marker in steps 10–11 before sharing on DIY.org.
How can we personalize or extend the Origami Pikachu after finishing?
Personalize by gluing tiny black paper triangles to the folded ear tips from steps 6–7, cutting and gluing red paper circles for the cheeks instead of using the red crayon in step 12, adding a tail glued behind the folded body after step 8, and then photograph your creation to share on DIY.org.
Watch videos on how to make an Origami Pikachu
Origami Pikachu Tutorial ★ Pokemon DIY ★ Paper Kawaii
4 Videos
Origami Pikachu Tutorial ★ Pokemon DIY ★ Paper Kawaii
⚡ Make your own origami Pikachu! 🧻 Easy craft for kids
DIY How to Make Origami Pikachu Pikachu Pokémon from Paper Easy Instructions for Kids
DIY How to Make Origami Pikachu Pikachu Pokémon from Paper Easy Instructions for Kids
Facts about origami and paper crafts
⚡ Pikachu's name mixes Japanese onomatopoeia: 'pika' (sparkle) and 'chu' (mouse squeak) — perfect for an electric mouse!
📜 Modern origami was popularized in Japan during the Edo period (1603–1867), turning paper folding into a cultural art.
✂️ Many origami models — including simple Pikachu designs — use one square of paper and need no scissors or glue.
🧠 Folding origami helps kids build fine motor skills, hand-eye coordination, and patience (plus it's super satisfying!).
🧾 Washi, traditional Japanese paper, is stronger and more flexible than regular paper, making crisp origami folds easier.
How do I fold an origami Pikachu step by step?
What materials do I need to make an origami Pikachu?
What ages is origami Pikachu suitable for?
What are the benefits, safety tips, and fun variations for origami Pikachu?
