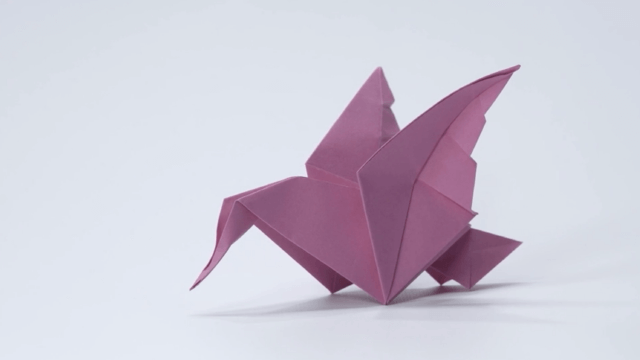
Make an Origami Hummingbird!
Fold colorful paper into an origami hummingbird using simple step by step instructions, learning precise folds, symmetry, and patience while decorating your finished bird.


Step-by-step guide to make an origami hummingbird
Step 1
Place one square origami paper color side down on your flat clean surface.
Step 2
Fold the paper diagonally from one corner to the opposite corner to make a triangle and press the fold flat.
Step 3
Keep the triangle with the long edge at the bottom and fold the bottom right corner up to meet the top point and press the fold.
Step 4
Fold the bottom left corner up to meet the top point and press the fold so the two flaps overlap in the middle.
Step 5
Turn the paper over so the folded flaps are face down.
Step 6
Fold the bottom point up about one third of the way toward the top to form the hummingbird tail and press the fold.
Step 7
Fold the top narrow point down a little to make a small beak and press the fold.
Step 8
Fold the whole model in half along the middle so the beak and tail line up on the outside and press the fold.
Step 9
Fold the top layer on the right side down to make the first wing and press the fold.
Step 10
Flip the model over and fold the top layer on the new right side down to make the second wing so the wings match.
Step 11
Gently open the wings a bit so the hummingbird looks 3D and balance the tail if needed.
Step 12
Decorate your hummingbird with your coloring materials and stickers to make it bright and sparkly.
Step 13
Share a photo of your finished origami hummingbird on DIY.org.
Help!?
What can I use if I don't have square origami paper?
Cut printer paper, wrapping paper, or a magazine page into a square and place it color side down to follow the instruction "Place one square origami paper color side down on your flat clean surface."
My flaps don't overlap neatly when I fold the bottom corners up; how do I fix it?
Unfold the triangle, realign the bottom right and bottom left corners so they meet the top point exactly (the steps that make the two flaps overlap in the middle), then press each crease flat on a clean surface or sharpen folds with a ruler or bone folder.
How can I change the difficulty for younger or older kids?
For younger kids use a larger square and pre-fold the diagonal and the tail and beak folds for them, and for older kids try smaller squares, thinner origami paper, and more precise wing shaping before gently opening the wings.
How can we make the hummingbird more special or use it after decorating?
After decorating your hummingbird with coloring materials and stickers as the instructions suggest, personalize it by making several in different colors and sizes to hang as a mobile or glue a small strip to create a perch so it can stand or be displayed.
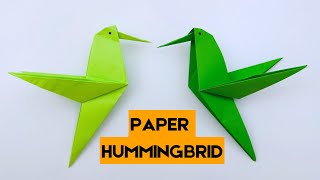
Watch videos on how to make an origami hummingbird
Easy Paper Hummingbird Craft for Kids | Origami Hummingbird | Fun Paper Crafts for School
4 Videos
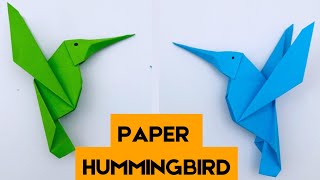
Easy Paper Hummingbird Craft for Kids | Origami Hummingbird | Fun Paper Crafts for School

Origami Hummingbird Tutorial 🕊️ | Easy, Beautiful, and Fun to Fold ! - Aadrit's Origami
How to Make a Paper Hummingbird 🐦 | Easy Origami Tutorial for Kids and Beginners
Easy Paper Hummingbird Craft for Kids | Origami Hummingbird | Fun Paper Crafts for School
Facts about origami and paper folding
🐦 Hummingbirds are the only birds that can truly hover and are able to fly backwards thanks to their rapid wingbeats.
🇯🇵 Origami originated in Japan; the word comes from 'ori' (folding) and 'kami' (paper).
📐 Origami relies on precise mountain and valley folds—small changes in a fold can completely change the finished model.
🎨 Traditional origami paper called washi is prized for being thin, strong, and brightly colored—perfect for decorative birds.
⏳ Folding origami builds patience and fine motor skills; learning more complex models often takes many practice folds.
How do you fold an origami hummingbird step by step?
What materials do I need to make an origami hummingbird?
What ages is making an origami hummingbird suitable for?
What are the benefits of folding origami hummingbirds?
