Create a Chestnut Leaf!
Make a realistic chestnut leaf model using paper, crayons, scissors, and glue, observing real leaves to practice symmetry, veins, and careful cutting.


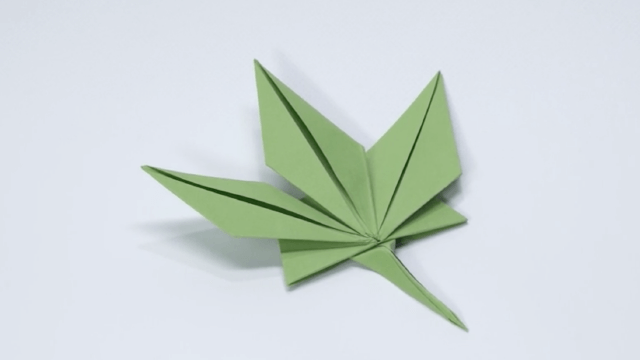

Step-by-step guide to create a chestnut leaf model
Step 1
Gather your materials and place the real chestnut leaf where you can see it well.
Step 2
Fold the paper in half lengthwise like closing a long book to make a center crease.
Step 3
Put the real leaf on the folded paper with its stem tip lined up near the fold.
Step 4
Use the pencil to lightly trace half of the leaf outline next to the fold while looking at the real leaf.
Step 5
Cut along the pencil outline through both layers of paper carefully with the scissors.
Step 6
Unfold the cut paper to reveal a symmetrical full leaf shape.
Step 7
Color the whole leaf base with crayons to match the main color of the real leaf.
Step 8
Draw the central vein and side veins with a darker crayon while copying the vein pattern from the real leaf.
Step 9
Cut a thin strip from the scrap paper to make a raised midrib.
Step 10
Glue the thin strip along the central vein on your paper leaf to create a 3D midrib.
Step 11
Add small details like serrated edges or tiny spots with light shading using crayons while comparing to the real leaf.
Step 12
Let the glue dry completely before touching the raised midrib.
Step 13
Write your name and the date on the back of your paper leaf.
Step 14
Share your finished chestnut leaf creation on DIY.org
Help!?
What can I use if I don't have a real chestnut leaf, scrap paper, or white glue?
If you don't have a real chestnut leaf you can use a printed photo or a similar-sized maple or horse-chestnut leaf, replace scrap paper for the raised midrib with cardstock or a cereal-box strip, and swap white glue for a glue stick or double-sided tape when attaching the thin strip along the central vein.
My two paper layers shift or the cut isn't symmetrical—how can I fix this while cutting?
Refold on the center crease and press the fold firmly with your fingernail while cutting with small controlled snips or an adult-handled craft knife so both layers stay aligned and the unfolded result is symmetrical.
How can I adapt this chestnut leaf activity for different ages?
For toddlers use prefolded large construction paper and a parent-cut leaf to color and stick a foam strip midrib; for early elementary let them trace, cut with child-safe scissors, and shade veins with crayons; for older kids encourage detailed vein copying, use cardstock, a craft blade with supervision, and add painted or textured details.
How can we enhance or personalize the finished paper chestnut leaf?
Turn the paper leaf into a laminated keepsake or card, glue several sizes onto a string to make a mobile, add torn tissue or real leaf rubbings for texture, and write observations plus the date on the back before sharing on DIY.org.
Watch videos on how to create a chestnut leaf model
Easy Origami Chestnut - Perfect for Kids & Beginners! 🌰 (How to Origami Tutorial)
4 Videos
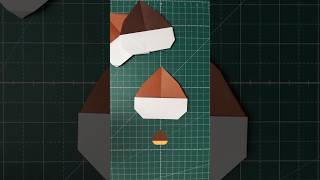
Easy Origami Chestnut - Perfect for Kids & Beginners! 🌰 (How to Origami Tutorial)
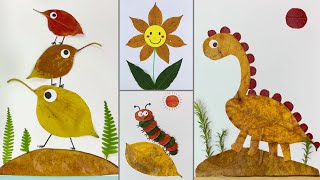
Beautiful Leaf Craft Ideas for Kids - Leaf Art | Stunning Leaf Crafts for Kids to Make

How To Make Natural Leaf Art | Leaf Craft For Kids | Leaf Animal Craft
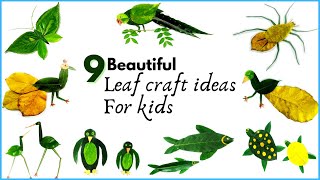
9 Beautiful leaf craft ideas - Leaf Art | leaf craft ( leaves craft ) | leaf craft
Facts about leaf anatomy and plant structure
🌿 Horse chestnut leaves are palmately compound — that means 5–7 leaflets spread out like fingers from one point!
✂️ Fold-and-cut is a kid-friendly trick: folding paper in half helps you cut perfectly symmetrical leaf shapes.
🛣️ Leaf veins act like tiny highways: the midrib and branching veins carry water and sugars around the leaf.
🎨 Autumn leaf colors appear because pigments like chlorophyll, carotenoids, and anthocyanins show up differently as seasons change.
☀️ Leaves turn sunlight into food with photosynthesis and give off oxygen — a leafy superpower!
How do I make a realistic chestnut leaf model?
What materials do I need to create a chestnut leaf craft?
What ages is this chestnut leaf activity suitable for?
What are the benefits and safety tips for making chestnut leaf models?
