Holiday Scrapbook Journalling
Create a holiday scrapbook journal using photos, drawings, captions, and keepsakes; arrange pages, write memories, and decorate to preserve family celebrations.


Step-by-step guide to create a holiday scrapbook journal
How To Craft A Fun Holiday Scrapbook Step By Step
Step 1
Pick your notebook or stack of papers to be your holiday scrapbook journal.
Step 2
Gather your favorite photos and small keepsakes you want to include.
Step 3
Decide which memory goes on each page by planning the order of your photos and keepsakes.
Step 4
Trim photos or mementos to fit the pages using scissors with adult supervision.
Step 5
Lay out the photos and keepsakes on the first page until you like the arrangement.
Step 6
Glue or tape the photos and keepsakes onto the page.
Step 7
Write a short caption under each photo to name who or what is in the picture.
Step 8
Write one sentence that explains a memory or feeling from that moment.
Step 9
Draw a small picture that matches the memory to decorate the page.
Step 10
Add stickers or decorative tape to make the page colorful and fun.
Step 11
Create a title page by writing the holiday name and the date.
Step 12
Flip through your scrapbook and press pages flat or let glue dry so everything is secure.
Step 13
Share your finished scrapbook journal on DIY.org
Help!?
What can we use instead of a notebook, glue, or scissors if we don't have them?
Use a hole-punched stack of papers tied with ribbon or a sturdy folder as your scrapbook, swap glue for clear tape or glue dots when you 'glue or tape the photos,' and have an adult trim photos if you can't use scissors.
My photos wrinkle or keepsakes make pages bulky—how can I fix that?
Flatten glued pages under heavy books while the glue dries, choose thin flat keepsakes or photograph bulky items to include the picture instead of the object, and use double-sided tape or glue dots to reduce wrinkling when you 'press pages flat.'
How can I adapt this holiday scrapbook activity for different ages?
For toddlers, give pre-cut photos and stickers to 'glue or tape the photos' while an adult helps trim and write captions; for school-age kids, let them 'write a short caption' and draw the small picture themselves; and for teens, encourage longer captions, decorative tape designs, and printing extra photos to plan detailed layouts.
How can we personalize or extend the finished scrapbook?
Add glued pockets or envelopes for extra keepsakes, decorate the title page with the holiday name and date, use stickers and decorative tape to make pages unique, and consider adding small printed photos or QR codes linking to videos before you share on DIY.org.
Watch videos on how to create a holiday scrapbook journal
MAKING A SWEET CHRISTMAS JOURNAL | SO EASY!
4 Videos

MAKING A SWEET CHRISTMAS JOURNAL | SO EASY!
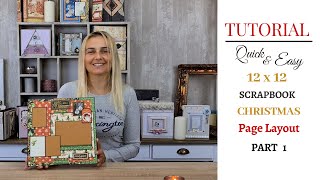
5 Minute Quick And Easy Christmas Scrapbook Layout | Step By Step Tutorial | DIY Scrapbook | Part 1
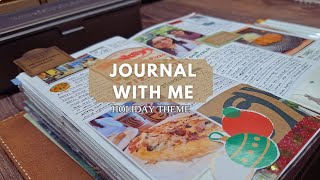
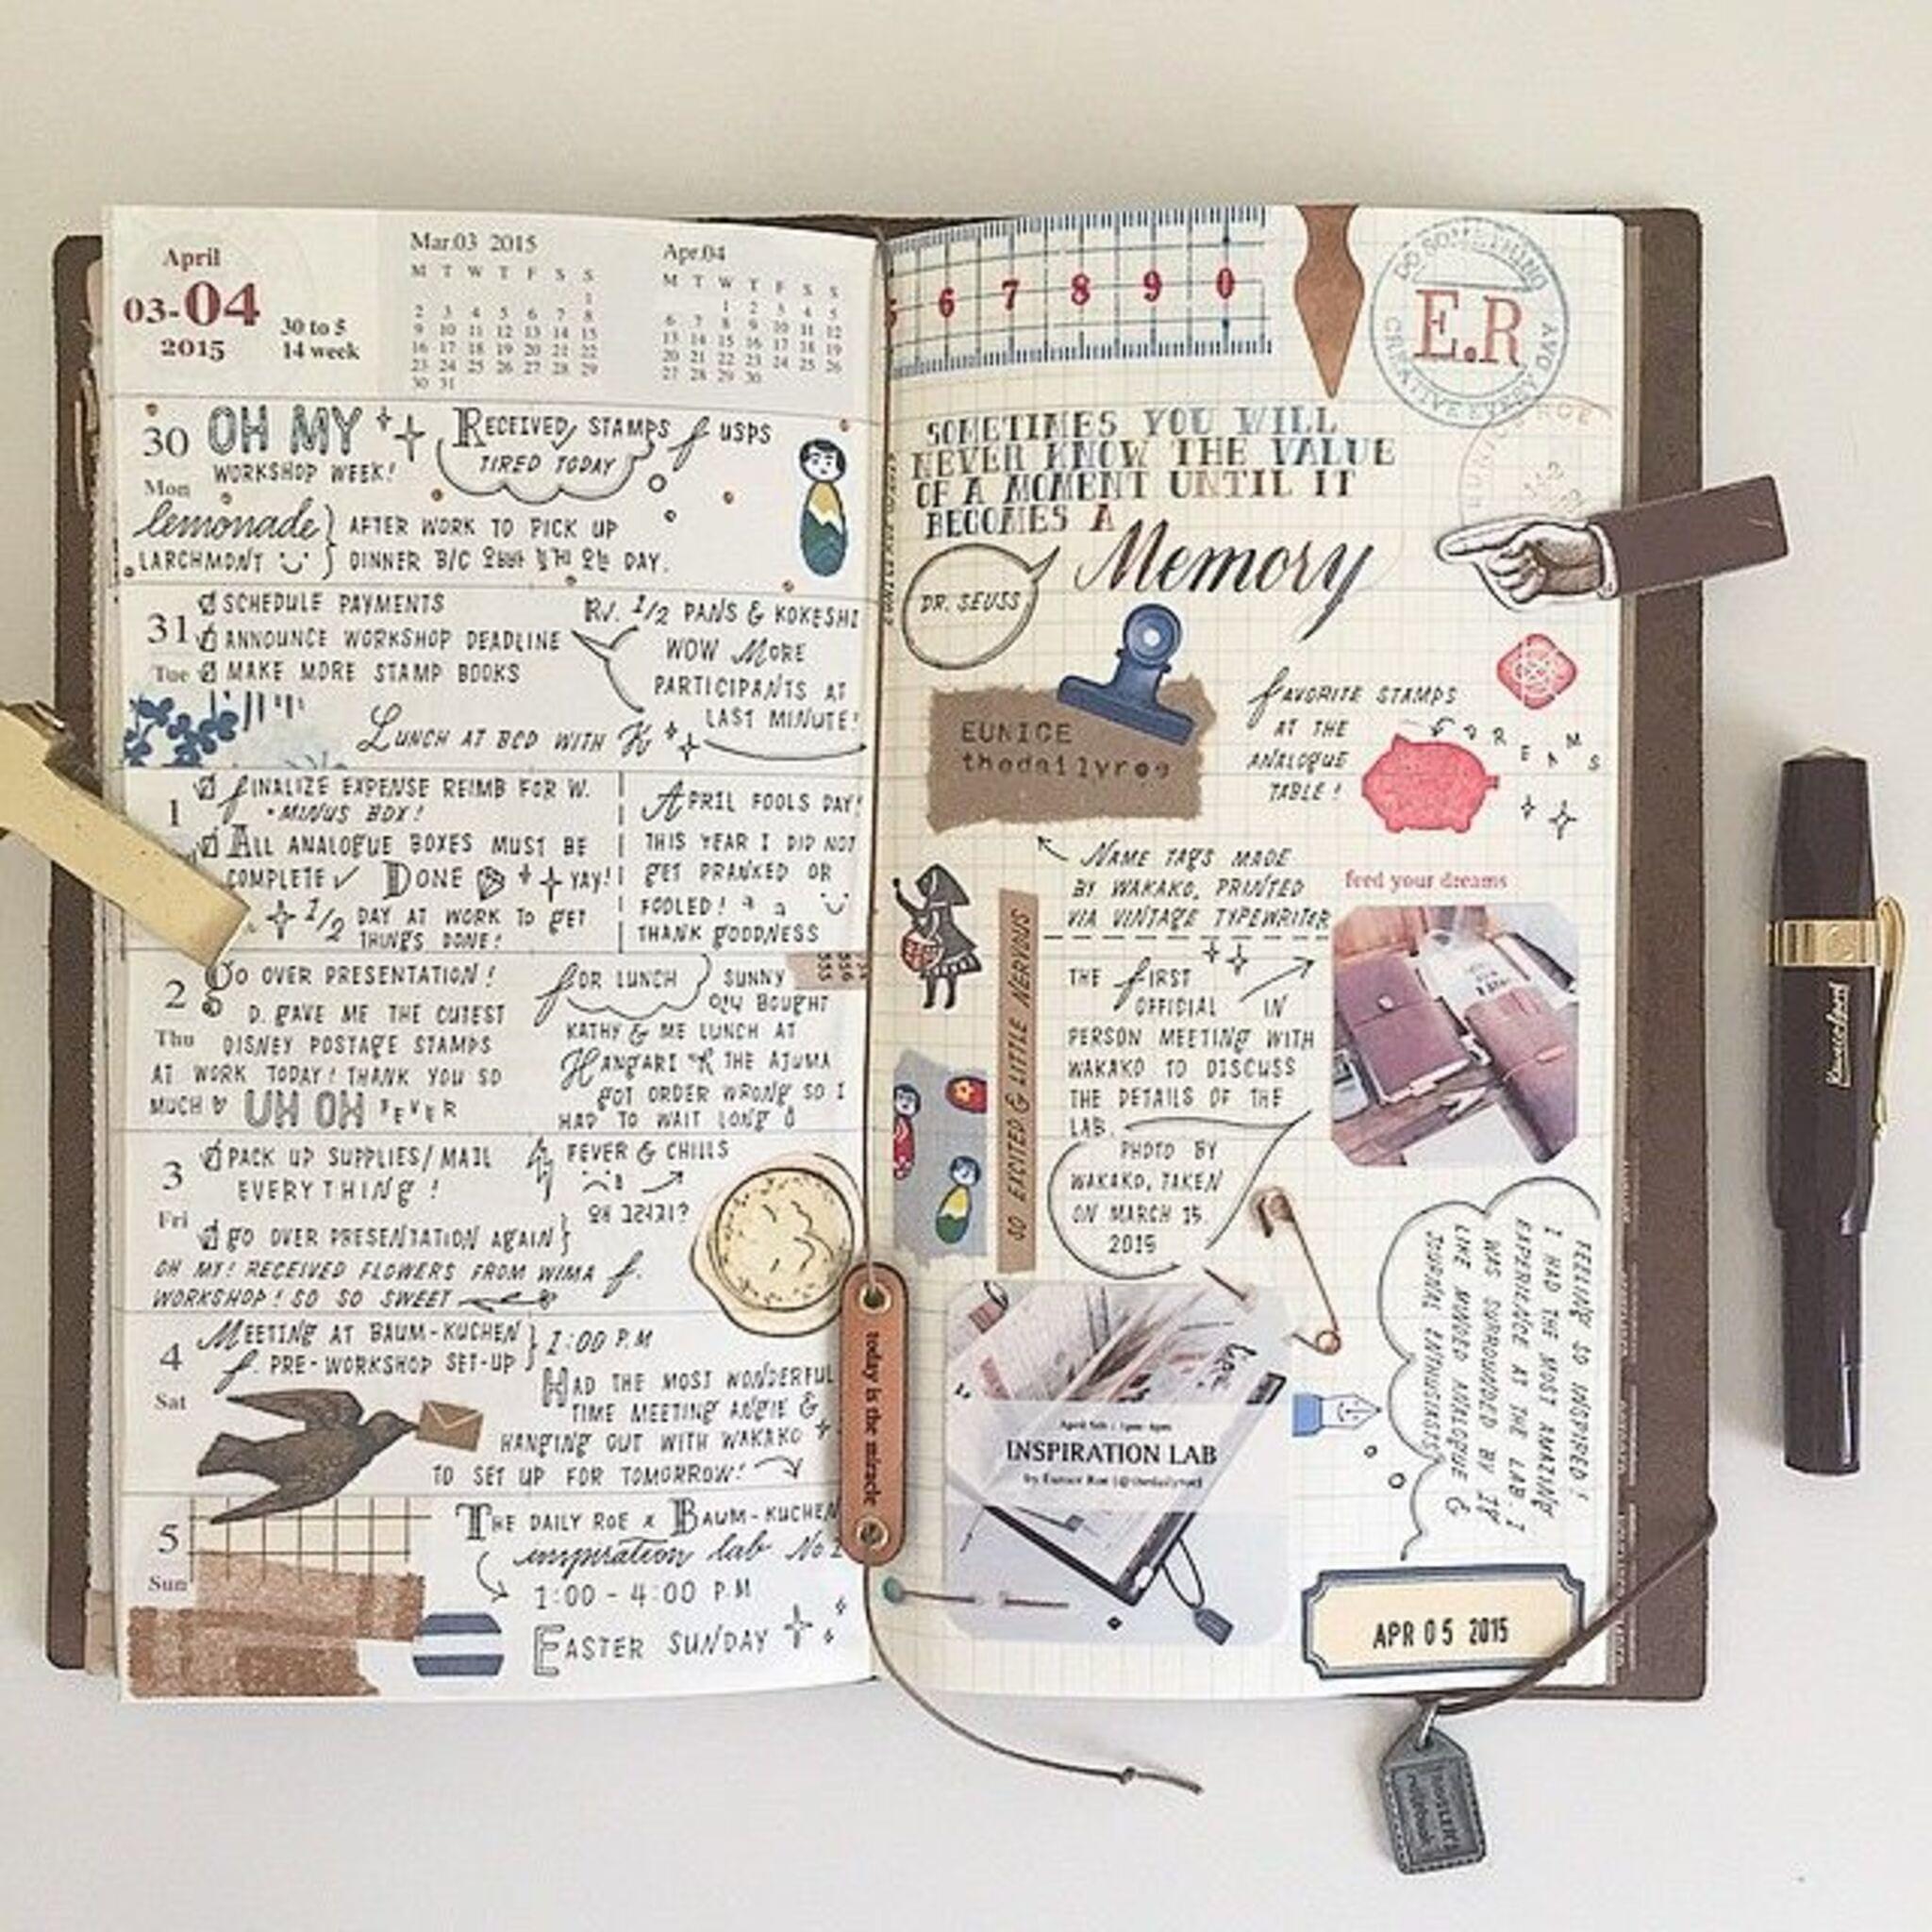
Holiday Memory Keeping in My Traveler's Notebook 🎄🎁 Journal with Me + Scrapbooking Ideas
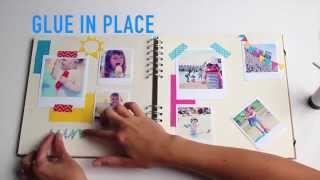
How to layout a scrapbook page (kids holiday edition) | Paperchase
Facts about scrapbooking and memory keeping for kids
📸 Polaroid and other instant cameras (first popularized by Edwin Land in the 1940s) give you a real photo to tuck into a scrapbook moments after you snap it.
✂️ Modern scrapbooking traces its roots to centuries-old commonplace books and Victorian-era memory albums full of clippings and keepsakes.
🖼️ The word 'souvenir' comes from the French se souvenir, which means 'to remember' — exactly what keepsakes in a holiday journal do.
📝 Writing captions and little stories beside photos helps capture details—like jokes, smells, or feelings—that photos alone can forget.
🎨 Scrapbookers love mixed media: stickers, ribbons, pressed flowers, and fabric add texture and tell extra parts of the holiday story.
How do I create a holiday scrapbook journal with my child?
What materials do I need to make a holiday scrapbook journal?
What ages is holiday scrapbook journalling suitable for?
What are the benefits of holiday scrapbook journalling for kids?
