Draw a Fashion DIY Christmas Tree
Draw and decorate a fashion-themed Christmas tree using paper, pencils, markers, fabric scraps, buttons, and sequins, designing stylish ornaments and patterns.


Step-by-step guide to draw a fashion DIY Christmas tree
DIY Christmas Tree Using Plastic Spoons 🎄 | Easy Craft for Kids | Brainwaves
Step 1
Gather all materials and place them on a clean table.
Step 2
Choose a paper orientation and place the paper in front of you.
Step 3
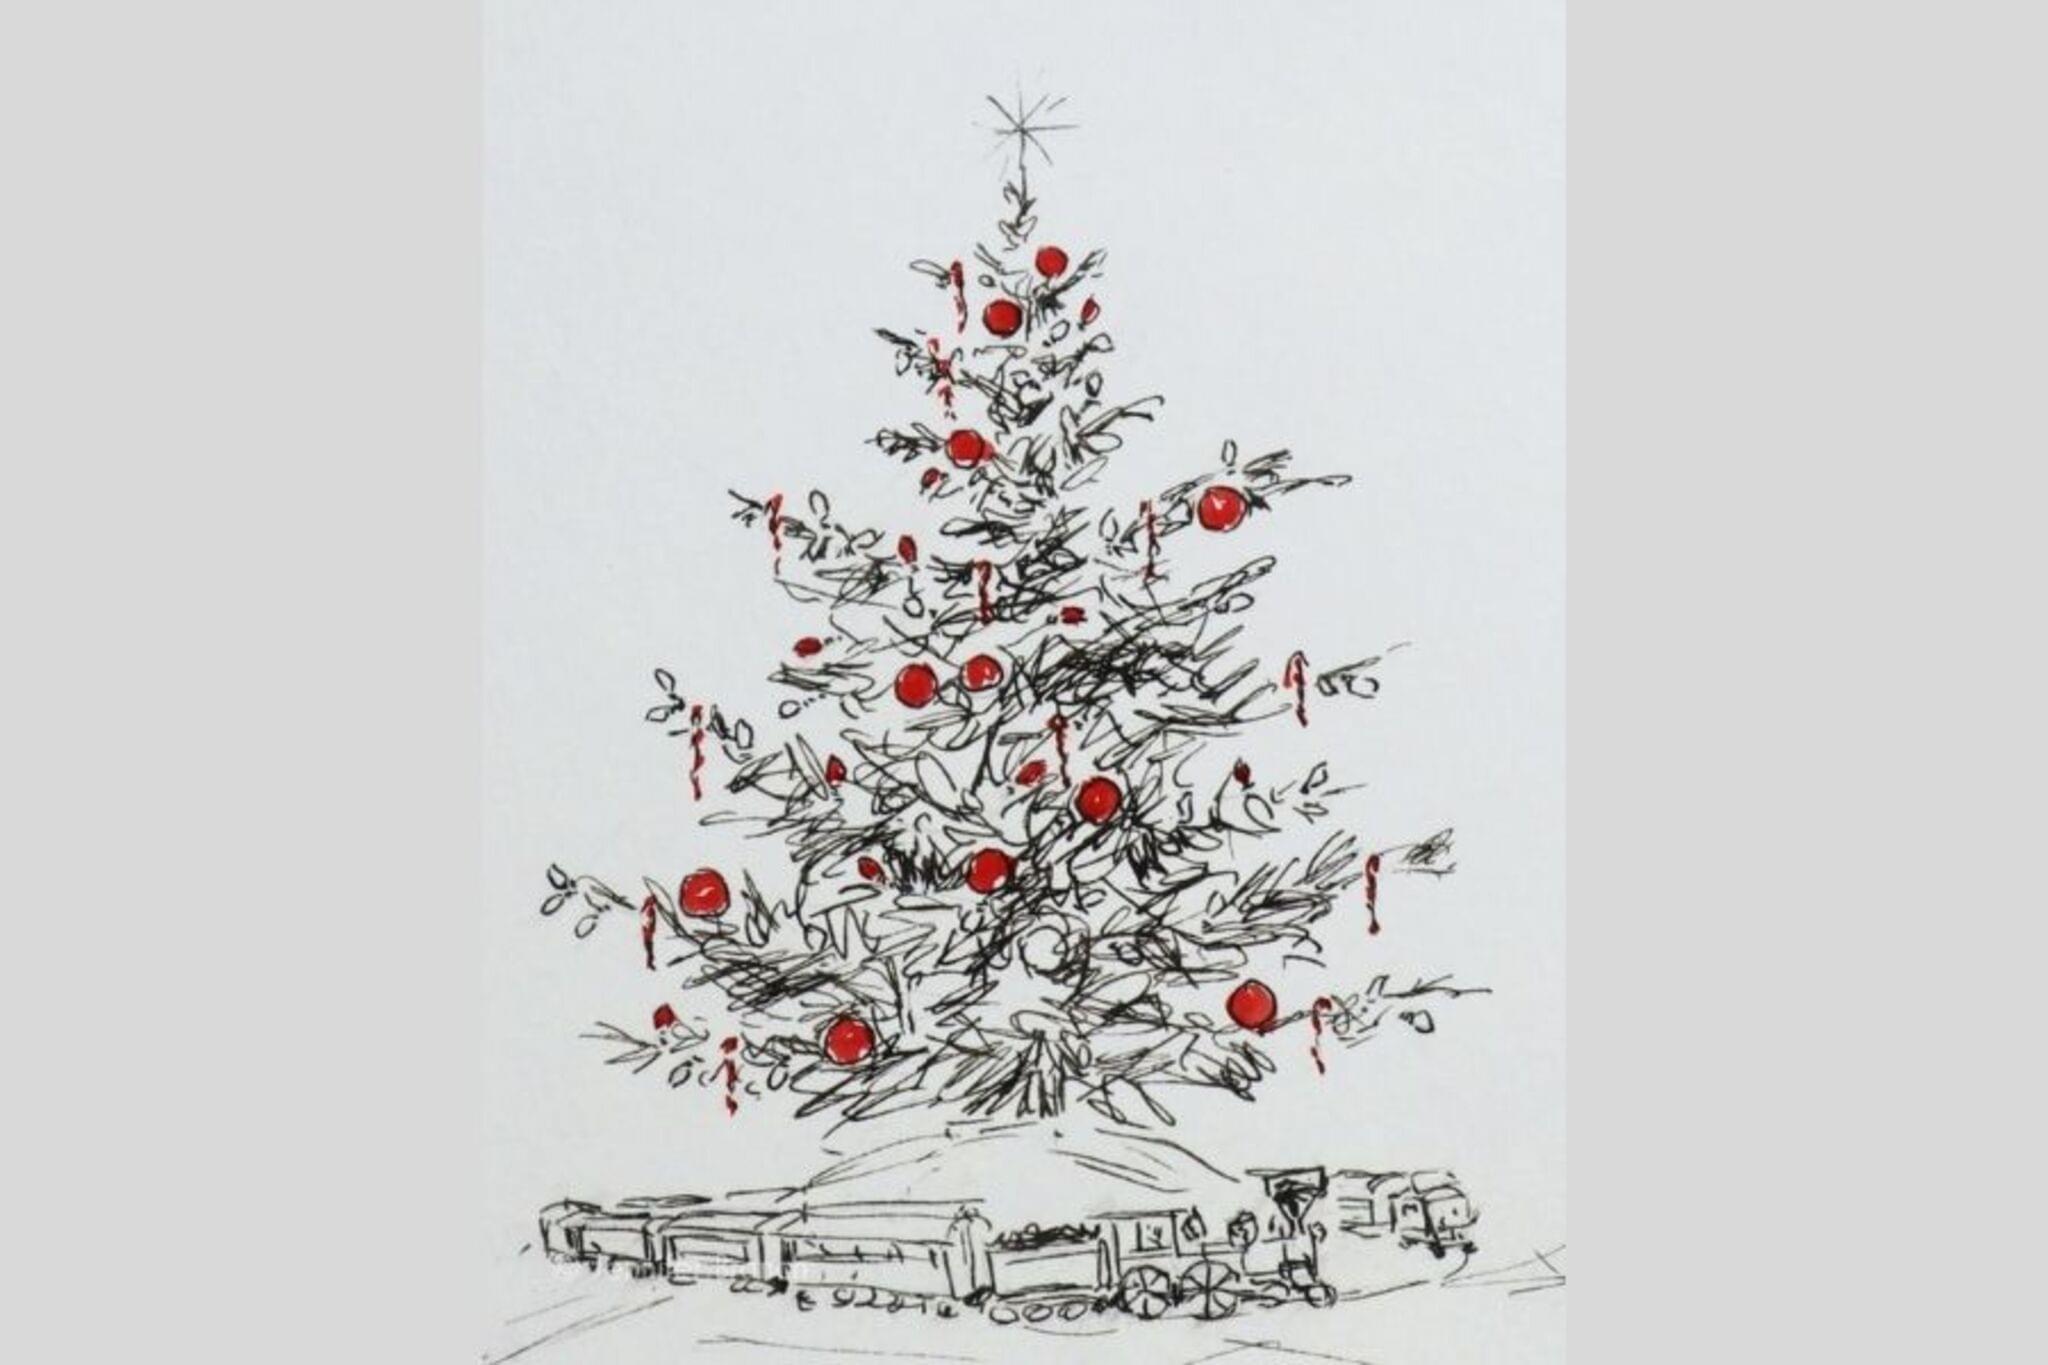
Lightly sketch a large Christmas tree outline with your pencil.
Step 4
Draw horizontal lines across the tree to create separate fashion sections.
Step 5
Draw a different stylish pattern inside each section such as stripes dots or waves.
Step 6
Trace over your pencil tree outline and patterns using your markers.
Step 7
Color the tree and the fashion patterns with your coloring materials.
Step 8
Cut small shapes from fabric scraps to use as ornaments.
Step 9
Put small dots of glue where you want to place each decoration.
Step 10
Press fabric shapes buttons and sequins onto the glue dots to decorate your tree.
Step 11
Take a photo and share your finished Fashion DIY Christmas Tree on DIY.org.
Help!?
What can we use if we don't have fabric scraps, sequins, or buttons?
Substitute fabric scraps, buttons, and sequins with colored construction paper shapes, stickers, or small magazine/photo cutouts and attach them using the glue dots from the 'Press fabric shapes' step.
My colors are bleeding or pencil lines still show — how can we fix that?
Use heavier paper or place scrap paper underneath to prevent marker bleed, let ink dry fully after the 'Trace over your pencil tree outline' step, then gently erase any remaining pencil lines before coloring the tree.
How can this activity be adapted for different ages?
For younger children, pre-draw the tree and pre-cut fabric shapes for them to glue with a glue stick and use chunky markers, while older kids can create more detailed fashion patterns, work with small sequins from the 'Cut small shapes' step, or add simple hand stitching.
How can we extend or personalize the finished Fashion DIY Christmas Tree?
Personalize it by gluing a ribbon border, writing the child's name and year with markers, adding glitter to pattern sections, or attaching a small battery LED behind the paper before you 'Take a photo and share' it.
Watch videos on how to draw a fashion DIY Christmas tree
💥 SUPER EASY🎄 How to make a Christmas Tree from cotton pads 🎄 Christmas Craft Ideas
4 Videos
💥 SUPER EASY🎄 How to make a Christmas Tree from cotton pads 🎄 Christmas Craft Ideas
8 Easy Christmas Crafts for Kids
DIY Paper Christmas Tree | How To Make a 3D Xmas Tree | Christmas Decor
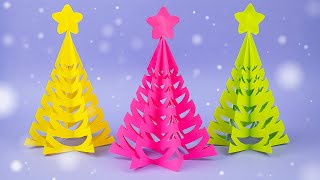
How to Make a Stunning Paper Christmas Tree: Easy DIY Paper Craft
Facts about fashion and textile crafts for kids
🎄 The modern decorated Christmas tree tradition began in 16th-century Germany — people once hung apples, paper, and candles on trees!
👗 Fashion designers start with quick pencil sketches called croquis to plan looks — just like sketching ornament ideas for your tree.
✂️ Buttons were first used as ornamental decorations in ancient cultures; some archaeological finds show buttons used purely for show.
🌟 Sequins were once cut from real gold and silver; today they're usually plastic or metal for safe, sparkly crafts.
🖍️ Papercraft and collage let you mix paper, fabric scraps, buttons, and markers to create layered, textured designs — perfect for a fashion tree.
How do you draw a Fashion DIY Christmas Tree?
What materials do I need for a Fashion DIY Christmas Tree?
What ages is the Fashion DIY Christmas Tree suitable for?
What are the benefits of making a Fashion DIY Christmas Tree?
