Celebrate Chocolate Day!
Make chocolate bark by melting chocolate, adding nuts and fruit, then cooling and sharing; learn about melting, measurements, and safe food handling.

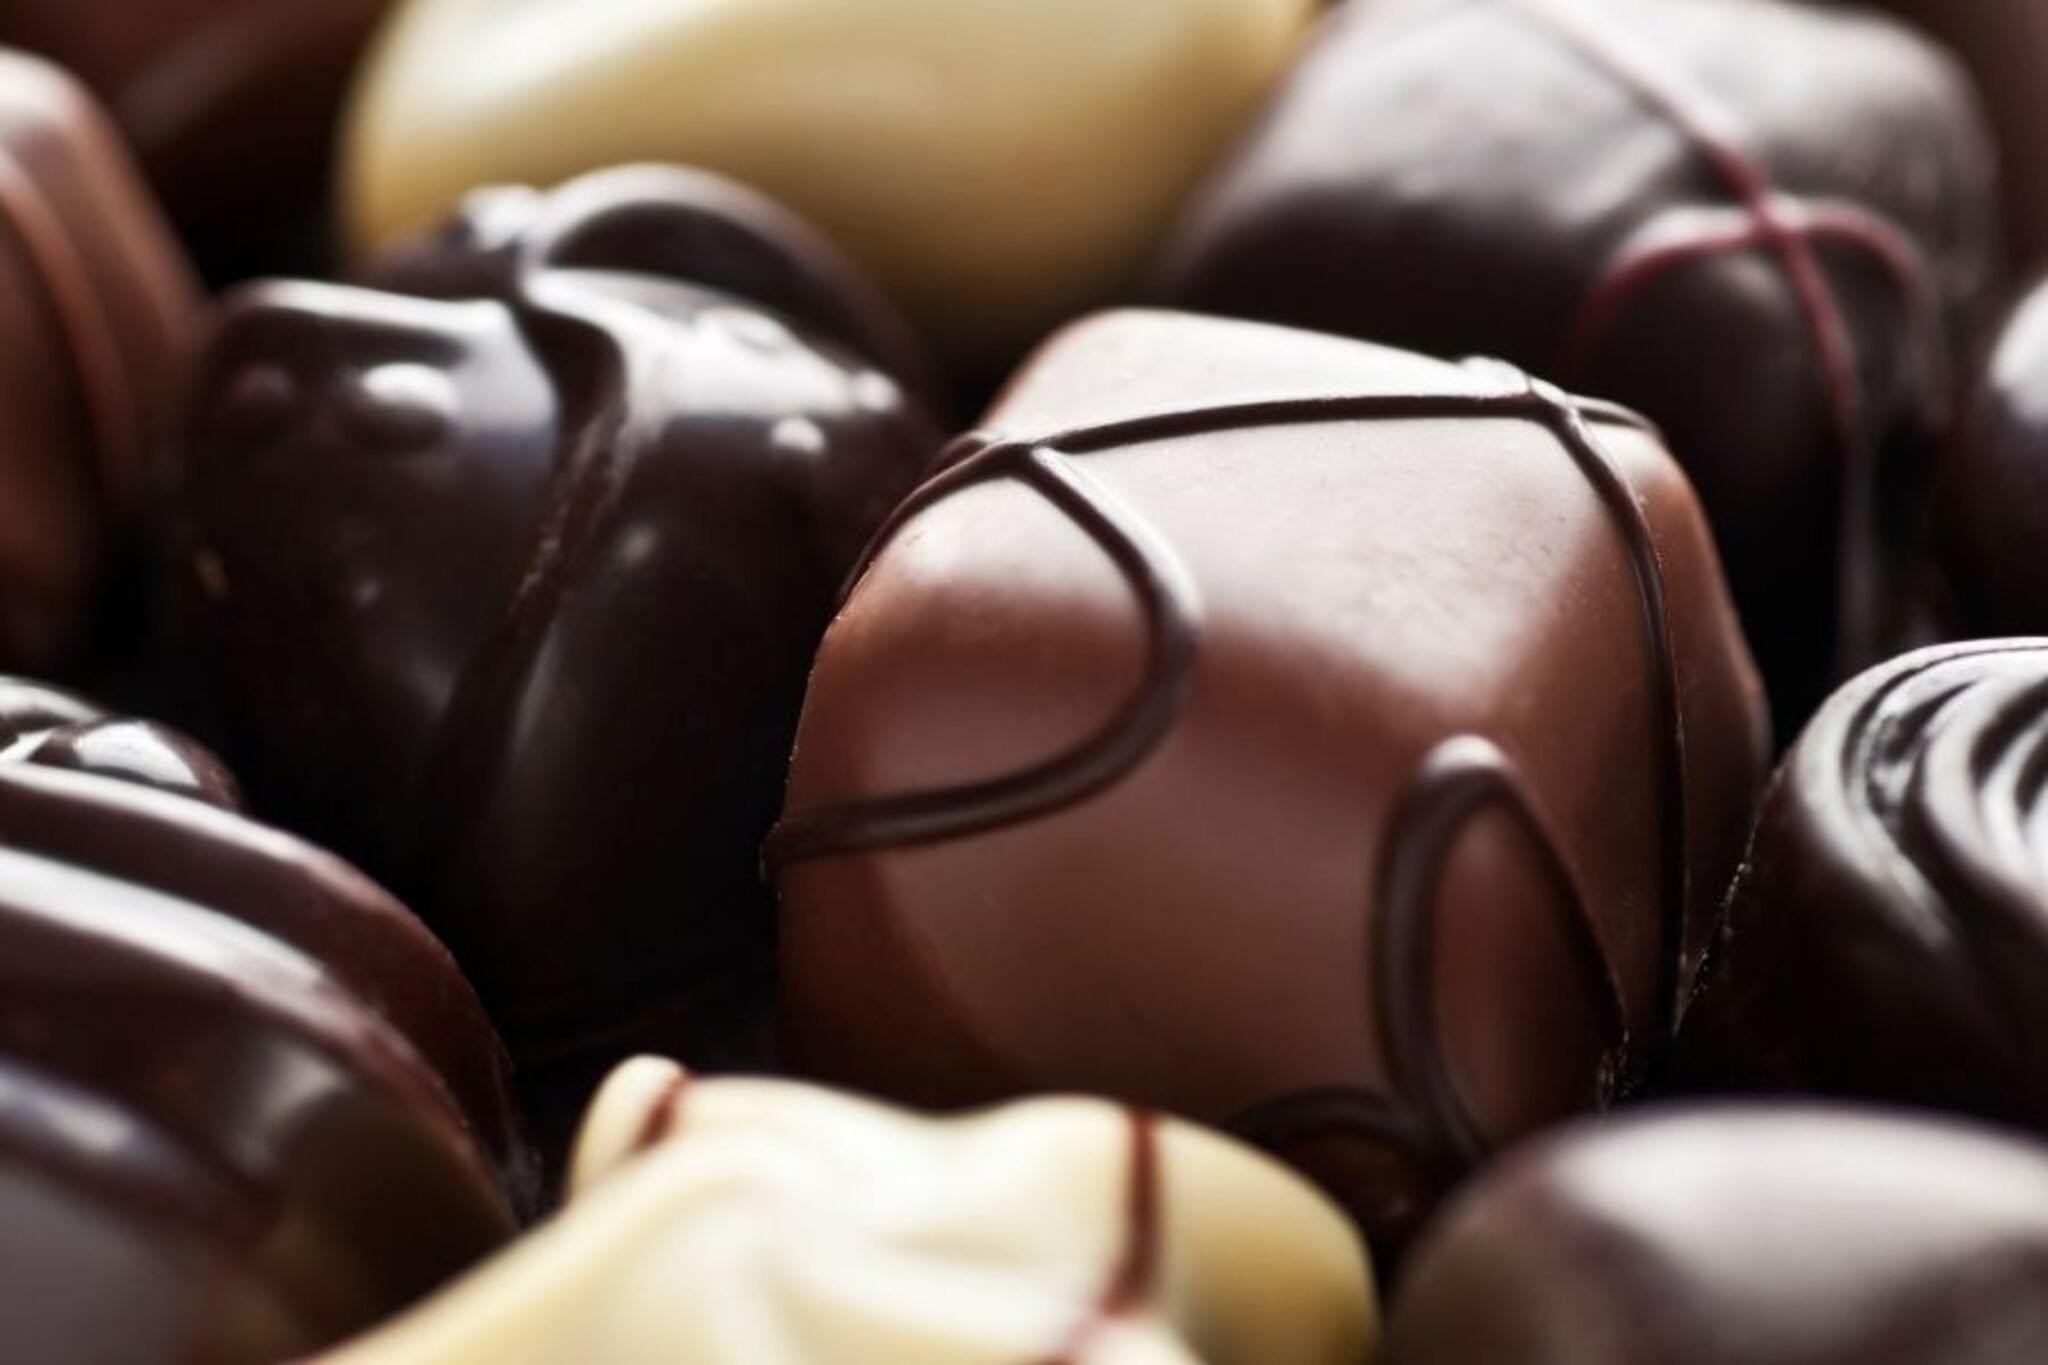

Step-by-step guide to make chocolate bark
Healthy Homemade Chocolate Recipe for Kids | Easy & Nutritious Snack!
Step 1
Wash your hands with soap and water for 20 seconds.
Step 2
Line the baking sheet with parchment paper and lay it on the counter.
Step 3
Ask an adult to help you chop the nuts and fruit into small pieces on the cutting board.
Step 4
Measure the amount of chocolate you need and put it into the microwave-safe bowl.
Step 5
Place the bowl of chocolate in the microwave and heat it for 30 seconds.
Step 6
Carefully remove the hot bowl using an oven mitt or towel.
Step 7
Stir the chocolate until the outer pieces begin to melt and mix in.
Step 8
If the chocolate is not fully smooth, heat in 15-second bursts and stir after each burst until completely smooth.
Step 9
Pour the melted chocolate onto the lined baking sheet in a single blob.
Step 10
Use the spoon or spatula to spread the chocolate into a thin even layer.
Step 11
Sprinkle the chopped nuts and fruit evenly over the chocolate layer.
Step 12
Put the baking sheet into the refrigerator and chill until the chocolate is firm about 20 to 30 minutes.
Step 13
Take the baking sheet out and break the set chocolate bark into pieces.
Step 14
Arrange your chocolate bark pieces on a plate or in a box to share with others.
Step 15
Share a photo and a description of your finished chocolate bark creation on DIY.org.
Help!?
What can we use if we don't have a microwave-safe bowl or a microwave for melting the chocolate?
If you don't have a microwave-safe bowl or microwave, melt the chocolate in a heatproof bowl set over a simmering pot of water (double boiler) and then follow steps 6–8 to remove, stir, and finish melting.
What should we do if the chocolate stays grainy or seems burned after microwaving in step 5?
If the chocolate stays grainy or starts to burn after step 5, stop microwaving, heat in 15-second bursts and stir as described in step 8, and if needed stir in a teaspoon of neutral oil to restore a smooth, glossy texture.
How can we adapt the activity for younger kids or older kids while keeping everyone safe?
For younger children have an adult do step 3 (chopping) and steps 5–7 (microwaving and hot work) while the child does steps 9–11 (pouring, spreading, and sprinkling), and let older kids do steps 4–14 with supervision and post the photo in step 15.
How can we personalize or extend our chocolate bark to make it more special?
To personalize, stir 1/4 teaspoon vanilla or cinnamon into the melted chocolate at step 7, add sea salt or crushed candy during step 11, and after chilling in step 12 drizzle contrasting melted chocolate or use cookie cutters before step 13 to create decorated pieces for step 14.
Watch videos on how to make chocolate bark
🍫 World Chocolate Day for Kids | 7 July | History of Chocolate | How Chocolate is Made | Twinkl
3 Videos

🍫 World Chocolate Day for Kids | 7 July | History of Chocolate | How Chocolate is Made | Twinkl
World Chocolate 🍫 Day - sing-a-long with StoryTime Kids

How is Chocolate Made? 🍫 Ask the StoryBots | Netflix Jr
Facts about cooking and food safety for kids
🍫 The ancient Maya and Aztecs treasured cocoa beans so much they sometimes used them like money!
🔥 Chocolate starts to melt around body temperature (about 34–36°C / 93–97°F), which is why it melts in your mouth.
🧪 Tempering chocolate makes it glossy and gives it a satisfying ‘snap’ by aligning cocoa butter crystals.
🥜 Nuts like almonds and hazelnuts are classic bark add-ins — but always ask about allergies before sharing.
🍓 Dried fruit keeps chocolate bark crunchy and shelf-stable longer than fresh fruit, which can make it soggy.
How do I make chocolate bark for Celebrate Chocolate Day?
What materials and ingredients do I need for chocolate bark?
What ages is making chocolate bark suitable for?
What food and kitchen safety should we follow when making chocolate bark?
