Make a Greeting Card Cover
Decorate a personalized greeting card cover using colored paper, markers, stickers, and simple folds to practice design, color choices, and neat cutting skills.


Step-by-step guide to make a greeting card cover
20 Creative Pop-Up Card Tutorials | Easy DIY
Step 1
Pick one sheet of colored paper you love to be the outside of your card.
Step 2
Fold the paper in half carefully along the short side to make the card shape.
Step 3
Use a ruler and pencil to lightly mark the center fold so your design lines up straight.
Step 4
Choose a theme for your card like birthday or thank you and think of one main image to draw.
Step 5
Lightly sketch your main image on the front of the card with your pencil.
Step 6
Cut simple shapes from extra colored paper to match your design.
Step 7
Arrange the cut shapes and stickers on the front until you like the layout without gluing them yet.
Step 8
Glue each shape and sticker down neatly one at a time.
Step 9
Write a short greeting on the front with a marker using steady letters.
Step 10
Add small decorative drawings or color details around the greeting with your coloring materials.
Step 11
Trim any extra paper or uneven edges with scissors to make the card look tidy.
Step 12
Share a photo of your finished greeting card cover on DIY.org
Help!?
What can we use instead of colored paper or stickers if they're hard to find?
Use scrap wrapping paper, magazine pictures or plain printer paper colored with crayons for the card outside and replace stickers by cutting small shapes from extra colored paper or using washi tape as in steps 5 and 6.
My fold isn't straight and my glued shapes wrinkle—how can I fix that?
Align and lightly score the fold with a ruler and pencil as in step 2–3, glue one shape at a time with a thin layer of glue stick as in step 8, then press flat and let the card dry under a heavy book to prevent wrinkling.
How can I change the activity for different ages so it's age-appropriate?
For toddlers, pre-cut the shapes from step 6 and skip the ruler so they can stick and scribble the greeting, while older kids can use the ruler and pencil from step 3 for precise layout and add layered paper details and neat lettering from steps 9–10.
What are some easy ways to personalize or make the card fancier after finishing the cover?
Turn the main image from step 4 into a small pop-up inside the folded card, add a photo or patterned paper to the front before gluing in step 8, and outline your greeting from step 9 with a metallic marker or tiny drawn details from step 10.
Watch videos on how to make a greeting card cover
Easy Pop-Up Card Tutorial For ANY SIZE CARD
3 Videos

Easy Pop-Up Card Tutorial For ANY SIZE CARD
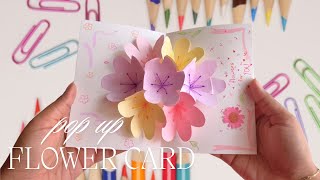
Pop Up Flower Card Tutorial | Handmade Greeting Card | Handmade Birthday Card
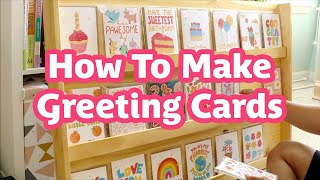
How To Make Greeting Cards At Home | Materials & Supplies, Full Process, + Tips
Facts about card making and paper crafts for kids
🎉 People in the U.S. buy about 6.5 billion greeting cards every year.
✂️ Cardstock is thicker and sturdier than regular paper, which makes it perfect for durable card covers and crisp folds.
🧩 Self-adhesive stickers were popularized in the 1930s and are a fast, tidy way to decorate without glue.
🌀 Traditional origami and many papercrafts rely only on folding (no cuts or glue) to create shapes and surprises.
🎨 Warm colors like red and orange appear closer while cool colors like blue and green recede—use that to make parts of your cover pop.
How do I make a personalized greeting card cover with my child?
What materials do I need to decorate a greeting card cover?
What ages is decorating a greeting card cover suitable for?
What are the benefits of making personalized greeting card covers, and are there easy variations?
