Watercolour City Skyline (Age: 8-15)
Paint a vibrant watercolour city skyline using masking tape, washes, and salt texture techniques to explore color blending, layering, and simple perspective.


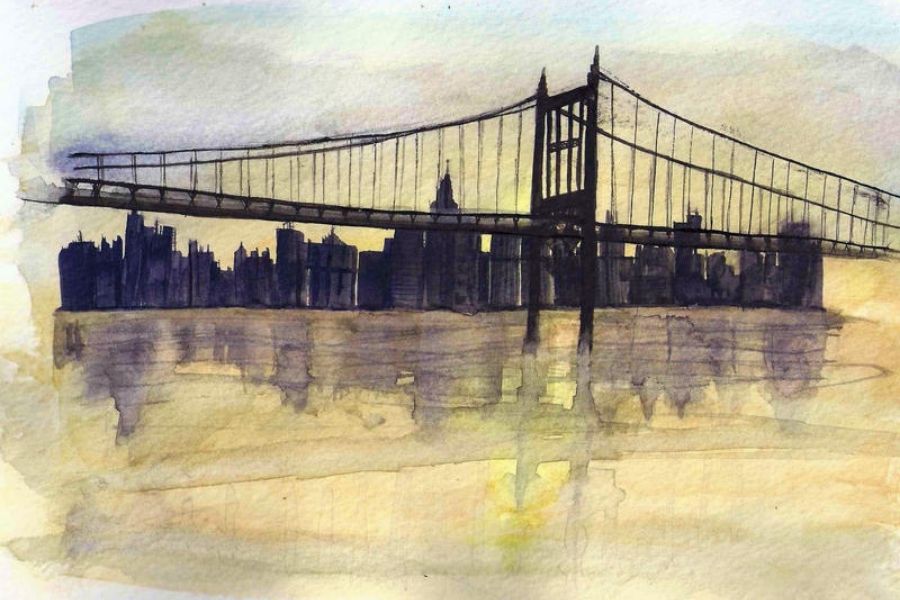

Step-by-step guide to Watercolour City Skyline
Step 1
Gather all your materials and find a flat workspace to paint on.
Step 2
Use masking tape to create a clean border around the edges of your paper.
Step 3
Use a pencil and ruler to lightly draw a horizon line about one-third from the bottom.
Step 4
Sketch simple building shapes above the horizon with your pencil.
Step 5
Apply strips of masking tape over some building outlines and window shapes to keep crisp white edges.
Step 6
Use a large brush to wet the entire sky area above the horizon with clean water.
Step 7
Drop two different sky colors into the wet area to add paint to the paper.
Step 8
Tilt the paper slowly to let the wet colors blend and flow together.
Step 9
Sprinkle table salt over the wet sky paint to create textured starburst effects.
Step 10
Let the sky and salted paint dry completely before touching it.
Step 11
Paint the building shapes with darker watercolor washes to create layers and simple perspective.
Step 12
Carefully peel off the masking tape to reveal sharp edges and protected whites.
Step 13
Use a black fine liner or marker to add simple details like windows door frames and rooftop lines.
Step 14
Share your finished watercolor city skyline on DIY.org
Help!?
I don't have masking tape or table salt — what can I substitute?
Use low‑tack painter's tape or washi tape instead of masking tape to protect edges and windows, and substitute table salt with coarse sea salt for stronger starburst texture or with granulated sugar for a subtler effect when sprinkled over the wet sky.
My sky colors aren't blending and the paper tears when I remove the tape — how do I fix that?
Keep the entire sky area fully wet before dropping in colors and tilt the paper immediately so paints blend (steps 6–8), and only peel the tape slowly at a low angle after the salted sky is completely dry to avoid ripping the paper (step 9 and 11).
How can I adapt the activity for younger or older kids?
For younger kids (around 8–10) simplify step 4 to big blocky building shapes, use larger brushes and pre‑cut tape strips, while older kids (12–15) can add perspective lines, multiple glazing washes for depth in step 10, and more intricate fine‑liner details in step 12.
What are some ways to enhance or personalize the finished skyline?
After peeling the tape (step 11) add window glows with white gouache or a gel pen, mirror the sky colors below the horizon for water reflections, or swap some taped windows for masking fluid beforehand to create more detailed rooftop shapes.
Watch videos on how to Watercolour City Skyline
How to Paint a Sunset City Skyline with Watercolors | Art Journal Thursday Ep. 38
4 Videos

How to Paint a Sunset City Skyline with Watercolors | Art Journal Thursday Ep. 38
Paint A Simple Watercolour Sunset Cityscape, Watercolor Urban Landscape Tutorial For Beginners
Easy cityscape watercolor painting for beginners with step by step instructions.
Paint the New York Skyline in Watercolor~ Beginner's Tutorial
Facts about watercolour painting for kids
🎨 Watercolor paint can be reactivated with water even after it dries — great for lifting color or making changes.
🧂 Sprinkling table salt onto wet watercolor pulls pigment away into tiny starburst textures, perfect for creating twinkling city lights.
🛠️ Masking tape was invented by Richard Drew at 3M in 1925 and artists use it to get crisp, clean edges in their paintings.
🏙️ The word 'skyline' became popular in the late 19th century as taller buildings reshaped cityscapes — skylines often become a city's signature.
📐 Simple one-point perspective (one vanishing point) makes buildings look 3D even with basic shapes — ideal for ages 8–15.
How do I paint a watercolour city skyline using masking tape, washes, and salt?
What materials do I need for a watercolour city skyline project?
What ages is the watercolour city skyline activity suitable for?
What are the benefits, safety tips, and fun variations for a watercolour city skyline?
