Make a Collage Zoo!
Create a collage zoo using magazine cutouts, colored paper, glue, and markers while designing habitats, arranging animals, and explaining your choices.

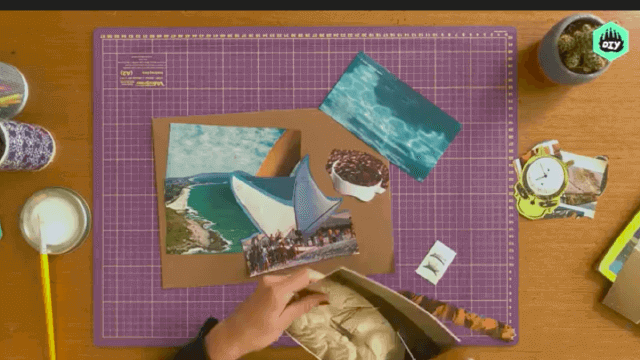

Step-by-step guide to make a collage zoo
Step 1
Pick a large sheet of cardboard or poster paper and place it flat on your workspace.
Step 2
Use a pencil to lightly draw separate habitat zones on the base like forest desert ocean and grassland.
Step 3
Look through magazines and choose at least six animal pictures you want in your zoo and mark their pages.
Step 4
Carefully cut out the animal pictures from the magazines with scissors.
Step 5
Arrange the animal cutouts on the habitat zones without gluing to decide where each animal will live.
Step 6
Cut shapes from colored paper to make habitat elements like trees rocks water and sand.
Step 7
Glue the colored paper habitat pieces onto the matching zones on your base.
Step 8
Glue each animal cutout into its chosen habitat spot on the base.
Step 9
Use markers to draw extra details like grass waves clouds and sun to make each habitat come alive.
Step 10
Write a short sentence beside each animal explaining why it belongs in that habitat using your markers.
Step 11
Take a photo of your finished collage zoo and share your creation on DIY.org.
Help!?
What can we use if we don't have magazines, colored paper, or a large sheet of cardboard?
If you don’t have magazines or colored paper, print animal images from the internet or cut pictures from old newspapers, and substitute a flattened cereal box, poster board, or an old cardboard shipping box for the large sheet of cardboard while using fabric scraps or construction paper for habitat pieces.
My animal cutouts keep sliding or tearing when I try to arrange and glue them — how can I fix that?
When arranging without glue, tack cutouts in place with small pieces of removable tape, reinforce thin edges with clear tape before cutting, and use a glue stick or white craft glue then press the collage under a heavy book while drying to prevent slipping and warping.
How can I adapt the activity for younger or older kids?
For preschoolers, draw fewer habitat zones and pre-cut animal and habitat shapes for them to glue, while older kids can add more than six animals, research facts and write longer sentences beside each animal, and build 3D elements with recycled materials.
What are simple ways to enhance or personalize our finished Collage Zoo?
Personalize the collage by adding textured materials like cotton for clouds and sandpaper for rocks, creating movable flaps or pop-up elements with extra cardboard, labeling animals with short facts using your markers, and photographing the finished zoo to share on DIY.org.
Watch videos on how to make a collage zoo
How To Make An Animal Collage | Creativity Tips | Crayola Learning
4 Videos
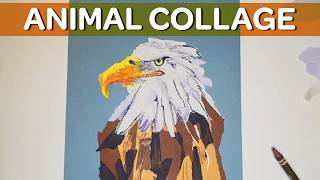
How To Make An Animal Collage | Creativity Tips | Crayola Learning
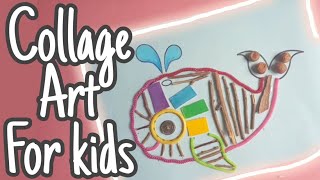
Art for kids | how to make collage | Sea Animals | step by step tutorial....
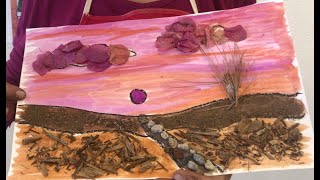
The Art of Nature for Kids - A Nature Collage
Early Childhood activity: Nature Collage
Facts about collage art for kids
🧩 The word "collage" comes from the French verb coller, which means "to glue" — perfect for a magazine-and-paper zoo!
✂️ Modern collage was popularized by artists like Pablo Picasso and Georges Braque in the early 1900s.
🦁 Zoos often organize animals by habitat (savanna, rainforest, desert), so designing habitats in your collage teaches real ecosystem ideas.
📰 Magazines are fantastic collage supplies — glossy photos, bold colors, and lots of animals to cut out and mix.
🎨 Adding markers, texture, and labels makes your collage tell a story about each animal's home and why it belongs there.
How do I make a collage zoo with my child?
What materials do I need to make a collage zoo?
What ages is a collage zoo activity suitable for?
What are the benefits of making a collage zoo?
