Draw a Woman Face
Draw a woman's face step-by-step using simple shapes, proportions, and shading to practice facial features, expressions, and creative style with confidence.

Drawing Apps
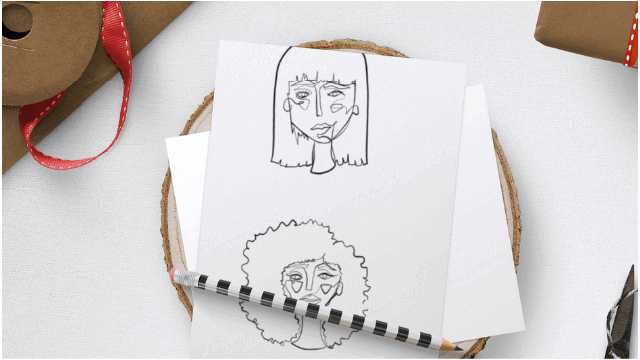
Step-by-step guide to draw a woman's face
Step 1
Gather all your materials and find a comfortable spot to draw.
Step 2
Lightly draw a circle for the top of the head.
Step 3
Add a small curve below the circle to form the chin and complete the head shape.
Step 4
Draw a vertical center line down the middle of the face to help place features.
Step 5
Draw a horizontal eye line across the middle of the head to mark where the eyes go.
Step 6
Draw two almond shaped eyes on the eye line leaving about one eye width between them.
Step 7
Draw small dark circles in the middle of each eye for pupils.
Step 8
Draw small curved lines above the eyes to make eyebrows.
Step 9
Draw a simple nose by sketching a short vertical line halfway between the eye line and the chin.
Step 10
Draw a mouth by making a curved line halfway between the nose and the chin to set the expression.
Step 11
Add ears by drawing small curves at the sides of the head between the eye line and the nose.
Step 12
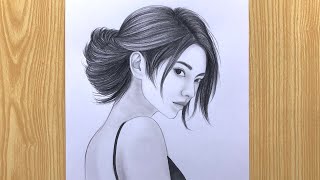
Sketch the hair outline around the head showing the hairstyle you like.
Step 13
Lightly shade under the chin and along one side of the nose and hair roots to add depth.
Step 14
Erase the guide lines and darken the final lines and then colour your drawing if you want.
Step 15
Share your finished drawing on DIY.org.
Help!?
What can we use if we don't have a pencil, eraser, or colouring tools from the instructions?
If you don't have a pencil, use a soft coloured pencil or charcoal to lightly draw the top-of-head circle, vertical centre line and eye line, and if you lack an eraser use a kneaded eraser or gently smudge with a clean cloth before darkening final lines and colouring with markers or crayons.
My face looks uneven—what step should I check and how can I fix it?
If the eyes or features look uneven, review the vertical centre line and horizontal eye line, erase the misplaced feature and reposition the almond-shaped eyes so there's about one eye-width between them and align pupils with the centre line.
How can I adapt this activity for younger or older kids?
For younger children, pre-draw the circle, chin curve and eye line and let them place simple eye shapes and colour with thick crayons, while older kids can refine the short vertical nose line, add light shading under the chin and along one side of the nose, and experiment with more detailed hair outlines.
How can we extend or personalise our finished woman face drawing?
To personalise and extend the activity, design unique hairstyles around the head outline, add ears, clothing or a background, practice the light shading under the chin and hair roots for depth, darken and ink final lines, then colour and share your finished drawing on DIY.org.
Watch videos on how to draw a woman's face
How to draw a girl's face step by step🧑🎨
4 Videos
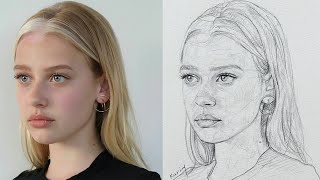
How to draw a girl's face step by step🧑🎨
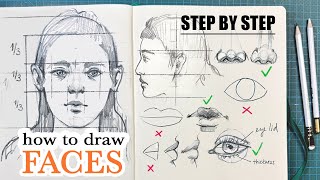
✏️ A Gentle Guide to Drawing Faces (EASY Step-by-Step Tutorial)
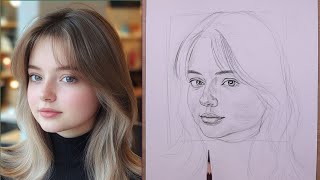
How to Draw Female Faces Step by Step with the Method | Portrait Drawing Tutorial
Easy way to draw a girl face Drawing - Step By Step | The Crazy Sketcher
Facts about portrait drawing for kids
🎨 Artists often place the eyes halfway down the head — that's a simple trick to get correct facial proportions.
👁️ The space between the eyes is roughly the width of one eye, so a face is often about five eye-widths across.
🙂 A genuine smile lifts the cheeks and reaches the eyes; artists study eye shapes to capture real emotion.
✏️ Shading (light and shadow) can turn a flat sketch into a 3D-looking face — masters used chiaroscuro for dramatic portraits.
💡 Tiny changes to eyebrow angle, mouth curve, or pupil size can completely change a face's expression.
How do I teach my child to draw a woman's face step-by-step?
What materials do I need to draw a woman's face with my child?
What ages is drawing a woman's face suitable for?
What are the benefits and fun variations of drawing a woman's face?
