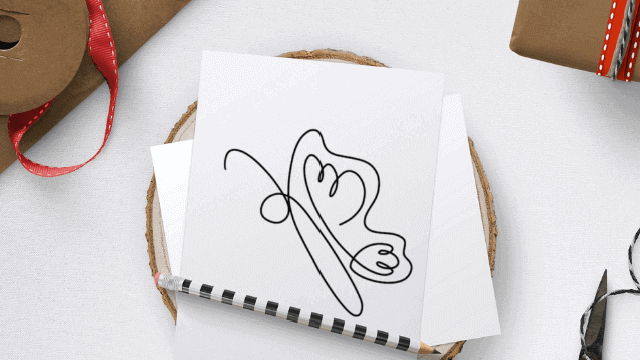
Butterfly With One Line
Draw a butterfly using one continuous line without lifting your pen, practicing symmetry, smooth curves, adding color afterward, and exploring pattern ideas.

Drawing Apps
Step-by-step guide to draw a butterfly with one continuous line
Step 1
Gather all your materials and set up a clean flat workspace.
Step 2
Fold your paper in half to make a center crease as a symmetry guide.
Step 3
Open the paper so the crease is visible down the middle.
Step 4
Use scrap paper to practice drawing smooth continuous curves and loops without lifting your pencil.
Step 5
Place your pencil on the center crease near the top and draw a small head and two antennae in one continuous motion.
Step 6
Continue the same line down from the head to draw a gentle curved body.
Step 7
From the bottom of the body draw a smooth curve outward to make the lower part of one wing and continue up to shape the upper part of that wing.
Step 8
Without lifting your pencil cross back over the center crease and mirror the wing curves on the other side to create a matching wing.
Step 9
Add inner wing patterns like loops scallops or veins while keeping the pencil on the paper in one continuous line.
Step 10
Bring the line back to the body and close any open gaps so the line finishes naturally near your starting point.
Step 11
Carefully trace over the entire pencil line with your fine tip pen or marker in one continuous stroke without lifting the pen.
Step 12
Gently erase any leftover pencil marks leaving only the inked continuous line.
Step 13
Color the wings using your coloring materials and copy colors or patterns on the opposite wing to practice symmetry.
Step 14
Add extra matching dots lines or shapes on both wings to explore new pattern ideas.
Step 15
Take a photo of your one line butterfly and share your finished creation on DIY.org.
Help!?
What can I use if I don't have a fine-tip pen or the specific coloring materials listed?
Use a sharp ballpoint or gel pen to trace the continuous line and substitute colored pencils, crayons, or washable markers for the coloring materials called for in the final coloring step.
My pencil line keeps breaking or I accidentally lift the pencil—how do I fix that?
Practice smooth continuous curves on scrap paper, slow your motion when drawing from the head down the body and wings, and if a gap happens redraw or lightly connect the section before tracing in ink so you can complete the final continuous stroke.
How can I adapt this activity for younger children or older kids who want more challenge?
For younger children use thicker paper and a broad washable marker to make big simple head, body, and wing curves and skip inner patterns, while older kids can add intricate loops, scallops, and veins and use a fine-tip pen for detailed continuous-line symmetry.
What are some ways to extend or personalize the one-line butterfly after finishing?
After erasing pencil marks and coloring the wings, personalize by adding mirrored mixed-media textures like glitter or collage paper, cutting and mounting butterflies for a mobile, or photographing your finished piece to share on DIY.org as suggested in the instructions.
Watch videos on how to draw a butterfly with one continuous line
The Life Cycle of a Butterfly | From Caterpillar to Butterfly | Nature's Amazing Transformation
4 Videos
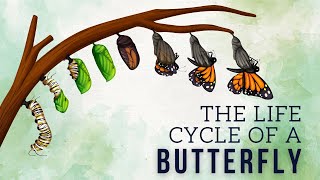
The Life Cycle of a Butterfly | From Caterpillar to Butterfly | Nature's Amazing Transformation

From caterpillar to butterfly

How Do Caterpillars Turn Into Butterflies? | Butterfly Facts for Kids
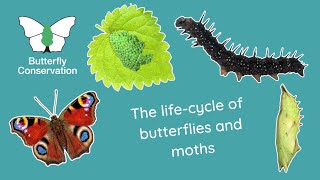
The Life Cycle of Butterflies and Moths
Facts about continuous line drawing for kids
🦋 Butterflies are part of the order Lepidoptera and many species show nearly perfect mirror-image wing patterns.
✍️ Artists like Pablo Picasso made famous single-line drawings that capture whole shapes with one continuous stroke.
🎨 Some butterflies (like Morpho species) get their brilliant colors from microscopic wing structures that reflect light, not from pigments.
🔁 Drawing a one-line butterfly is a fun way to practice bilateral symmetry—making the left and right sides match.
🧠 Continuous-line drawing boosts hand-eye coordination and helps kids plan smooth curves and creative patterns.
How do I draw a butterfly using one continuous line without lifting my pen?
What materials do I need to draw a one-line butterfly?
What ages is the one-line butterfly activity suitable for?
What are the benefits of drawing a butterfly with one continuous line?
