Which art form do you like - realistic or abstract?
Make two paintings: one realistic and one abstract, using simple drawing and color experiments to compare styles and express different ideas.


Step-by-step guide to make two paintings: one realistic and one abstract
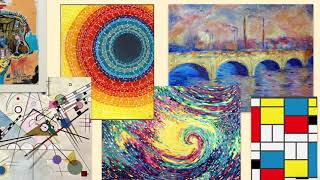
What is Abstract Art ?🎨| Art History for Kids
Step 1
Gather all your materials and bring them to a clean table.
Step 2
Choose one subject to paint realistically like a toy a fruit or a flower.
Step 3
Find and place a clear reference image of that subject where you can see it easily.
Step 4
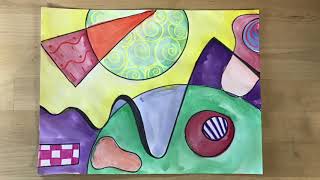
Decide what feeling or idea you want your abstract painting to show.
Step 5
Set up your workspace by protecting the table and arranging paints cup of water and rag.
Step 6
Use two separate sheets or fold one sheet in half so you have one space for each painting.
Step 7
Lightly sketch the realistic subject on one sheet using your pencil.
Step 8
Mix the main colours you need for the realistic painting on your palette.
Step 9
Paint the realistic picture slowly looking at the reference and matching shapes and colours.
Step 10
Let the realistic painting dry or set it aside to finish later.
Step 11
Start your abstract painting by applying your chosen colours freely on the other sheet.
Step 12
Try at least two different techniques on the abstract piece such as blending splattering or drawing bold shapes.
Step 13
Add small finishing touches to the realistic painting like highlights or tiny shadows.
Step 14
Add bold finishing marks to your abstract painting like extra colours lines or dots.
Step 15
Share photos of both finished paintings on DIY.org.
Help!?
What can we use if we don't have a paint palette, cup of water, or a clean rag?
Use a paper plate or muffin tin to mix paints, a cleaned jar or plastic cup for water, and paper towels or an old T‑shirt in place of the rag when you 'Set up your workspace'.
My realistic painting doesn't look like the reference — what should I do?
Test small colour mixes on spare paper using the paints you mixed on your palette, keep your pencil sketch light as in 'Lightly sketch the realistic subject', and build the image in thin layers letting each layer dry as suggested in 'Paint the realistic picture' and 'Let the realistic painting dry'.
How can I change the activity for younger or older children?
For younger kids, simplify to one large shape on a single sheet with washable tempera and finger‑painting for the abstract, while older children can follow every step including detailed pencil sketching, carefully mixing main colours on a palette, and trying at least two techniques like blending and splattering.
How can we extend or personalize the activity after finishing the paintings?
Make a mini‑exhibition by adding mixed media (like tissue or glitter) to the abstract, writing a short artist statement about the feeling you chose, and then photograph both finished paintings to share on DIY.org as the final step.
Watch videos on how to make realistic and abstract paintings
Realistic, Abstract, & Non-Objective Art
4 Videos
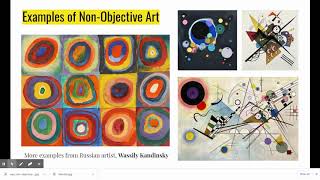
Realistic, Abstract, & Non-Objective Art
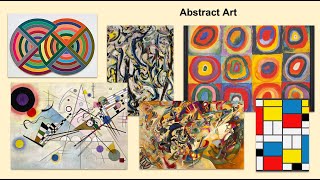
Basic Introduction to Abstract Art
Types of Abstract Art
Kids Art Lesson - Wassily Kandinsky Abstract Art
Facts about painting and art styles for kids
🎨 Wassily Kandinsky is often credited with making some of the first purely abstract paintings around 1911.
🖼️ Gustave Courbet led the 19th-century Realism movement by painting everyday life instead of idealized scenes.
🌈 Artists use the color wheel to mix hues; complementary colors (opposite on the wheel) make each other appear more vivid.
🖌️ Acrylic paint can dry in minutes to hours, making it great for fast color experiments and layering.
❤️ Abstract art lets you show feelings and ideas without copying real objects — viewers can see many different stories in one piece.
How do I make one realistic and one abstract painting with my child?
What materials do I need for making a realistic and an abstract painting?
What ages is the realistic vs abstract painting activity suitable for?
What are the benefits of making a realistic painting and an abstract painting?
